E-files and efile manicuring, are we doing it right? Perhaps you’re a beginner, unsure of what exactly you are or not doing right. So today, we will go over 5 common mistakes when efile manicuring.
Mistake# 1: Wrong machine for the job
So let’s start with machines. Do you have the suitable machine for the type of manicure service you’re doing, like the right tool for the right job? When investing in your machine, you should always consider the type of work you will be doing.
Are you a beginner? are you seeing a lot of clients? Are you working on natural nails? Or are you working on artificial nails? These are all crucial factors when deciding on a machine. I’ll tell you that if you are primarily an acrylic user, you will need a high rpm machine with high torque.
What do I mean by high rpm and high torque rpm? It means rotations per minute. Most e-files go up to 35 000 rpm. If you are unsure or cannot get hold of the company to know if it’s high torque or not, then don’t get it.
What happens when you have a low torque machine?
As soon as you press the machine onto the nail, that bit stops working or slows down, or it kind of lags. That’s an indication that your device has high torque.
What happens if you’re doing enhancements requiring a lot of finished filing, such as acrylics or hard gel? Then you are going to be left using your force, so your body, shoulder, hand, and fingers press down and get as much e-filing as you need to, rather than letting the machine or the e-file bit do the work for you.
It is essential to have a suitable machine for the right job if you are doing natural nails or soak-off gel; in my case, you know this is my specialty.
A machine that is 20,000 rpm is perfectly fine, as long as it still has high torque. When you are working on the natural nail, touching the natural nail, you don’t want that bit spinning too much because you would be shaving the natural nail. No one wants to do that, right?
By the same token, you need a little power to remove the gel efficiently.
Soak-off gel removal is a little bit easier than hard gel and predominantly acrylic, so you don’t need that much more rotation. Okay, you just need high torque, high-quality machine.
Do I recommend any machines?
Since you’ve asked, I provided you with a free resource here for you to check out after this reading.
If you’re doing a lot of enhancement finish filing, you’re gonna need high rpm high torque usually. Suppose you’re getting a machine that’s probably under $100 most of the time; that machine will not have high torque, so I would not use it for heavy filing. But if you’ve done your research and this machine works for you, then great!
On the other hand, if you’re in pain, that’s an indication that that machine is not the power you need. Now you are using your strength, body, and strength to conduct that speedy e-filing, and you should not do that. An e-file, as I’ve already said in a previous blog, is a hired employee.
You want your hired employee taking some of the work brunts from you so that you can feel nice and relaxed because, hey! You hired an employee to do the work for you. I always say, buy the best machine you can afford for the stage of the journey that you are in. So I don’t want you buying the $400, $300, maybe not even $200, although that’s a great price, I think, for an e-file.
Mistake #2 Not working at the right speed.
Okay, so we’ve mentioned working on enhancements and natural nails; that’s pretty much it. When doing enhancements, you’re either doing finished filing or removing those enhancements. Then on natural nails, you’re usually working on prepping the nail. Removing the cuticle off the nail and frequently removing the shine with an electric file bit. That is usually not my technique.
I have not used any sanding bands since I started getting into nails. I was not scared, although I was kind of slit, cut through with a sanding band that was really painful and deep. It took a while to heal, so maybe I was afraid, but I never liked that sanding band on my natural nail because it just shreds it.
For soaking off gel, which is again my specialty, you don’t need that shredding for the gel to fuse onto the nail and attach really well. And guess what? All we do to soak-off gel nails is use diamond bits. Yeah, we use our e-file; that’s totally fine, and we just prep the nail with a sponge buffer, a high-quality sponge buffer, and that’s it.
All of your adhesion components are in the gel, and now I’m getting geeky and nerdy with my soak-off gel knowledge so let me just step back to the issue at hand.
Working on enhancements and natural nails, we said that enhancements require finished filing and removal. That’s usually what you will be using an e-file for. Then, on the other hand, you also use an e-file for natural nail prep and sometimes removing dead skin around the fingers.
Alright, when doing the enhancement work, whether removing or finishing filing, you need to be working at a certain speed. That speed is high, especially with removal, so you want to ensure that you’re working at high rpm. I would say it’s anywhere from 15,000, which is usually most e-files middle point, upwards to about 30,000.
Usually, you don’t need to crank it all the way up, especially if you’re removing soak-off gel, but at least halfway and higher if you need to.
When you’re doing acrylic filing, I know some of us sway back and forth or just one way and pick it up and the other way and pick it up, so it goes side to side. I’m trying to say here that you need to work out a bit higher speed. I probably would not work at something lower than 15,000.
If I do, I will be contributing to the pressure, which can again contribute to injury or exhaustion of my muscles.
When doing the natural nail prep, I like to say a quarter of the way is either a good point or a good starting point. Okay? That’s all you need. Obviously, suppose you have a stubborn cuticle, like on the nail plate. In that case, you will probably have to work at a higher rpm so that you can just shave that cuticle off the nail plate.
If you’re working on the skin, you’ll have to crank that up a little bit to at least halfway to remove the dead skin around the lateral nail folds around the nail and then towards that eponychium area. Right around, you sometimes need to remove some of this dead skin, and you can do that at least half of your rpm, whatever your efile has, and then when you’re picking up the eponychium. Exfoliating this top area, you can also work at a higher rpm.
Mistake #3: Not working with the proper bit.
Not working with the proper bit. What do I mean by the proper bit? Let’s start with nail prep, for example, when using your nail prep bits. We have such a variety, such an array of beautiful bits. I’m going to show you what I like and what I don’t like.
The one that I don’t like is not because it’s evil or damaging or terrible. I just find that I don’t need it for my scope of work. But also, techs that use it don’t know how to use it and just get it because everyone else is getting it.
I know. That’s how I first signed up for it: “Oh well, everyone’s using these flame bits, so I just need the flame bit, right? This flame bit here is actually very technical in the sense that you need to know why you’re using the point and why you are using the belly. That’s really important. Okay, so I’m going to show you one of my favorites, and I’ll talk about it in a second.
So this here is called the Russian flame bit, so the point serves one purpose. You should never go into the nail like this, straight diving into it with an angle, like diving into the nail to exfoliate this; this is not what the point is for.

This point is meant for a couple of things:
- It is to go underneath the eponychium to lift it off the nail plate. Then when you’re up here, you’re using the side of the bit to further exfoliate the skin. Whether you go here, you’re using the side of the bit, the belly of the bit, to exfoliate.
- It’s also meant to work in both directions, so you probably won’t be able to get all of your work done like this, right? This bit, because I’ve been trained in it, you actually need to use it in both directions.
So when you’re here, you’ll use the bit to go this way, right? and get the skin. Never dig this thing in here; you’ll cause nail lifting.
So this nail plate will lift from the nail bed, or you can also build a keratinized cuticle. So, if you blend this line, it becomes what we call “the groove” after a while. It’s like you confuse the growth of the nail, and it will turn into like a hard piece of the cuticle. But it actually feels like a nail, like you can clip it. It’s weird.
I obviously used to make this mistake when I was starting out. So, when you use this bit, it is meant to separate the eponychium off the nail plate and then use the belly part to exfoliate the skin. You’re not using it to dig in here by any means; please do not do that. You will separate the nail plate from the nail bed; then, you’ll have weird things happening on the side of the nail. So that is why you use this bit.
Is this my favorite bit? No, I’ve owned it because sometimes I needed it for my services. After all, I work with soak-off gel. That is my specialty, but our course teaches the B method, which is all about being fast.
We’re about being fast definitely, but also safe and efficient while at the same time protecting the integrity of the natural nail. That’s the B method, okay? That’s what we teach in our course.
This course is like no other; it’s not intensive, like Hey! Let me show you how you hold your e-file, and what an e-file machine is, no. We’re covering those points right now, right here. This is a five-faced program for nail techs, specifically specializing in soak-off gel or soft gel and natural nail care. If you care about protecting the nail’s integrity, check out this link to learn more about that course.
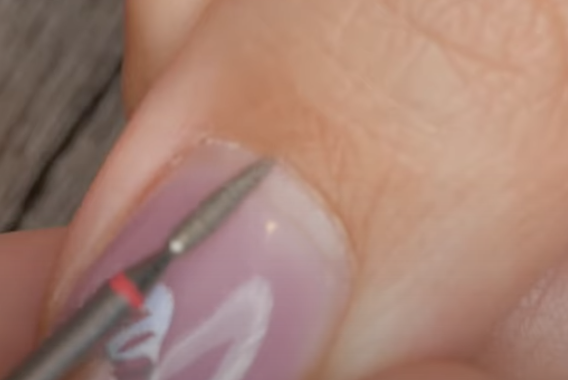
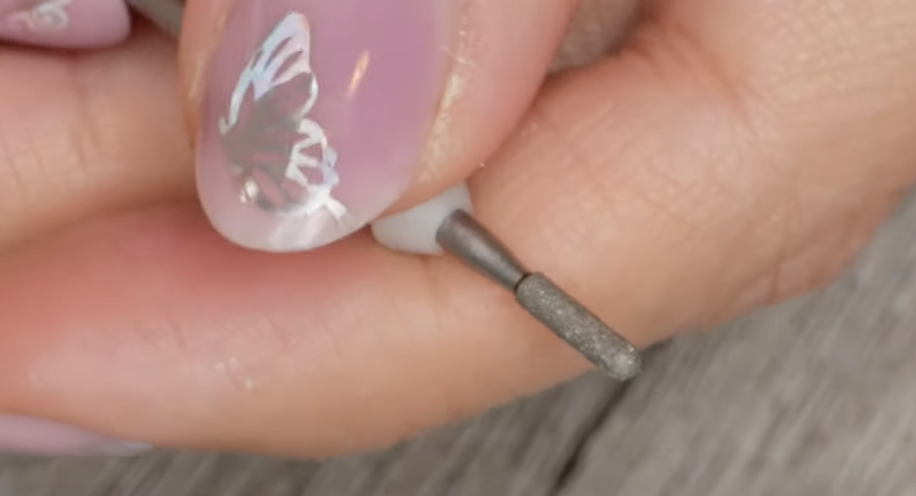
Alright, I use a cylinder bit. It’s rounded at the end, so I like to prep the nail with this one.
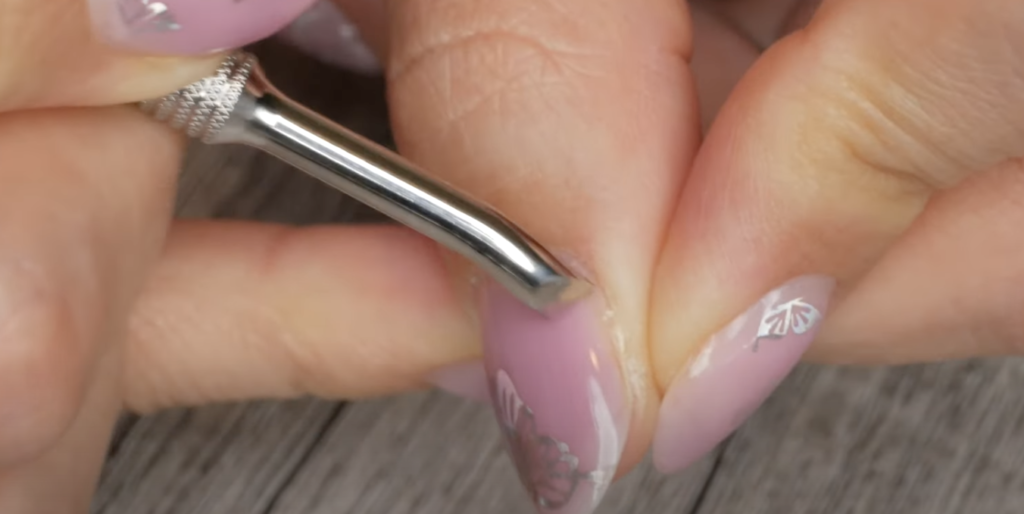
First, I use a sharpened pusher and like to push back the cuticle or cuticles on the nail plate. We can push that back, especially the eponychium, pushing and lifting simultaneously. Do you see that? I don’t like the feeling, but it creates an efficient and spotless manicure.
After that, I come in with the other edge, which you see here. By the way, both sides, especially this brand of Stalecks, are sharpened manually. I don’t mind working with a sharpened tool here, but this one personally makes me a little nervous.
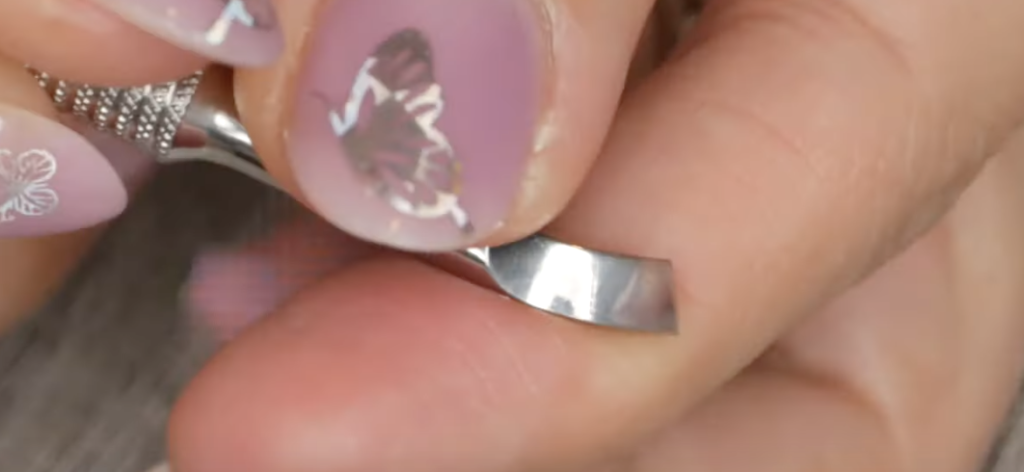
Some people enjoy it, like it, or feel comfortable using the flame bit. Still, I just think that if I’m not paying attention and not having a sturdy hand, it can lead to a little bit of soreness. Because you’re holding on like you don’t want to glide, it’s rotating at 20,000 RPMs, so I don’t mind working with a sharpened cuticle pusher. I can control the pressure here, and this sharpened edge is doing a lot of the work for me, so I like to use the sharpened pusher.
We will primarily pick the cuticle up, come in with the sharp point edge, and gently scrape.
I’m letting the tool do the work. I’m not putting pressure to scrape, okay? No. Gentle, remember the B method, which is efficient and fast while protecting the integrity of the natural nail.
Okay, that’s like my whole mantra there! You see, I’m pretty efficient at removing the dead skin that I need to remove. Now, guess what? By doing those steps, I’ve cleared the path for the cuticle efile bit to run smoothly. I’m a big advocate of a thin narrow cylinder for cuticle prep.
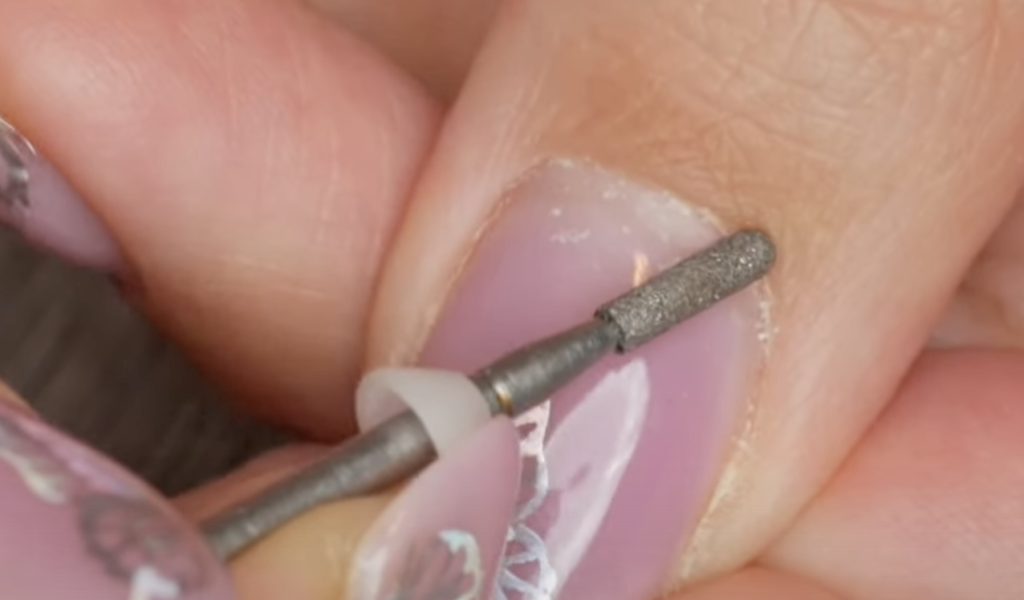
What you never want to do is dig the edge; even though it’s rounded, you don’t want to dig it in here. You will create that weird keratinized nail and cuticle. But I’m going to give you a little secret: I take care of my dead skin with a file, just a border file, whatever file I’m using on the client.
With the cylinder bit, use the tip and gently push the cuticle and eponychium area, passing over it in a parallel position. Remember: cuticle is on the nail plate; eponychium is not. Lastly, the bit is not applying pressure to the nail. Instead, hold it parallel and very gently push up.
If you are a beginner, make sure you select the right tool. Don’t jump into what is popular or being offered without any training. Especially if it looks weird to you and you’re like, why is this bit shaped this way?
Most bits are shaped the way they are because they have a purpose.
Mistake #4: Wrong type of removal bit.
What about when you are removing enhancements? Let’s talk about common mistakes with an e-file removal bit.
For example, let’s just say ceramic and carbide: think of ceramic as glass and carbide as metal. You’re going through that ceramic rather quickly if you use the glass bit on a hard product like acrylic. Okay, big mistake. I know you’re tempted.
Maybe you like the look of a ceramic, nice porcelain kind of white. Still, you’re actually going to be needing a carbide tool instead. Suppose you’re using a carbide bit and decide to use my carbide to take the entire enhancement down to the natural nail. In that case, you’ll take a lot of the natural nails. Carbide tends to be teeth-y.
So the flutes touch the nail and take some with it. It almost feels like it grabs onto the nail and then pulls. The higher the speed you work out, you won’t feel that hold and pull but ceramic, on the other hand, glides. I recommend you use a high speed when removing. Still, even when you are not, it just glides; it doesn’t feel like it holds and pulls.
That is another mistake beginners make not choosing the correct bit.
Mistake #5: Finish filling with the wrong bit.
Last but not least, shaping!
Can we make a mistake when we’re trying to shape? Take a sanding band and a ceramic bit.
I would use the sanding band on the acrylic to remove it more smoothly. It’s going to allow us to move right into a buffer. That’s what the sanding band does. Before you move to the sanding band, you want to have made all your shaping with acrylic or hard product.
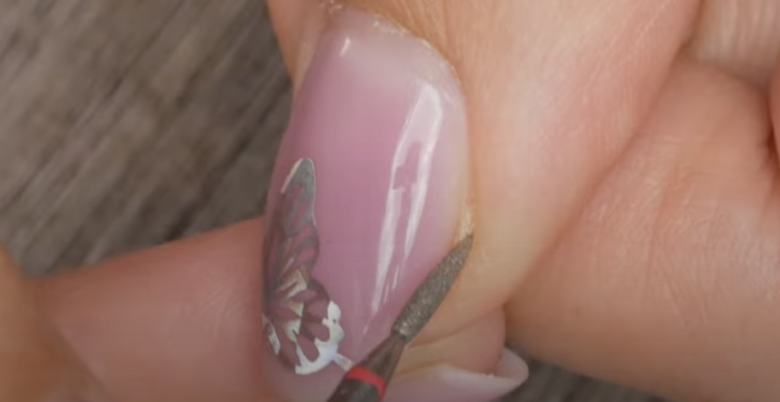
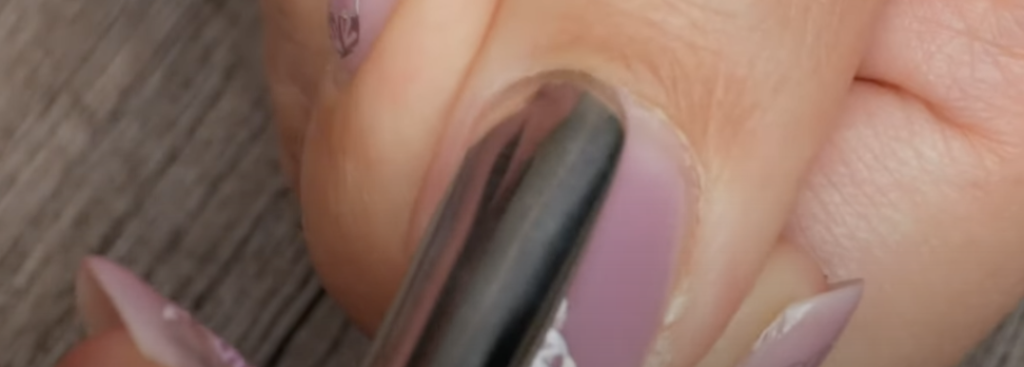
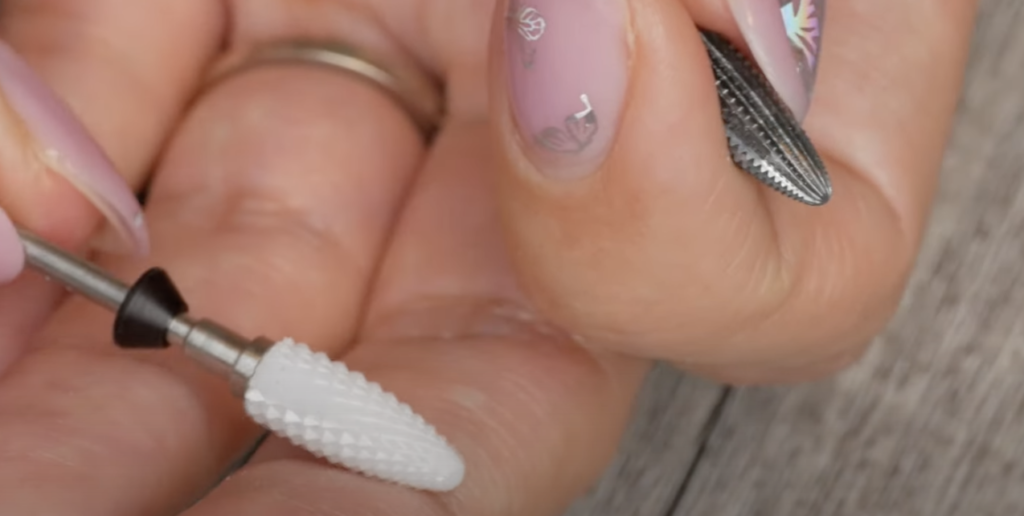
Now, I have a ceramic bit. The ceramic bit is my favorite to finish filing soft gel, aka soak-off gel, specifically Japanese gel.
I train my students to use the ceramic bit because it’s so gentle and tickles the surface. That’s what you want to do.
I don’t use sanding bands. I’ve never really committed to a sanding band. I think I’m scared of them. But they are great for finishing filing acrylic nails. It’s very convenient.
Just to recap,
- Using the proper e-file machine with the correct power for the right job?
- Are you using the correct rpm to use the right speed for the job?
- E-file prep bits: are you using one you’re not familiar with, or are you using one you have no training in? You don’t know why it’s shaped like that, and you just bought it!?
- The removal bit: are you using the most effective for the type of nails you are working on or removing?
- When it comes to shaping, what bit are you using when you are shaping? Are you using one that’s going to work for you, like the sanding bit, which will take care of that finish filing, or do you need little touch-ups, little tickles with a ceramic bit!
I hope you enjoyed this blog post. Thank you for reading, and I’ll see you in the next one.
Please note… These blogs are copyrighted material, and any use of this blog is not permitted without written concern first. Some of these blogs contain affiliate links that give us a small commission when qualifying purchases are made. Thank you for your support that helps us continue creating valuable resources and content like this.