5 Common Gel Nail Curing Mistakes| Beginner Nail Tech
Beautiful long-wear and shiny finish are easily ruined if you cannot get a proper cure on your gel. An improper cure is more common than you think or actually… that you can SEE. When gel nails are improperly cured, they will last only a few days as opposed to the average of 3 weeks. That glossy finish will only be experienced for a week or so.
What is even more concerning with uncured gel is the possibility of becoming allergic to your products. Yes, the uncured or under-cured gel can lead to allergic reactions.
To avoid all of these issues, I thought I’d jump in here and give you the 5 most common curing gel nail mistakes to avoid. I want to ensure that you nail your application no matter at what stage you are in your nail journey, DIY, intermediate, or pro.
Gel nails are a dominating nail service in salons all over the world.
It’s the nail service of choice among many of us, including professionals and DIY’ers, because it works and it’s relatively easy to apply (i.e. compared to acrylic nails). If you have experience painting your nails, you’ll probably do at least an ok job involving your own gel nails.
Gel nails are long-lasting, and they yield super shiny results! I would say that even the most affordable choice of gel polish online or elsewhere delivers an ultra glossy finish.
Gel nails are long-lasting, and they yield super shiny results! I would say that even the most affordable choice of gel polish online or elsewhere delivers an ultra glossy finish.
Mistake #1: Working with a miscellaneous curing unit.
You probably have heard you should work with the curing unit designated for your gels, but I get your struggle. You don’t use just one brand! You mix and match, and hey… I do that too.

Is using the curing unit of each brand a good idea and most likely the best way to eliminate service breakdowns and allergies? I believe so.
But this is a creative profession we are in and so we struggle choosing just one brand I get it. It is my opinion after 10 years in the industry as a nail professional, that as long as you’re buying a quality professional gel nail formula (not from Amazon!) and the curing unit from one of them you will get a quality cure. Still, you have to be selective. Keep in mind that you’ll lose a brand’s full customer support when you don’t use a brand’s curing unit if you contact them for troubleshooting help. So you just have to be ok with that if you’re mixing and matching product brands… Comprende?
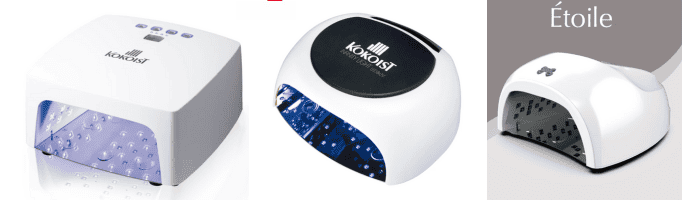
With that said there are two brand’s I’ve used consistently for years they are Kokoist and Leafgel; and I fully trust both their gel nail formulas, AND curing units to achieve a proper cure.
Here are their curing units respectively:
- Kokoist Le Blanc Lamp (cordless) or Infinity Lamp (corded) . You can save 10% sitewide with code PPN10
- Leafgel’s Lamp, and you can save 10% sitewide with code PPN10 .
I want you to avoid just randomly Google or Amazon a curing unit and going on with your business. Doing so may cause many issues. In an upcoming video, we will outline the characteristics of a curing unit you should consider before purchasing. For now, what I want you to consider is the number of brands you use when it comes to your core gels, like your base, builder, and top gel.
I highly encourage you to just use one brand… maybe two. These gels are the most important in making your application last, and you gotta know them oh-so-well.
Color gels give little strength to your application, so mixing and matching brands of color should not cause you too much trouble.
Once you’ve narrowed your brands down, you have the curing unit selected for yourself. You are going to use the curing unit of that brand. (Because the key to choosing a curing unit is picking the one for which brand of gels you use the most.)
And that’s my recommendation as to which unit you should buy when you don’t just use ONE brand. Again, consider using only one brand for 90% of your gel nail services to quickly choose the best curing unit for you and your business.
What if you’re a super creative nail stylist or up and coming and cannot yet commit to using one primary brand in your services? Fine. Choose a curing unit from a brand that has been in the industry as a gel nail brand for years. These brands include brands like CND, Light Elegance, or Gelish. If you’re a Japanese gel nail specialist, Kokoist and Leafgel offer great options as mentioned above.
(Again you can check out the Kokoist lamps here or the Leafgel one here (code PPN10 saves you 10%)
I want to end this first mistake by saying that the BIGGEST detriment to buying a random curing unit online is that some companies have done tests on cheap lamps from Amazon, and have found that from the get-go, their curing strength is poor. Yes, brand new, out of the box.
Invest in quality brands. Your health is worth it.
Uncured gel, or under-cured gel on the skin (you scratch yourself with your nails) is highly allergenic. You can sensitize yourself to the point of never being able to wear some nail products again, or receive some medical and dental treatments if they are resin based.
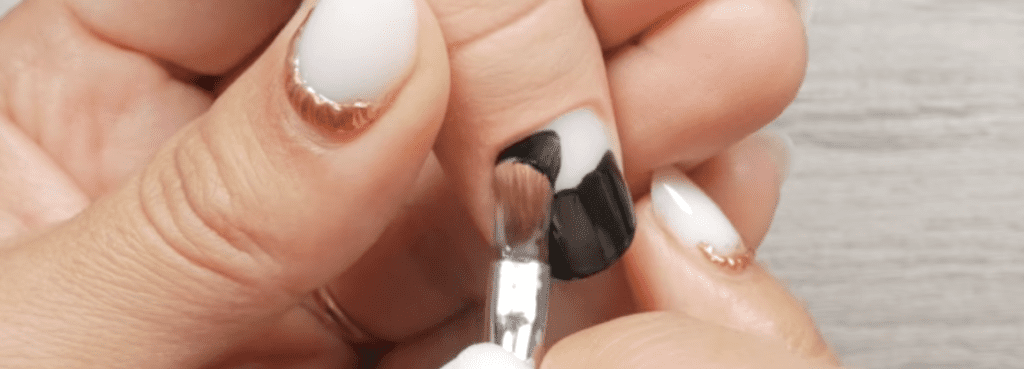
Mistake #2: Applying your color too thick.
99% of the time, your color application, whether in a pot or bottle, consists of 2 coats of color. SO please, when applying your color, do not stress out with the first layer because if you do, you most likely will want to apply it too thick. This will lead to bubbling, chipping, and peeling, especially with dark colors.
What you want to do is to trust your 1st coat of color application! If you’re going to panic due to lack of opacity, the second layer is where you may… but even then, there’s nothing that a 3rd thin layer of color gel cannot fix. Adding a third layer of color to get actual color opacity is rare, so please relax and take your time.
If the color is too pigmented and you apply it too thick, it will be difficult for the light to penetrate your color and give it a full cure.
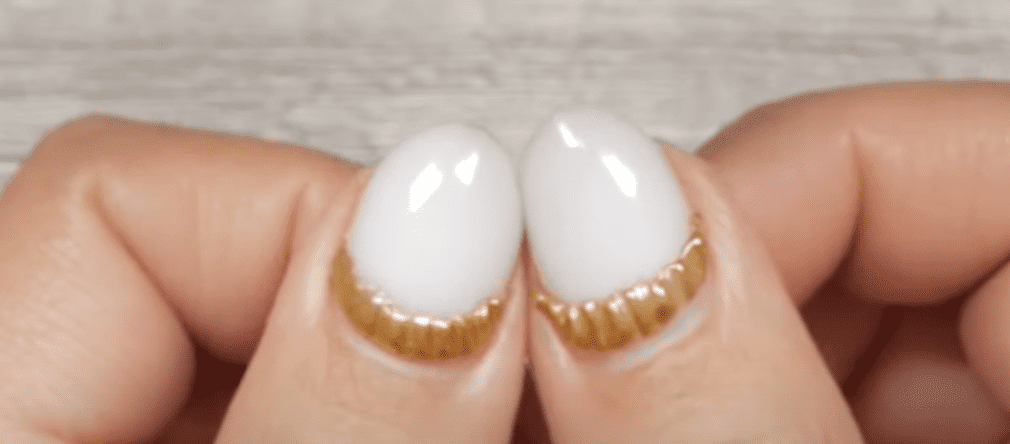
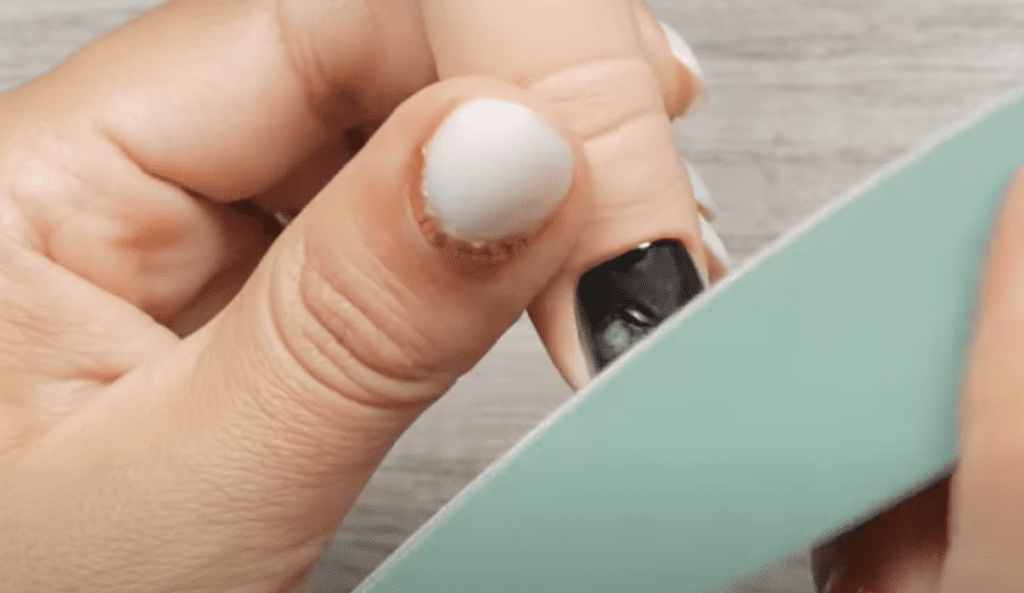
However, say you have applied it too thick, and some bubbling or wrinkling has occurred. Well, what you want to do in this case is file and buff the color that has bubbled and flush it to the gel layer underneath it. Then reapply your color gel again.
As you can imagine, this could extend your service time significantly, so you want to apply your color right the first time.
Mistake #3: Undercuring.
Over-curing is better than under-curing. The worst thing about over-curing your gel nails is your top coat yellowing.
However, if you under-cure every potential problem is a possibility. Lifting, chipping, shriveling, etc.
If you’re mixing and matching product lines, it is best to cure every layer of gel for 60 seconds instead of the more standard 30 seconds.
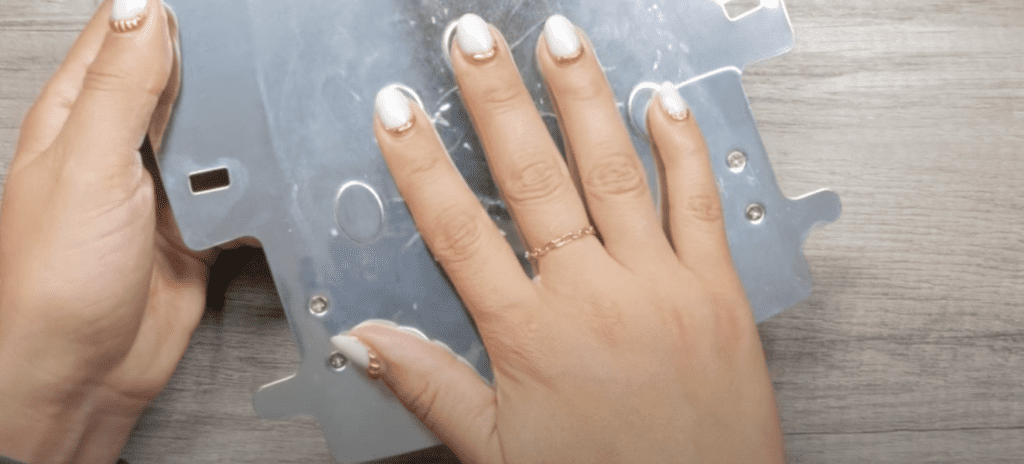
Mistake #4: A relaxed or wrongly positioned hand.
Unless you educate your client on the importance of correctly positioning their hands in a curing unit, they will often have their hand a bit too relaxed. Or misplaced altogether.
The correct way to position your hand in a curing unit is palm flat and fingers slightly spread. (Many lamps will provide indents or markers on the lamp’s tray for you to position the hand properly while in the curing unit).
You’ll also want to take a look and study your tray. Sometimes there are indentations to guide you and your customer into correctly placing your hand.
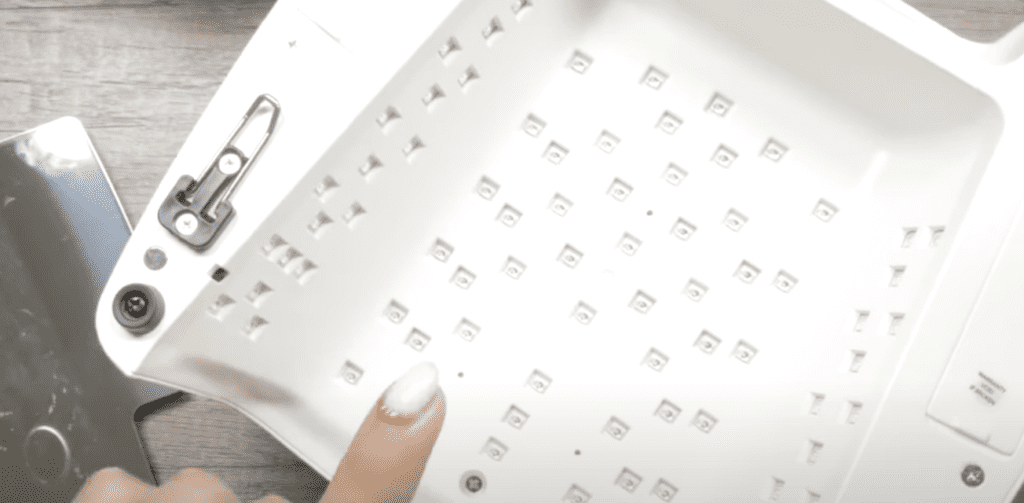
I also recommend that when you first get your curing unit, you look underneath it and see where all of your bulbs are placed. Make sure you don’t have an odd positioning of them by the manufacturer.
Mistake #5: Working with an old unit.
Oh boy, is this common.
When curing lamps with LED Bulbs first debuted, they were promoted as lasting 5 years and sometimes a lifetime. You would never have to change the bulbs, as you had to do standardly with the traditional UV lamps.
But in recent years, reputable companies have confirmed that 5 years or even a lifetime of use is not recommended.
The intensity of your lamp does decrease, and now the recommended usage is 2 years for continuous heavy use or 3 years for less frequent use.
So if 2 or 3 years after having bought your curing unit, you find yourself mysteriously having lifting, and other service breakdowns consistently, the invisible enemy may well be your curing unit, so take note.
And in fact, I hope you took notes on all of the mistakes to avoid an improper cure that will lead to lifting issues.
To recap, they are:
- Working with a miscellaneous curing unit
- Applying your color too thick
- Undercuring your gel nails
- A wrongly positioned hand
- Working with a unit older than 3 years.
Thanks for joining us today, don’t forget to subscribe to our newsletter to receive more content like this directly in your inbox…
Or sign up to my free Gel Nails 101 Guide here to understand any gel in the market once and for all!

Content written by Paola Ponce
These blogs are copyrighted material and any use of this blog is not permitted without written concern first. Some of these blogs contain affiliate links that provide us with a small commission when qualifying purchases are made. Thank you for your support that helps us to continue creating valuable resources and content like this.