
If you’ve ever worn gel nails, you’ve probably also attempted to take them off yourself? And how did that go for you? Good? Ok?
In today’s topic, we will be going into the 5 things you’re doing wrong when removing gel polish.
I’ll be showing you some do’s and don’ts so that you totally nail the process next time you’re stranded, having to remove your own gel nails. It doesn’t matter if you’re a pro or a DIY’er; you’ll learn from these 5 common mistakes that everyone makes when removing gel nails.
Let’s dive in.
1. Materials
The first step in removing gel nails is gathering your materials. You will need acetone and cotton. Therein lies the first mistake.
Don’t.
Don’t use a pharmacy brand acetone. The acetone you find in most pharmacy stores can be lower-grade acetone and could be diluted with things like water and fragrances. Thereby diluting the potency of your acetone slows down your gel removal.
Do.
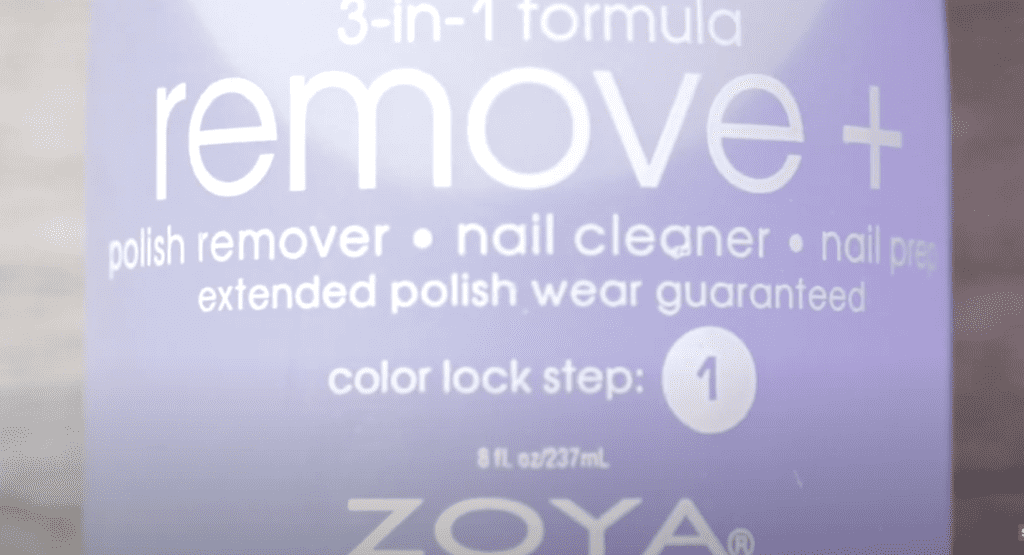
Instead, use pure acetone or a professional grade conditioned acetone. My favorite is from Zoya. I’ve been using this stuff for 5 years, and it is so gentle on your skin and nails.
2. Break the Seal.
The next step is to break the seal of your manicure, which is essentially the top coat.
Don’t.
Don’t use a gentle buffer or file to just remove the top coat. This will not make the gel porous enough for the acetone to penetrate and break down the gel.
Do.
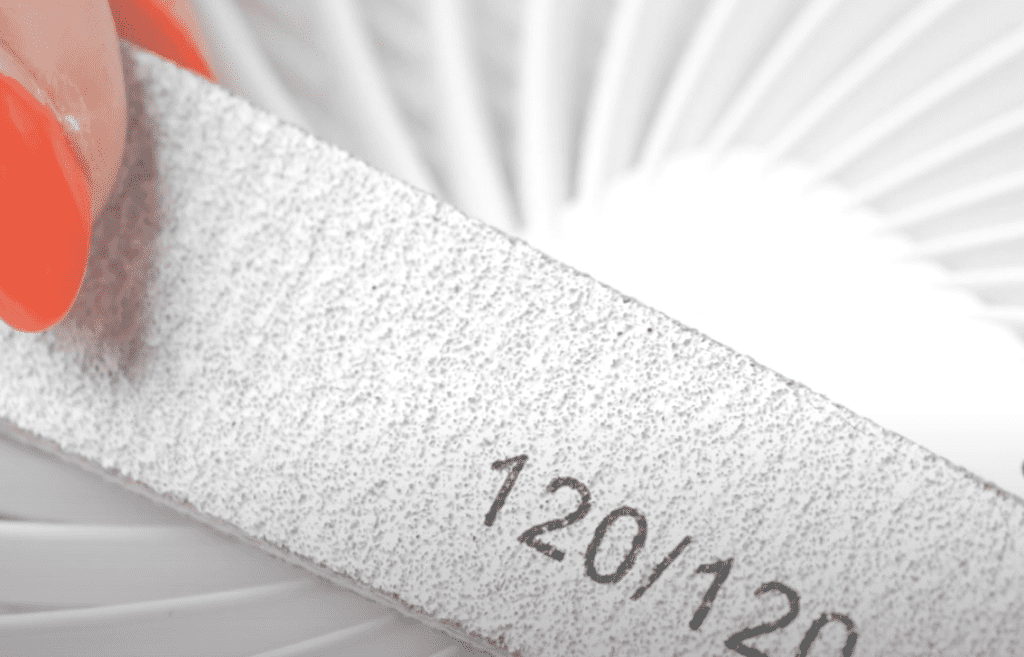
Instead, remove the topcoat and at least the first layer of color with an abrasive board file. You will thin the product and make it porous enough for the acetone to break it down. Remember that the thicker the gel application, the longer it takes to soak off.
3. Foil Wraps.
Time to wrap your acetone-soaked cotton piece.
Don’t.
Don’t just crinkle your foil; if you’re using foils… this is a big common mistake, and I’ve seen DIY’ers and pros alike make this mistake. Crinkling your foils will cause the foil to tear, and also, it does not create a tight seal, which means acetone, which is highly volatile, will evaporate. What happens if the acetone evaporates, you may ask? It loses its strength, slowing down your removal process or halting it altogether.
Do.
Instead, take the time to individually fold the edge that will be wrapping around the finger. This will allow you to tighten the foil and ensure a near-air-tight seal so that your acetone is working to its full potential.

4. Temperature.
Temperature is critical during gel removal.
Don’t.
Don’t let the hands get cold. Internal temperature is essential here. Avoid a cold drink while doing gel removal. The gel will remove slowly if the hands and nail beds are cold.
Do.
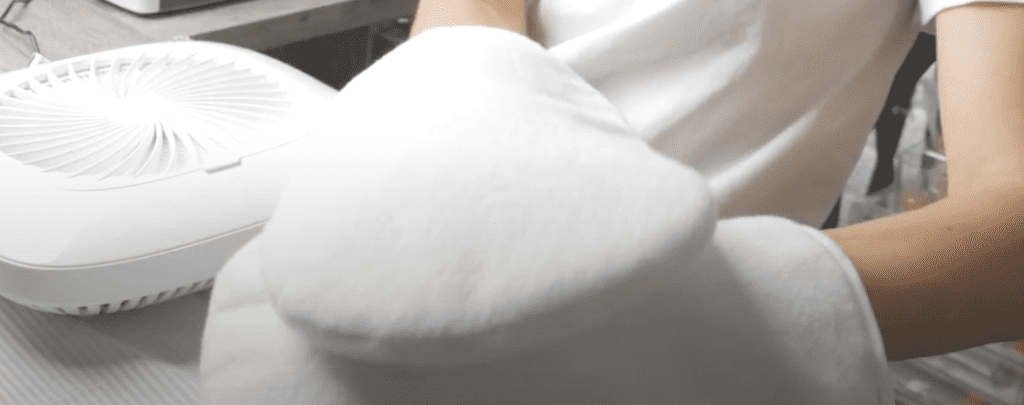
Instead, cozy up with a blanket or terry-cloth mittens covering your hands. You can also put your hands in plastic gloves; doing so will promote more warmth and helps you put the foils on your dominant hand.
Make it the ultimate me-time treatment by sipping at a warm cup of tea and adding an excellent moisturizer to your hands before the entire gel removal service.
Keep in mind that you should sit no more than 20 minutes with the acetone on your fingernails. It does begin losing its strength afterward. It will not make much difference if you sit 10 additional minutes or an hour total.
In fact, the reaction will start reversing, and your gel will start re-hardening. I know… creepy. So get all of your supplies ready from the start to really take all of those 20 minutes to yourself.
5. Time’s up!
Now it is time to see the gel removal action take place… but wait!
Don’t.
Don’t remove all of your foils at the same time. Doing so will cause the acetone that has penetrated the gels to evaporate! And so… as I mentioned earlier, your gel removal will halt. This means forcing the gel off the nails or having to re-start the wrapping and soaking over!
Do.
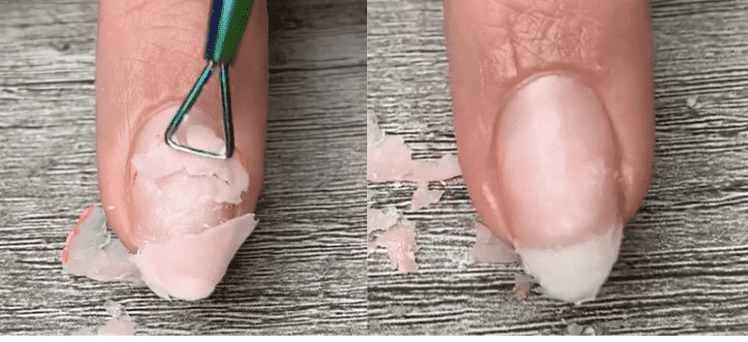
Instead, take your time to individually unwrap each finger. If you use plastic gloves, you can cut the tip of each finger and free up the finger to remove the foil! I know! Super cool!
After removing all of your foils, you can buff the remaining product down or resoak and gently keep on removing the gel.
Now, I want to hear from you! Have you ever made any of these mistakes? Write me a little message below in the comments section, and I’ll take a look.
I will also let you know that I just created a nice chart comparing some of my favorite manicure items like cuticle nippers and pushers.
If you’re feeling brave, I’ve included efile and efile bit recommendations for pros and starters if you want to apply these do’s and don’ts next time while using an efile. You can download this super unique chart here.
Have a merry rest to the week, and I’ll see you in the next one.
These blogs are copyrighted material and any use of this blog is not permitted without written concern first. Some of these blogs contain affiliate links that provide us with a small commission when qualifying purchases are made. Thank you for your support that helps us to continue creating valuable resources and content like this.


