
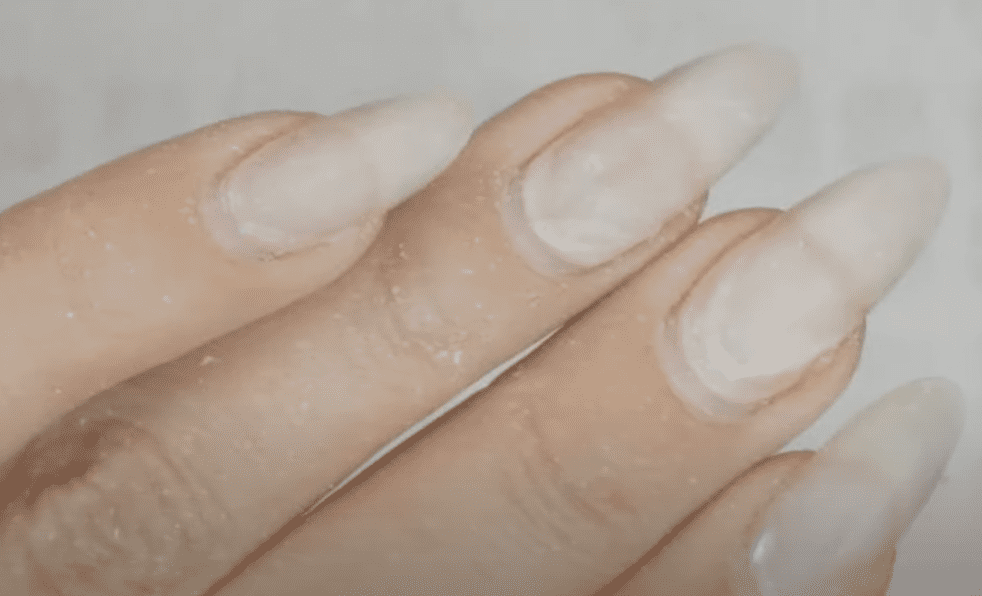
I could not believe what I was seeing! … Lifting around the cuticle area of my fresh new set… but why?
It was a rookie mistake, but this situation taught me that no matter how much of a veteran you may be… you can never ever forget about those principles you mastered in the beginning.
Now, of course, I wondered if I should just “sweep this under the rug, no one needs to know what happened” kind of thing or if I should use this as a learning lesson to teach you not to panic and instead think back on what the culprit may have been and how to avoid it.
Before I tell you what I believe was 100% the culprit, let’s go over the top 3 main reasons why nail enhancements, like gel nails, lift:
Reason #1
Gel contact with skin, including cuticle left on the nail plate.
ANY contact with dry skin will cause your nails to lift. Remember, the cuticle is the dry skin on the nail plate; most of the time, it’s invisible. Then hangnails and/or loose skin around the nail; if it comes in contact with the gel, it can interrupt the adhesion to the nail plate and start lifting.
Reason #2
Improper curing.
Improper curing can happen in many ways, including not curing for the required time, not curing with the corresponding curing unit to the brand of products you are using, or using an old or defective curing unit that needs to be fixed or the position of the hand inside the curing unit.
Reason #3
Before gel base application, use water and products (other than a dehydrator). This is where you hear the term ” Dry manicure” because this is a way to eliminate lifting issues. When the hands are soaked in water, the skin and the nails are like sponges and absorb moisture, affecting the gel manicure’s longevity even if you clean and buff them after soaking. The same goes for using cuticle removers, oils, and scrubs; if you need cuticle remover, clean it with 90% alcohol or 100% acetone to eliminate oils and wait until after you are done with product application to exfoliate and moisturize the hands and nails.
Leafgel certification enrollment opened!
Before continuing, I want to let you know that our Leafgel certification enrollment opened yesterday at 8 pm and will close on March 2nd. However, we will have a special bonus for those who sign up for it in the next 24 hrs. If you are interested in our Leafgel certification, I want you to click HERE and get yourself into our waitlist, the VIP list where we will send the first few people our enrollment link get first dibs at enrolling.
We’re only taking 20 students and want to ensure we have time and focus for all of you. It will be live for three days, and a recording will be available; I’m giving away too many details! If you know in your heart that you want to become a Japanese soft gel nail specialist this year, making top dollars, because that’s what can happen when you specialize in premium products.
So, I want you to get on our VIP waitlist for the Leafgel certification.
If you are still determining if the Leafgel certification is for you, don’t worry, I still want you to sign up for the waitlist because we will have a free masterclass in about a week about Leafgel. I will answer all your questions and doubts in that class, and you can email me with more questions.
Ok! now you know! Japanese soft gel nail specialist looking to use Leafgel as one of your leading brands, only 20 spots available; get on the waitlist even if you are not 100% sure, so we can send you some information. Now, back your our topic.
So what did it?
Cuticle remover! Ugh-I know. If you’ve been with me for a while, you know I’m adamant about dry manicuring, including skipping cuticle remover. However, some cases require it to loosen up the thick cuticle.
And here’s the thing: I didn’t need it, but I had it and thought, “Hey! It’s been a while since I used this.” And off I went… but not into my manicure. Into my inbox; I got busy and distracted answering emails, and before I knew it, minutes (a lot of them!) had passed to the point where I actually could not see the remover anymore (hehe). It had evaporated and soaked into my nail plate.
My mistake was not necessarily using the cuticle remover but instead leaving it on too long.
The right way to do cuticle remover.
So here’s the proper, no-lift method to use your cuticle remover before gel nails.
Apply JUST ENOUGH amount, and let soak in for 1 minute before you start working it. After you have done with it, you need to immediately start wiping it off with 90% alcohol or acetone. These strong solutions should help dissolve any oils or ingredients that may interfere with the proper adhesion of your nail enhancements.
I recommend skipping the cuticle remover when applying gel nails, especially using an efile. But there are times when cuticle remover is needed.
Here are those scenarios and how to use your cuticle remover to avoid any issues.
Sometimes I want to be more gentle with my nails. To do that, I would use cuticle remover to gently exfoliate the nails and the skin without leaving it all to my efile. The other scenario is when a client comes in with thick and overgrown eponychium (the skin around the nail); here, I would reach for cuticle remover, leave it on for one minute, then removing thoroughly with 90% alcohol or acetone.
Final Thoughts
Here’s the thing: Gel nail lifting can be really disheartening. But that is only when you cannot master it. It keeps rearing its ugly head and knocking at your confidence.
But it will be a bit shocking when it is sporadic or happens on all of the nails or so soon after a new set. Still, the feeling after that is confidence, ready to tackle and discover the culprit.
This whole situation, even though embarrassing, did not shake my confidence one bit, and that is because I have years of having mastered gel nail lifting. I knew something was off, and I could troubleshoot by bringing it to memory that day.
I hope you are uplifted by my debacle and that you understand that gel nail lifting can be mastered.
And just to recap, here are those 3 top reasons that lead to lifting:
Reason #1: Gel product touching the skin, including the cuticle left on the nail plate.
Reason #2: Gel product curing improperly due to the nail brand’s lack of compatibility, hand position, or malfunctioning curing unit.
Reason #3: Using water or other products on the nails before applying gel.
If you want more help mastering gel nail lifting, click HERE to join my free masterclass.
Thank you for joining me today, I’m happy we had this opportinty to learn together, make sure to check out the next post to see what I am doing next to my nails. Also don’t forget to get on the VIP waitlist for the Leafgel certification, alright? Ok, thank you again and bye for now…

Content by Paola Ponce and Fabiola Saucedo.
Loved this blog? Then I think you’ll love learning more about my journey as a specialized gel nail solopreneur in the nail industry. Click here to get instant access to my free masterclass. These blogs are copyrighted material, and any use of this blog is not permitted without written concern first. Some of these blogs contain affiliate links that give us a small commission when qualifying purchases are made. Thank you for being so supportive, which helps us to continue creating valuable resources and content like this.

![[[ Nail Thoughts X Kokoist ]] Bottled Gel Launch | All COLORS SWATCHED](https://paolaponcenails.com/wp-content/uploads/2020/11/ntswatchesnewthumb-1024x575.jpg)
