
Trent alert! The new chrome application method… liquid chrome.
Wow, has chrome just not improved and improved so much over the years? We thought application pens were where it, uh-uh. I believe liquid chrome is here to stay.
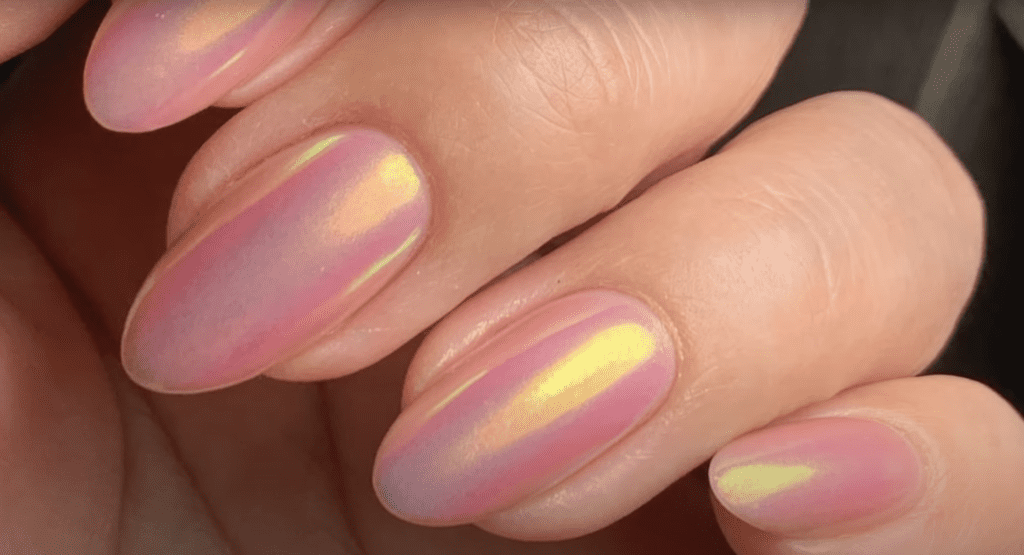
Today we will be working on my nails and how to create a pretty and very simple liquid chrome nail manicure using the newest Kokoist liquid mirror. So here we go!
First, here are a few mistakes to avoid…
-Not fully curing your top coat.
-Not shaking the bottle well before use.
-Applying too little product
-Not buffing immediately after applying the liquid chrome.
-Using your glove, finger, or silicone tool, lint-free wipe, or gradient sponge to buff the nail. The only tool that will activate the mirror effect is a makeup sponge; use a cushion sponge.
First, gel overlay and shaping
I have a clear base coat on my nails, and I’m adding a coat of Nail Thoughts peach base. That will be the base color for the liquid chrome manicure. This tinted base is a three-in-one product, a base, a builder, and a color. It allows you to structure the nails and add enough strength and color to them using this base. Pretty cool.
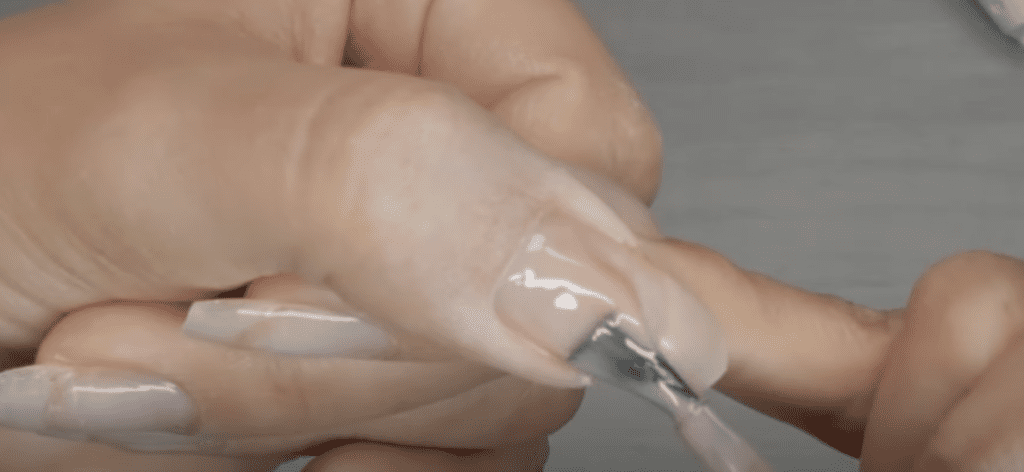
The tinted bases are offered in the pot version, too, my preferred method, that way, I can use my flat brush as a liner, it’s the same as the bottle, but it’s just my preference. Remember that this formula is very runny, so consider working one nail at a time. It’s also a great formula for medium-length nails; for longer nails, I would recommend switching over to base and builder for that added strength.
First, you apply a generously thin “slip layer” This layer will guide the gel and allow it to self-level when you add the second bead of gel to structure the nail.
Add a second larger gel bead, 2mm away from the cuticle area, and use the brush to pull it down towards the free edge. You can pull it down in a zig-zag motion or drag it down on the right side, the left side, and the middle. Once you are happy with a smooth surface and correct apex placement, take it to the lamp and flash-cure it. If you are new to these products, I recommend working one nail at a time. If you are more experienced, move as fast as you can ;).
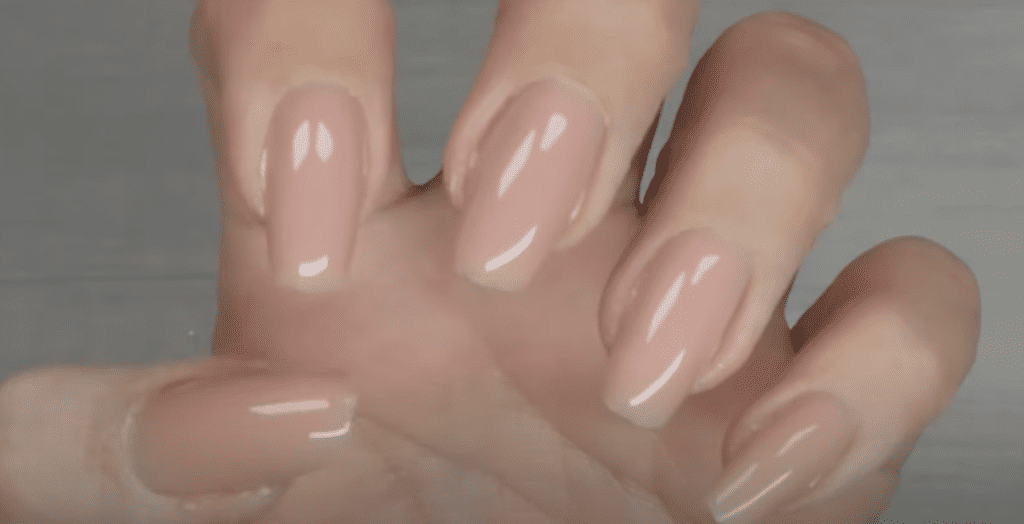
I still have to shape my nails, and if you know me and have been following me for a while, especially on my Instagram, I recently released a shaping guide. This shaping guide is how to shape nails into a square, almond, oval, squoval, and round, the five most popular shapes at the salon, and I like to do the shaping after applying my structured overlay. If you want to check it out, it’s a short 20-30 minutes mini class to teach you how to shape into the five most popular shapes after applying the structured overlay.
Today I’m shaping my nails into an oval shape. Start by turning on your dust collector; this one is the Anemonie from Zillabeau. Use code PPN10 for a 10% discount when you shop at Zillabeau.
I am shaping my nails using the same steps I use in my shaping course. I was able to shape them relatively quickly into perfection. If you think you could benefit from a shaping class, it’s only $17 USD.
Liquid chrome step by step
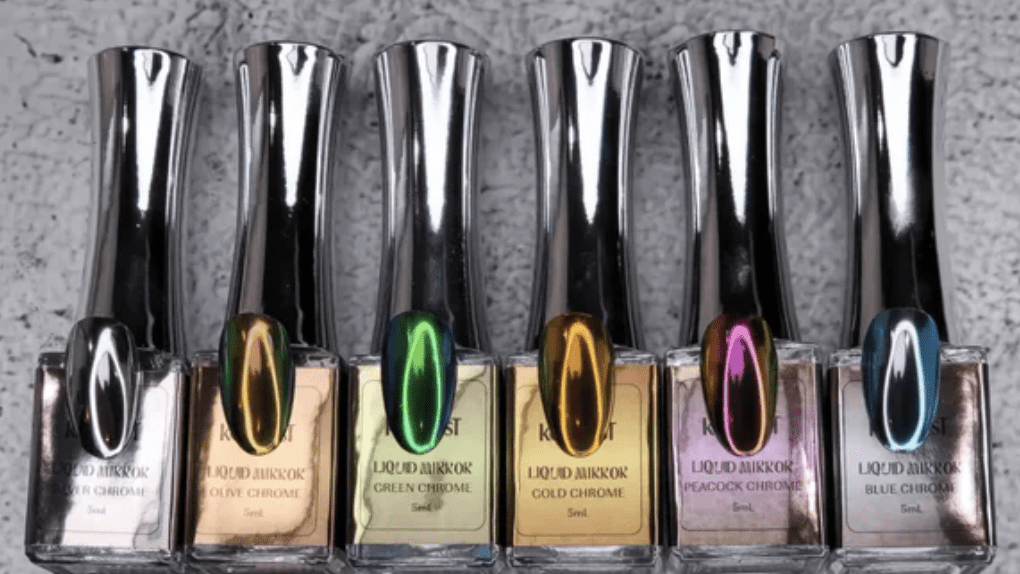
Now onto the fun, hard-to-choose liquid chrome paints from Kokoist. Honestly, it’s so hard to choose, they are beautiful, but today I am going with the color MR-02. If you want to try these super cool chrome liquids or any other Kokoist product, you can use code PPN10 for a 10% discount at checkout. These are available now!
1.Before you apply the liquid chrome, we need to apply a layer of a non-wipe top coat or a non-wipe chrome burnishing gel. I will use Kokoist’s Ultra Glossy top coat; apply a thin coat on all ten nails and do a full cure.
Without touching the surface of the nails, reach for the liquid chrome color of your choice. I had to fail a few times to learn how to use this product. You have to work quickly and use a makeup sponge, and a cushion sponge, to activate the chrome mirror effect.
Also, if you mess it up, just grab a wipe with a bit of acetone or 90% alcohol and wipe the chrome off. You will be able to restart without having to reapply the top coat.
Another tip I found on my research adventure was using the liquid chrome and the sponge. You would probably apply a generous amount and grab the sponge to start buffing, right?… But it’s not that shiny yet. Ok, maybe a second coat will do it. Still not it. I found this method thanks to the @beeladynails.and.goods video on how to use these.
2.Instead of applying the liquid chrome directly to the nail, apply it on the edge of the makeup sponge.
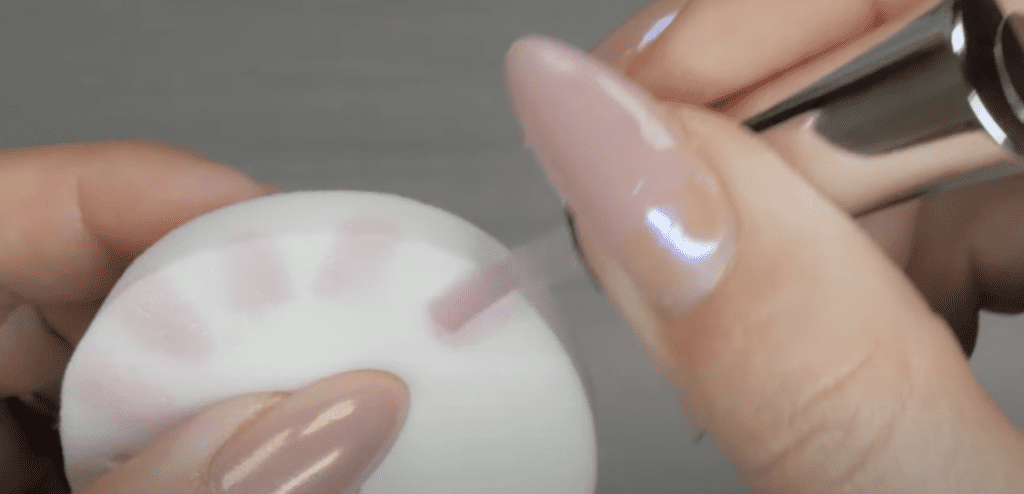
3.Fold the makeup sponge and start buffing the nail. Now we’re talking! Maybe this way works best because the product on the sponge is now drying up as fast, and you have enough time to buff it and activate it.

4.After buffing one or two coats of the liquid chrome on the sponge into the nail, we will use a lint-free towelette to wipe the nail with 90% alcohol gently. But won’t that take it off? No, not really; this step is more to clean the chrome, eliminate the blurriness and make it mirror-like. Can you see how much clearer it looks?

5.Now you would finish with top gel. I usually apply two thin coats of finishing gel to prevent wear off at the edge. I would use a little bonder liquid on the free edge with chrome powders to prevent chipping, but maybe we don’t need to do that with these.
Look how pretty this looks! I hope you like it, and if you want to support us, you can purchase these at Kokoist and use code PPN10 for a little discount. Thank you for joining me, and I’ll see you the next time.

Content by Paola Ponce and Fabiola Saucedo.
These blogs are copyrighted material, and any use of this blog is not permitted without written concern first. Some of these blogs contain affiliate links that provide us with a small commission when qualifying purchases are made. Thank you for your support that helps us to continue creating valuable resources and content like this.


