
If you haven’t already, I dare say that while being in business as a nail tech, you will come across a client who wants their gel nails touched up every 10 to 14 days. And don’t be annoyed by this, you don’t have to give them a discount, so embrace it. Because research says that it is 5 times harder to gain a client every time you lose one. So the fact that you have a client who wants to basically take the place of two in a month and not necessarily expect a price break, that’s a great thing for you!
When working on a touch-up of gel nails that are between seven to fourteen days, you’ll have to consider if they want a whole color removal or just a color refresh in order to book and price the service appropriately.
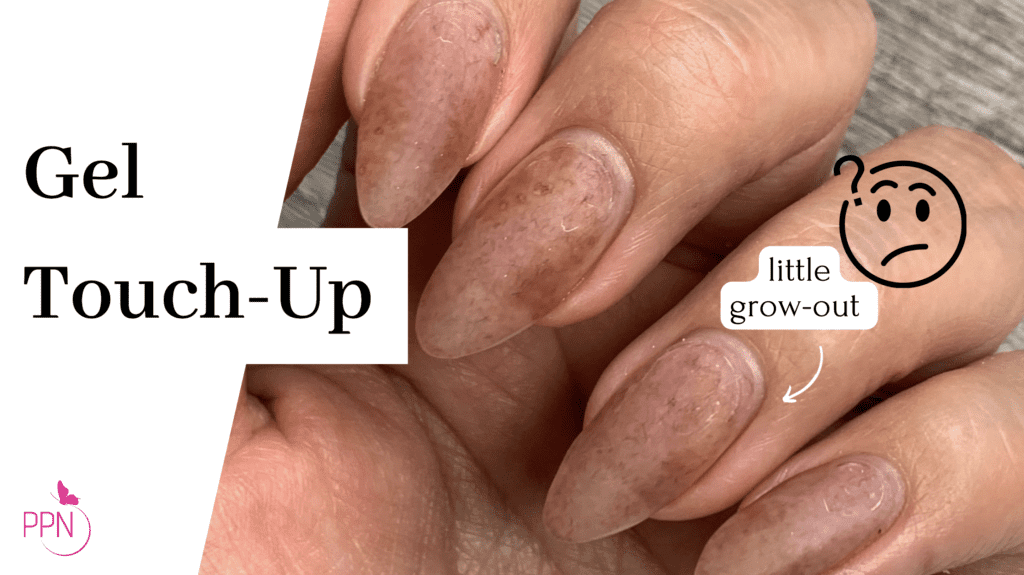
In today’s gel nail touch-up, I am doing a full-color removal.
Here’s the step-by-step:
What if you had a customer who wanted her gel nails done every ten to fourteen days? Would you resist and convince her to keep a monthly schedule, or gladly take her on as a bi-weekly?
Listen, take her as a bi-weekly, and it is up to you if you want to give her a small price break. Do what feels right. If you can finish the nails in a third of the time, then sure a tiny break (up to $10), but if it takes just as long no break.
So, we will do a mini-rebalance on a set of nails about 2 weeks old, without adjusting the apex. This really is a simpler process than a true rebalance at 3-4 weeks of growth. Some clients enjoy a new set of nails every 10 days, so having these techniques down will prepare you for these situations.
- We start by carefully removing any embellishments with a blunt nail clipper/nipper; however, if you decide to use your carbide efile bit to aid in this, it will wear down the bit if it files the embellishments.. Avoid ceramic as it can chip off, damaging the bit. Take your time, and do not force sharp implements into the natural nail and skin.
- Decide on how much cuticle work you will need to perform, but in this case, very little work is required since my cuticle grows very slowly. Do not overwork this step. Let this be an easy service that can help increase your income with little work.
- Using a fine ceramic bit, I smooth out the cuticle area, removing the top coat and art/color. I was able to get close to the perimeter of the nail unit, but it did take a longer time than preferred, so keep that in time when performing this service on a client. Charge for your time appropriately. You don’t owe anyone a discount just because they came in earlier than 2 weeks.
- I will be using Kokoist Mega stick base because, in this service, the nails are still strong and have an apex. Apply the base coat after thoroughly cleaning the nail plate and sidewalls with an alcohol-moistened towelette/lint-free wipe.
- Ensure the nails are free from imperfections in the landscape of the nail plate as applying gel to these areas will only accentuate it.
- The wonderful thing about soft gels is that they can remain thin looking whilst having volume, giving your nails the structure and strength they need to last for weeks. Use this to your advantage and give your client the kind of nails they can’t keep their eyes off.
- Be aware of any overflow if any cuticle or hang nails remain on or close to the nail plate. Remove this before curing to minimize the risk of lifting. Check out my video on overflowing gel to help you with this.
- After curing the base gel, the nails are now ready for whatever design you or your client want. This touch-up is a great way to keep clients who hate the look of grown-out nails happy.
Final thoughts & recap:
So whether you got bored of the look quicker than anticipated or you want to change the shape of your nails, now you know how to do it safely and without compromising the longevity of your gel manicure. It may seem daunting at first, but with these steps, you can transform the art on your hands easier than you thought and without upsetting your manicurist! Just be sure to have the right tools on hand and a little patience, and you’ll never have to wait weeks for a new look again.
Thanks for reading, and feel free to ask questions down below!

Content written by Paola Ponce and Martha
Loved this blog? Then I think you’ll love learning more about my journey as a specialized gel nail solopreneur in the nail industry. Click here to get instant access to my free masterclass. These blogs are copyrighted material, and any use of this blog is not permitted without written concern first. Some of these blogs contain affiliate links that give us a small commission when qualifying purchases are made. Thank you for being so supportive, which helps us to continue creating valuable resources and content like this.


