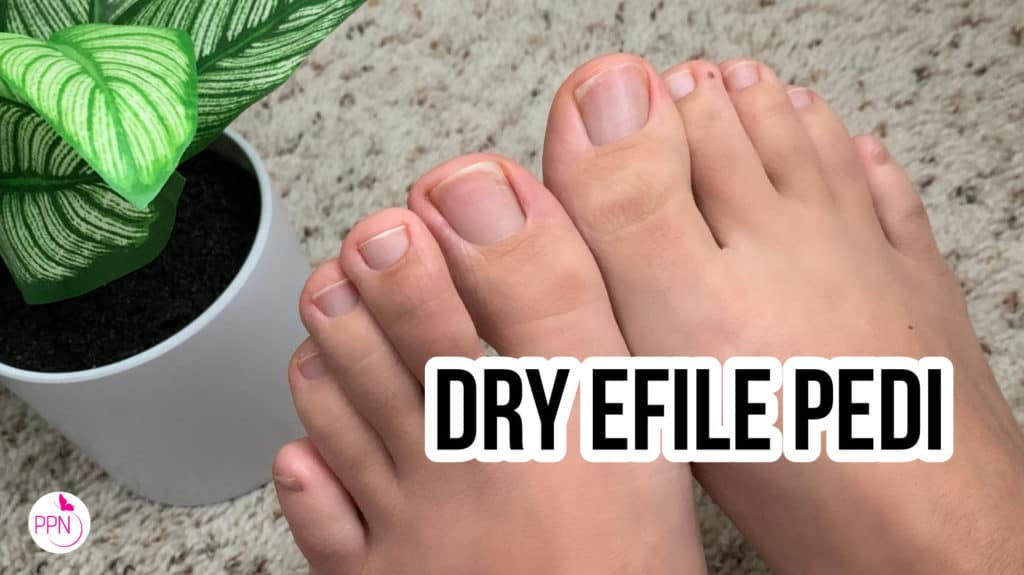
Striping-what? Striping tape.
I can’t even believe striping tape has fallen out of trend!
It is the one of the easiest ways to add a fun and edgy flare to any set. Not only that it is easy to sell, and it is an even easier way to make quick extra income during a service.

The reason why striping tape is such an easy sell is because it adds only a delicate touch to the nails. So many clients are afraid of nail art because they are afraid of it being too “flashy”. That will not be the case with striping tape. Trust me. Clients will not stop staring at their nails and receiving compliments on their nails. So just give it a go and reap all of its rewards.
And today, we are taking it up a notch (don’t worry, nothing that will scare your client away from trying & trusting you with their striping tape nail art.
We’ll be taking our striping tape, and making it quite literally an edgy addition to our Fall manicure.
Here are all of the materials you will need:
Use code PPN10 at Kokoist, Nail Labo, Vetro
- Striping tape
- Pointed Tweezers
- Kokoist Color Midnight Blue E-222
- Vetro oval brush
- Gelip Bond Gel
- Vetro Non Wipe Feather Top
Use code PPN10 at Vetro and Kokoist for a 10% off discount.
Here’s the step-by-step for today’s look:
Step 1: Start with a fresh set of nails and apply two coats of the color of your choice. We are using Kokoist Midnight Blue #222. I applied this with my favorite brush for color application for short-medium nails from Vetro and apply two thin coats. Then, take the nails to the lamp for a full 60 sec cure. This is because the color we are using is highly pigmented.

Step 2: Wipe the nails with 90% to remove the tacky layer.
Step 3: Grab your favorite stripping take and use your scissors to cut a few long pieces, 2-3 inches long. You can use a pair of tweezers to help you grab the tape.
Hold the tape by the end pieces and stretch it a little bit, when you stretch the tape, it makes it thinner.

Step 4: Apply the stripping tape and use scissors or nail art nippers to cut the tape. You want to cut ½ mm away from the edge so you can seal it. The more precise you cut, the better it will look, so use a sharp tool. I used my cuticle nippers here, but I am taking the risk of dulling them out, so just keep that in mind. Cuticle nippers are only for cuticles if you want them to last.

Step 5: Use your base gel to seal the edges of the stripping tape. I am using Gelip Bond, an adhesion gel that can also be used as a base gel. Do a thin swipe over the end of the tape and cure in the lamp for 10 seconds, then repeat on the other end of the tape. Do this one nail at a time so the gel does not seep under the tape.

Step 6: I like to seal my tape with a thin layer of base coat followed by a layer of top coat to smooth out the surface, but you can also proceed to top coat if your top coat is a thicker viscosity one. I am going matte for today’s look, so I’ll do a layer of the Gelip bond base and a non-wipe top coat.

That’s it!
CONCLUSION
Don’t count striping tape out- like ever. It is such a timeless look, and as I said earlier, it is one of the easiest and quickest ways to upgrade your services.

And here’s a quick tip… If you do not know how to entice your client to try it out, wear it yourself! Thank me later.
Talk soon.

Content written by Paola Ponce
Loved this blog? Then I think you’ll love learning more about my journey as a specialized gel nail solopreneur in the nail industry. Click here to get instant access to my free masterclass. These blogs are copyrighted material, and any use of this blog is not permitted without written concern first. Some of these blogs contain affiliate links that give us a small commission when qualifying purchases are made. Thank you for being so supportive, which helps us to continue creating valuable resources and content like this.