
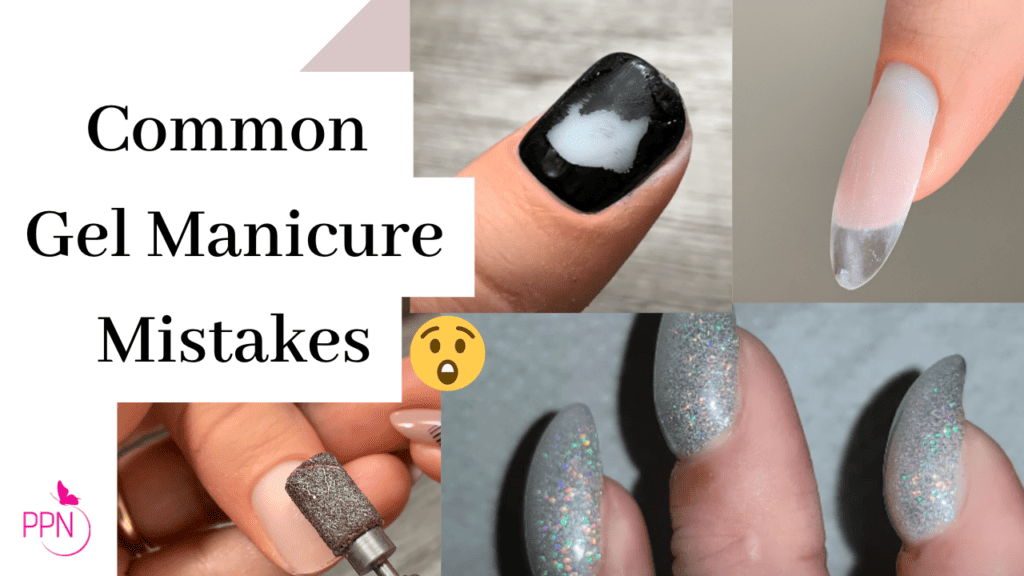
The MOST common mistakes in gel nails!
If you and I were having coffee and you asked me, ok, girl. What are the most common mistakes in gel nails? Go! Based on experience, I would say this:
- Incorrect placement of apex.
- The apex is the highest area of the nail created to give balance and strength to the nail. It should be positioned right over the weakest part of the nail, the smile line. When the apex rests too close to the cuticle area, the nail looks bulky and does not add strength. On the other hand, if it’s too far up, it can curve the nail downward and make it more prone to breaking. The perfect position of the apex depends on the length of the nail. Longer nails will have a bit of apex towards the cuticle area and shorter nails above the smile line.
- Extreme cuticle work.
- Many people who enter the nail industry think they must learn the popular Russian manicure style techniques to be Nail artists or nail techs. I am here to tell you that, in reality, it’s not a must. At least that’s what I thought when I started my nail career like it was a requirement. Russian manicures require training, the right tools, practice, and even checking if it’s legal in your state( yes, some states prohibit that). That technique cuts living tissue, and I’m here to tell you that 90% of the time, you don’t need to cut anything. I do a modified manicure technique using an efile and two efile bits; that’s it. Especially when working with Japanese gels, the prepping/cleaning is super gentle and minimal; it does not require a “deep cleaning” technique to ensure long-wear. Not to mention that it’s time-consuming and you must charge extra since it’s a specialized service. So, make sure you do that if you decide to offer Russian manicures, ok?
- Not self-leveling.
- When I started working on myself or my clients, I would apply the gel quickly (worried about time) without being strategic. I would think, “I’ll just fix the shape and make it perfect on the next step.” I thought I was fast by applying gel on all ten nails, but I added 20-40 minutes of filing and buffing to the nail service. Japanese gels self-level like a dream; they are designed to be applied, structured, and move right into the color application and top coat. As soon as I started taking my time, one finger at a time, structuring, and self-leveling, I was much more relaxed and confident, and my service time decreased a lot.
- Not filing the product flat when rebalancing or a new set.
- When working with soft gels, a fill is referred to as a “rebalance,” and it’s different from acrylic fills. A rebalance has to be done no more than two weeks after the gel service. The reason is that the apex will keep moving forward, and if more time passes, you have to file off everything and start over with a new set. When I was new, I thought I could rebalance everything, and I was not filing the old apex flat; instead, I was adding gel in the grow-out area and chasing it left and right to make it look right. I ended up with the most extended service and the bulkiest nails ever. So, file the product flat when you have a returning client. Do one nail at a time, do not leave any apex behind; once it’s flat, move to the next nail. This is another way to achieve a more aesthetically pleasing nail set and reduce service time.
- Wrong curing unit
- Using the proper curing unit is crucial. A popular question is “which curing unit is the best one?” and I answer this: “Use the curing unit from the brand you use the most” For example, if most of your gels are from Kokoist, then opt for the Le Blanc cordless lamp. If you use mostly Leafgel, then buy Leafgel’s curing unit. This way, you can contact the manufacturer in case of service breakdowns. I have a video where I tell you how curing units work and all you need to know before choosing one; I’ll leave the link here if you’re interested.
- Product touching the skin or too far away from the skin.
- One of the golden rules to avoid lifting is gel touching the skin; not to mention how quickly you or your client can develop skin allergies because of skin contact with uncured gel. And you might be thinking, “I’ll just place the gel further down,” and that’s a no-go either; this will look like the nail already grew out, and your client probably won’t like that look. Proper nail prepping and product control are essential for flawless long-wearing manicures.
- Apply color in thin layers.
- A tip to decrease the chances of uncured gel is to apply the color gel in thin layers and build up. Premium soft gels offer buttery, highly-pigmented color gels, so if you apply them thick, it will be hard for the light to penetrate and cure; so take your time here. Just remember to apply the first coat thinly and cure for at least 30 seconds before the next layer.
- Using water.
- Yes! water is the worst for gel manicures. Nails are like sponges; they absorb water and expand. When they get rid of the water, they return to their normal size and shrink. When this happens, the gel does not shift with the nails; it stays the same size, which means the bond between the gel and the nail is broken and pops! Your nails lift or pop off. A waterless manicure is another tip to avoid lifting or chipping.
- Buffing the natural nail incorrectly.
- Buffing the natural nail does not mean grabbing a hand buffer file and going back and forth frantically. Even if you use a soft grit buffer, you are still removing keratin off the nail plate, weakening the nail; you need to do this with intention. The purpose of buffing the natural nail is to prep the nail so the base gel will adhere to the nail. If you buff the nail super fast back and forth, you will make it shiny again, and the gel won’t stick. Gel does not like shiny surfaces, so you must dull it. Very gently, do a few passes in one direction and move to the next nail. Lastly, some Japanese gel brands offer sanding-free bases with ultra-adhesion components so you don’t have to worry about any buffing at all 😉 I know Leafgel and Vetro offer those bases.
Phew, I hope I didn’t talk your ear out today. I just wanted to fill you in and cover the top mistakes in gel nails and give you ways to avoid them or fix them. Comment below if these helped or if you have encountered any other issues. Thank you for hanging out today, and I’ll see you at the next one! Bye for now.

Content written by Paola Ponce
Loved this blog? Then I think you’ll love learning more about my journey as a specialized gel nail solopreneur in the nail industry. Click here to get instant access to my free masterclass. These blogs are copyrighted material, and any use of this blog is not permitted without written concern first. Some of these blogs contain affiliate links that give us a small commission when qualifying purchases are made. Thank you for being so supportive, which helps us to continue creating valuable resources and content like this.


