I don’t know what the deal with my right pointer finger always lifting is.
I have a few guesses.
The nail is simply too thin.
The nail is too damaged, sadly, I may be using it to type more often than I’d like to admit, and flexing leads to perforations on the nail.
Or the gel gets too close to the sidewall, which is a little detached, and that detachment causes overflowing… and then lifting, of course.
Well, I tried it all, and I can definitely go back and improve on anything that I’ve already given a go.
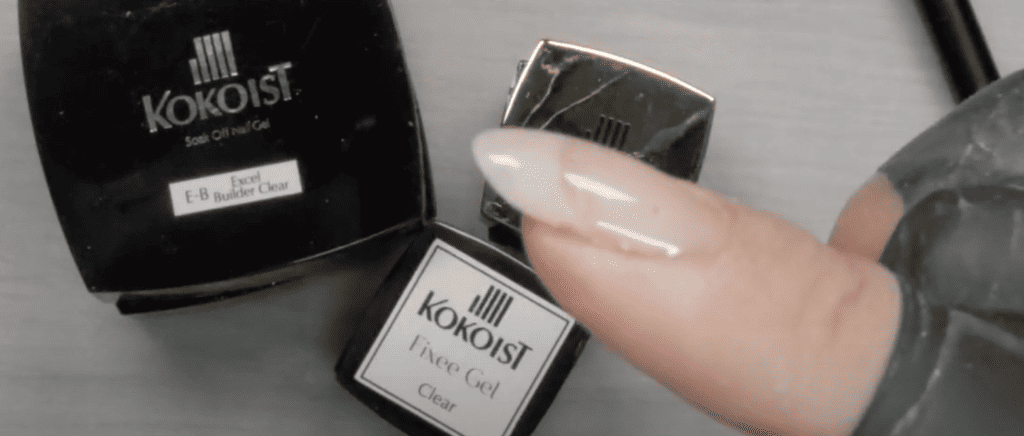
But today, I am super excited to try one of Kokoist’s latest releases, Fixee Gel!
Hey there! And welcome back, if you’re new here… Welcome! My name is Paola of paolaponcenails.com, your source for all things premium soft gels and entrepreneurship in the nail industry! If you’re interested in growing in this niche with me, do consider subscribing to our weekly email list (right-hand column 👉)
First off… What is Fixee Gel?
Fixee gel is a semi-hard consistency soak-off gel formulated with nylon fibers to fix broken nails.
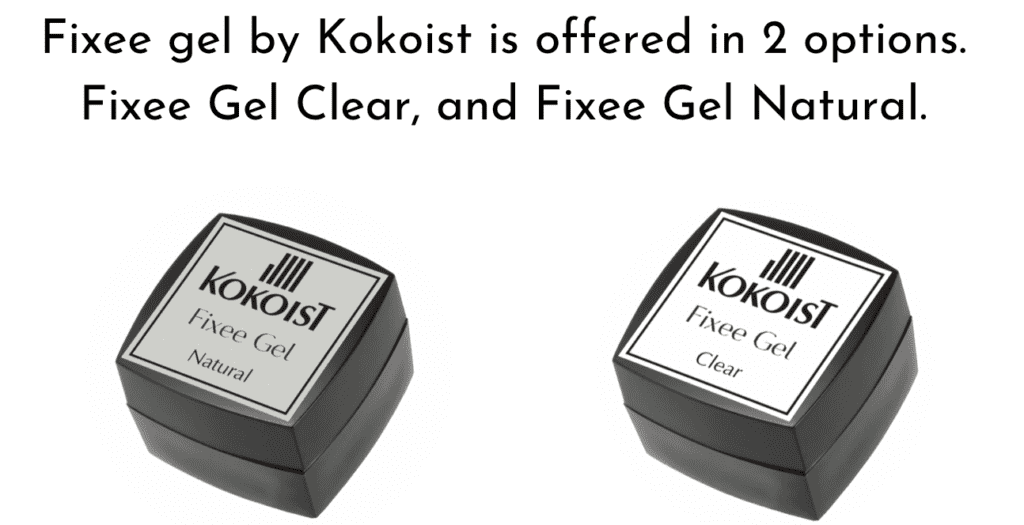
The clear option can be used on any part of the entire natural, including creating an extension. While the natural can be used to fix the free edge part of the nail.
By the way, if you find the name “Fixee Gel” super cute (or super annoying-lol), you’re welcome!… I got to name it!
Essentially, Fixee Gel, with its nylon fibers, would replace the use of a silk wrap.
Fixee Gel can go directly on the natural nail, but it will need to be overlaid. Any Kokoist Gel should be a good combination. (If you use Excel Builder, Excel cannot touch the natural nail, or it will lift.)
What kind of breaks can Fixee Gel fix?
These are three broken nail scenarios that Fixee gel can fix:
- Natural nails that have a tear in them
- Natural nails that are missing a piece on the free-edge
- Natural nails, whose free edge has broken off completely
Today, we’ll be specifically exploring the first scenario: Natural nails with a tear.
Here’s how I went about it for myself for my annoying index finger that often lifts…
Step 1: Remove the gel
You can do an acetone soak or remove it with an efile.
I like to reduce the bulk with a medium carbide or ceramic and then change my bit to a fine ceramic.
My favorite supplier for ceramic bits (and other bits and implements) is Nashlynails, code PPN10 saves you 10%.
If you consider yourself a trained tech, you should have no problem thinning down the gel all the way until any lifting portion pops off of the natural nail.
Step 2: Prep the natural nail
I’m using efile technique.
My technique entails pushing back the eponychium and framing it round or square, depending on what the natural eponychium is doing.
I then like to scrape the cuticle off of the nail plate. I consider this step “sweeping the nail plate” before coming in with my “vacuum,” aka my efile, to pick it all up.
After sweeping, it’s time for my efile and diamond bit attachment. I do this process as per the efile technique taught in my EEM course.
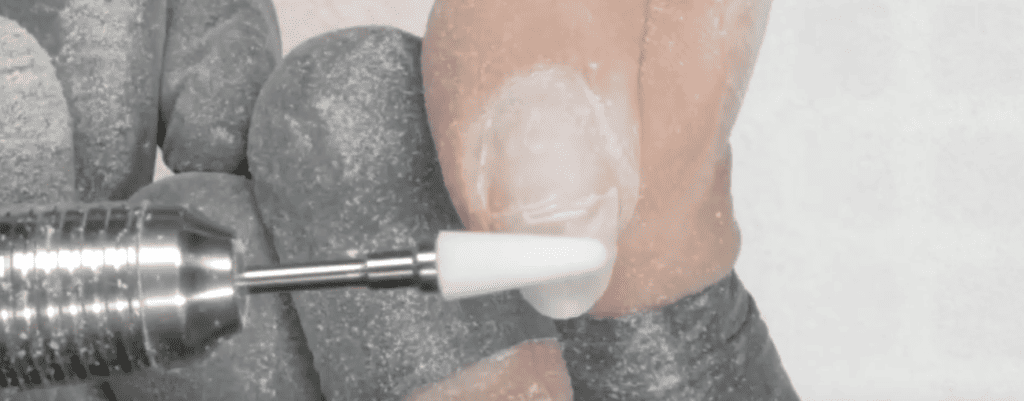
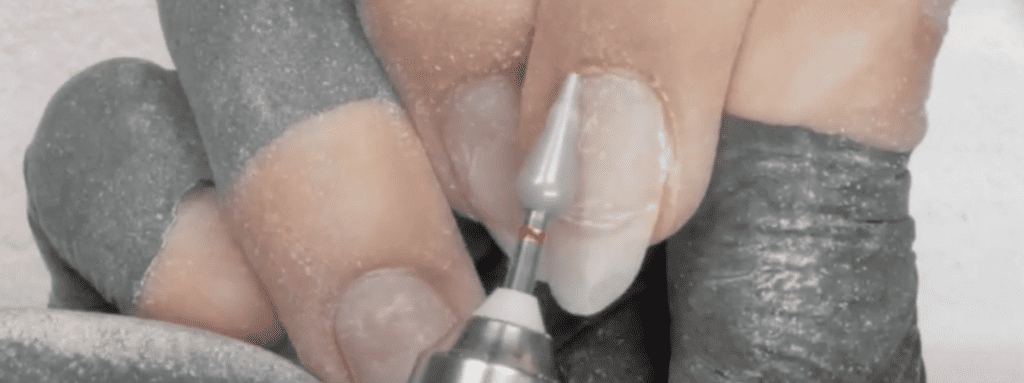
Step 3: Smooth out any perforations
My perpetual nail-lifting finger needs this step.
Any time you have perforations on the nail, you want to reduce them.
I typically do so with a ceramic bit, but I did so this time with the same diamond bit I used to prep the nail. I figured it will be a bit more gentle, and this nail… needs all that.
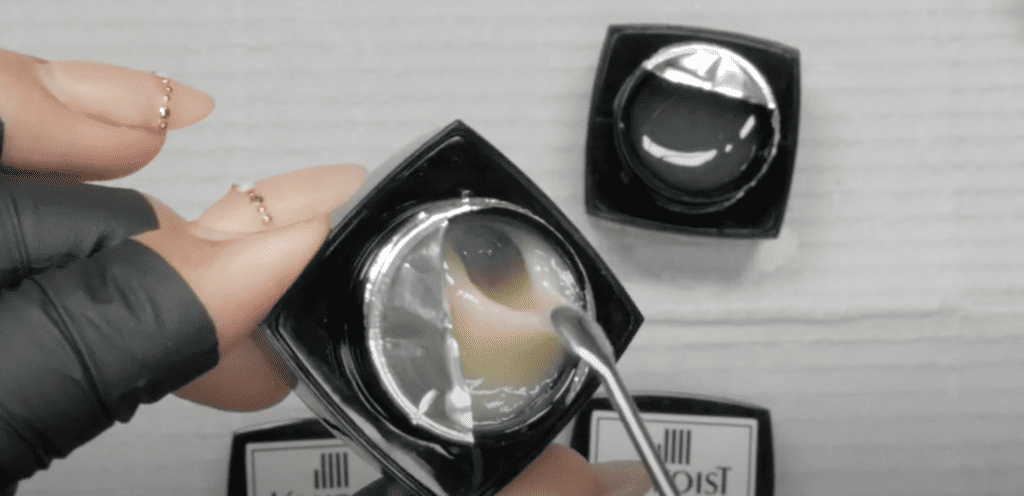
Step 4: Apply Fixee Gel!
We’re here! It’s time for the fixee!
Remember, Fixee Gel can go on the natural nail, but it must be overlaid.
Use a quality gel brush. One that doesn’t feel particularly like you’re brushing on gel with a thick mop.
Just about any Japanese Gel Nail brand brush I use is high quality for me.
I’ll be staying on brand and use Kokoist’s Flat Brush. It’s really thin and allows me to use it as a liner brush because it’s so thin indeed.
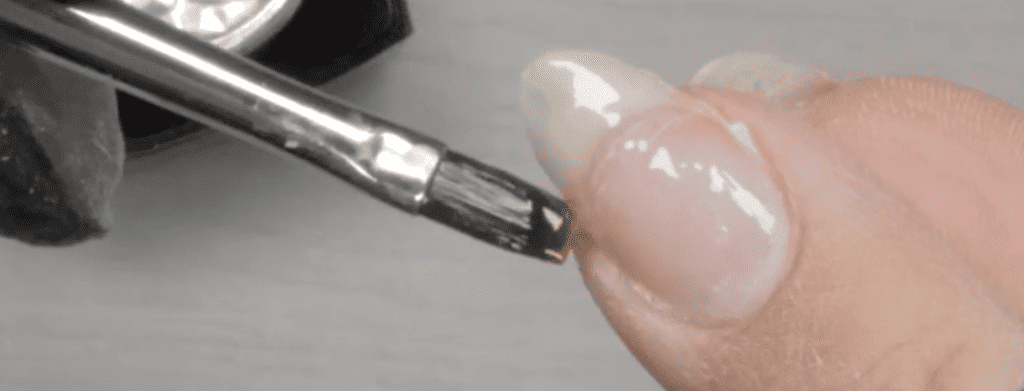
When using Fixee Gel, you simply want to guide it with an edge or a corner of your brush. The less contact with it, the better.
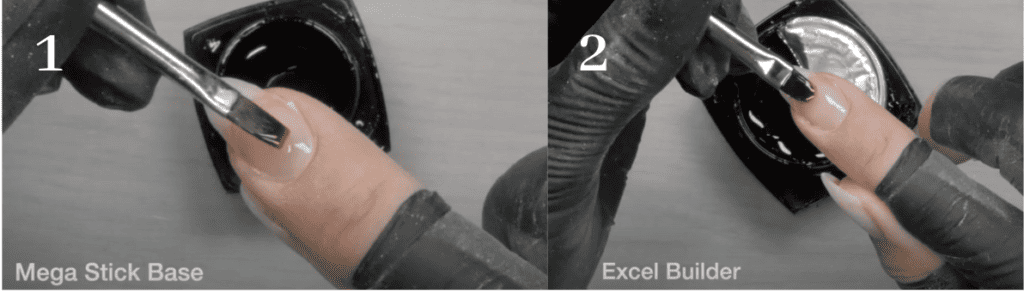
Step 5: Overlay Fixee
I will overlay my Fixee gel application with Mega Stick Base, followed by Excel Builder.
Step 6: Shape and refine
I like to leave my free-edge shaping till this point. If you are an experienced tech at structured overlays, the body of your new nail most likely won’t need refinement, so just take care of your free edge here.
Step 7: You do you
You tell me what’s next!
As for me, I will go ahead and work on the rest of this hand. I hope to share a structured overlay and a fun design with you soon.
Where can you buy Fixee Gel?
You can buy Fixee Gel here at Kokoist USA; code PPN10 will save you 10%.
I hope you enjoyed using this new fix for fixing a gel nail that perpetually lifts!
And if you’d like to learn how to use Fixee Gel Natural for full free-form extensions. I’m releasing this lesson exclusively in my new extensions course, “Naturally Extended,” where I will take you through 2 additional ways to extend nails.
You can sign up for the waitlist, AKA the VIP list, here to receive all the updates on this course, including enrollment date and price.
If you’ve enjoyed today’s content, do consider subscribing.
And if you have an extra minute or two and have a friend who you think may benefit from today’s conversation, please share this topic with them by forwarding the link.
Thank you, and I’ll see you in the next one.

Content written by Paola Ponce.
Loved this blog? Then I think you’ll love learning more about my journey as a specialized gel nail solopreneur in the nail industry. Click here to get instant access to my free masterclass. These blogs are copyrighted material, and any use of this blog is not permitted without written concern first. Some of these blogs contain affiliate links that give us a small commission when qualifying purchases are made. Thank you for being so supportive, which helps us to continue creating valuable resources and content like this.