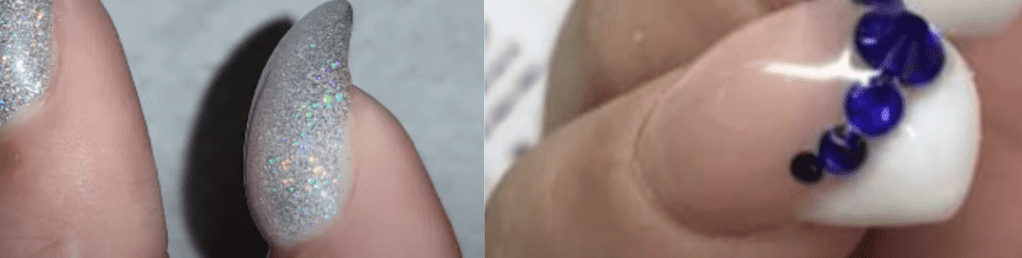
A structured Gel Overlay is a reinforced application of gel on natural nails. Because the application is a bit thicker than just brushing on gel over the nails (like in a gel polish application), it allows your gel nails to last 3 to 6 weeks. It will help you grow your nails.
Applying a structured gel overlay requires a bit of technique, patience, and practice. You’ll have an unflattering thick gel nail application when you lack these.
In today’s topic, we’ll discuss five common mistakes gel nail stylists make with a structured gel overlay. Let’s begin.
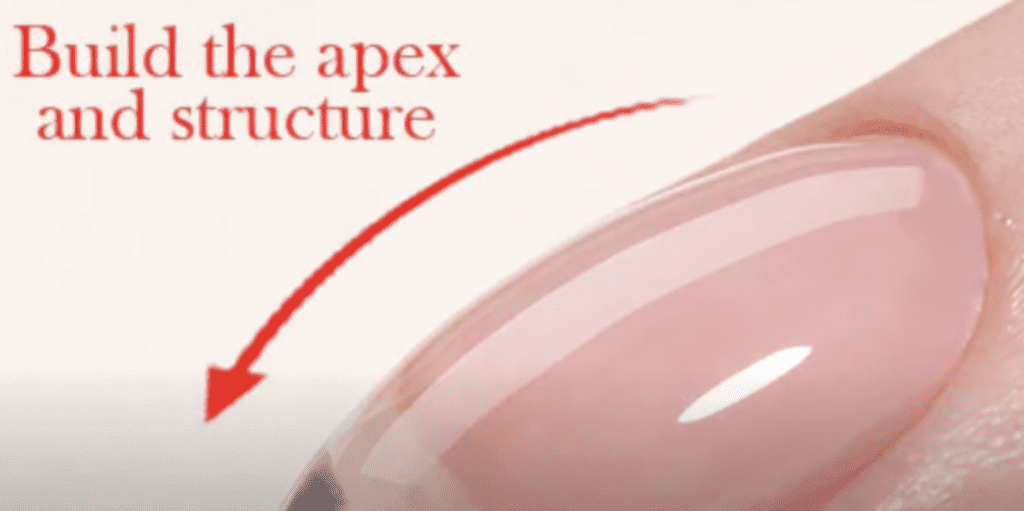
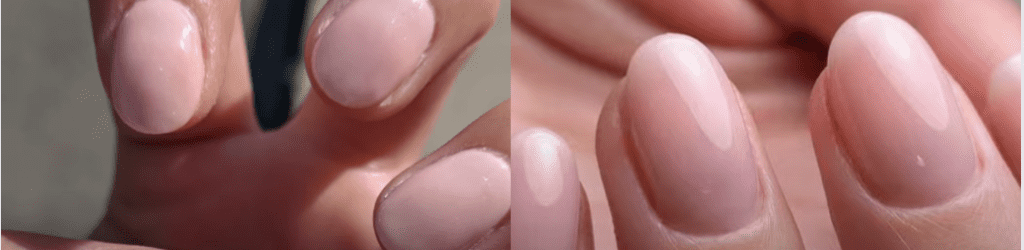
In a structured gel overlay application, you typically allow the product to flow and position itself where it needs to go. We call this self-leveling.
When a structured gel overlay is self-leveled, ideally, the apex lies in the center (but a little closer to the cuticle area for shorter nails). The entire perimeter, including sidewalls, free edge, and cuticle area, are self-leveled thin.
Mistake #1 Applying the gel too thick.
Natural nails that already have C-curve will require less product than flat natural nails. Most of your clients will have flat nails, so we are adding a structured gel overlay application to give the nails volume and a slight pinch. The beautiful thing about potted soft gel (PSG) nail formulas is that the gel naturally pinches the nails without you having to do anything extra.
So remember, on c-curved nails, you are merely self-leveling gel, while on flat nails, you building structure.
Mistake #2 Working with an overloaded gel brush.
An overloaded gel brush has gel on both sides and feels difficult to work with. It feels like you’re mopping the nail.
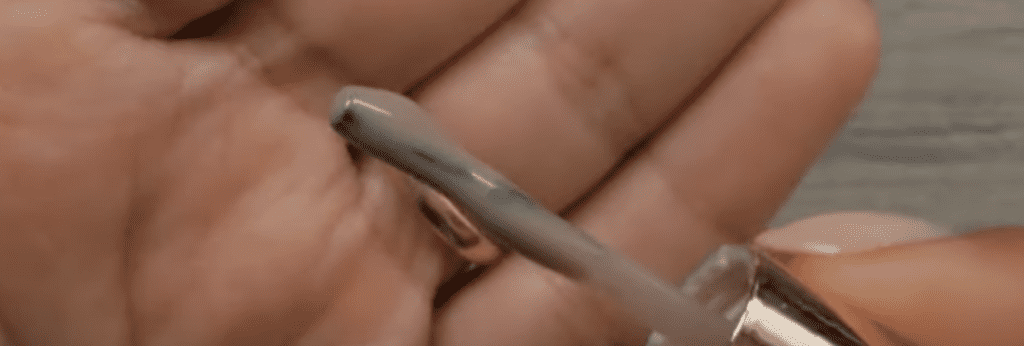
This will cause you to apply the structured gel overlay too thick and make your application feel like a bulky fake nail, unlike your natural nails.
Your structured gel overlay should not feel or wear like that. It should feel light, like an enhancement of your natural nails. Even if you don’t think you have pretty nails, a structured gel overlay gives you nearly an instant transformation.
So the correct way to load up your brush is with product primarily on one side of the brush and more concentrated at the tip of that brush.
Working with an overloaded brush is often an issue that arises from using builder in a bottle (commonly referred to as BIAB). The best workaround an overloaded brush is to invest in BOTH the bottle and pot of the same color. This is what I do, and my favorite (and currently only) brand of bottled builder I use is Nail Thoughts.
Nail Thoughts is made by one of my favorite Japanese Gel Brands, Kokoist.
Here’s what the bottle and pot options look like for the Nail Thoughts bottled builder…

If you’re curious, yes I have some favorite colors from this brand of bottled builder.
They are:
- Clear, of course
- Peach (sheer orange-y neutral)
- Milky (sheer soft white)
- Rose Water (syrupy sheer pink)
- Chai Latte Base (a light taupe-y beige)
I would say these are definitely essentials. You can shop all colors here. (Code PPN10 saves you 10%, and supports more content like this.)
Mistake #3 Incorrect placement of the apex.
This happens when the thickness of the gel concentrates at the cuticle or the free edge.
Having too much gel at the cuticle area and not at the free edge can cause the gel to lift at the free edge. Short nails may not be a problem, but if the nails are a bit longer, it can make them look unbalanced, with some lifting at the free edge.
Having too much gel at the free edge is worse. However, not only will that application look unbalanced, but you will experience random lifting at the cuticle area because there is not enough gel to hold on to the nail when pressure is applied daily on the free edge.
Too much product concentrated at the free edge can make the nails look too wide.
Mistake #4 Applying a thick application, no self-leveling.
A structured overlay does not simply mean putting extra gel on the natural nails.
You may think. “Oh. Well. if adding more gel to the nails makes them last, well then- let’s add more gel”. Doing this without learning and focusing on self-leveling will result in bumpy nails not being correctly structured. Your client will eventually say something as she continues to see pictures of amazingly structured gel nails on the “gram.
Mistake #5 Removing the old product in “pieces.”
You cannot assume that because you’re going to self-level on the remaining gel, all will be ok if you remove the gel in a blotchy, patchy way. Especially when working with a self-leveling gel like builder in a bottle or soft builder gel.
These gels will flow into every nook and cranny, making some areas of your self-leveling uneven and making things frustrating for you.
When removing the old product, do so in long even strokes, and make sure each is buffed flat before applying your structured gel overlay.
Working with the right consistency of the gel is vital. I find that potted soft gel formulas like Japanese gel give us everything we are looking for without choosing from too many options. They are meant to self-level like a dream, with finish-filing being optional.
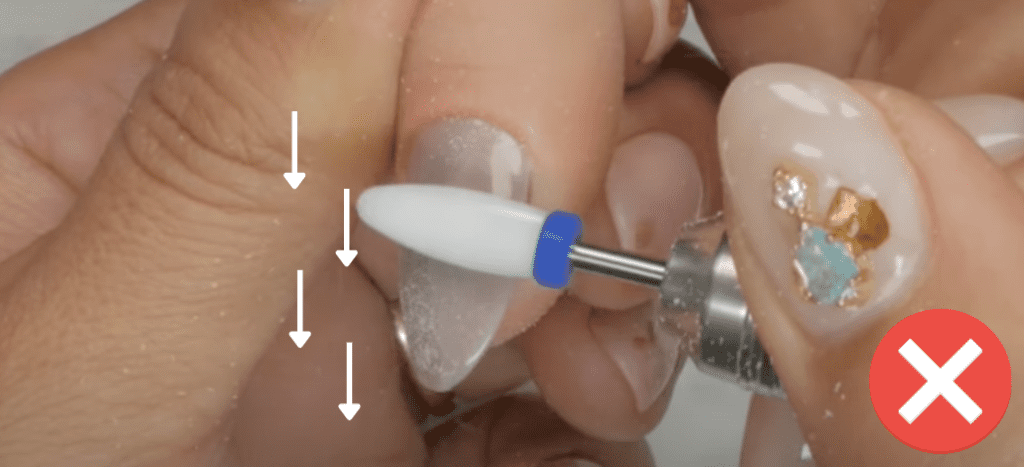
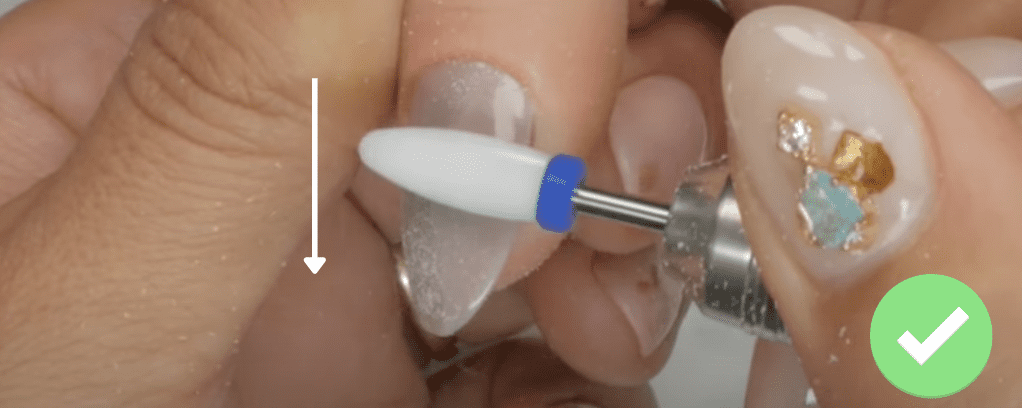
Sidenote: The white efile bit you see is a ceramic bit in medium. Ceramic bits are a game-changer when working with gels as they are less prone to heating up fast, helping the nails stay cooler. See all of my efile manicuring essentials, including efile bits here.
For instance, as we discussed earlier, nails with a solid c-curve need a structure gel with thin reinforcement. For such nails, Leafgel’s Sanding-Free Plus and Kokoist Platinum Filler Base are my recommendations. (You can save 10% on either with code PPN10).

You can use the mentioned options for nails requiring more structured volume.
These brands (above) have been my preferred gels for structures for over 5 years now.
(Remember to apply them generously and self-leveled or they will not wear at their max.)
Here’s where you can find them :
The following are 2-in-1 formulas, with base and builder integrated in one formula.
(All of these brands we have worked with close to 10 years now and have graciously extended a 10% discount to our readers with code PPN10)
You could also purchase a base and builder separate. With this approach your builder is much stronger. Suitable for long nails. (Save 10% and support this blog w/ code PPN10)
Let’s recap the five mistakes:
#1 Applying the gel too thick.
#2 Working with an overloaded gel brush.
#3 Incorrect placement of the apex.
#4 Applying a thick application, no self-leveling.
#5 Removing the old product in “pieces.”
I hope you learned tons about today’s topic.
Learn my full salon process for monthly wearing gel nail application inside the Master Gel Nails Course.

Content written by Paola Ponce
These blogs are copyrighted material, and any use of this blog is not permitted without written concern first. Some of these blogs contain affiliate links that give us a small commission when qualifying purchases are made. Thank you for your support that helps us to continue creating valuable resources and content like this.