
Lifting, lifting, lifting!… I get it, believe me! It can really knock at our confidence, can it not? It makes us question if we really know what we’re doing? Or what are we doing wrong? So we buff and prep more and drench the nails in those ‘non-acid’ primers… but are those the solutions? What about when those same nails you’ve etched and primed start breaking and yellowing a month or two later? … Are you making all your applications to the best of your knowledge?
Well! I would never ask you so many questions without providing you with the answers. Today I’m going to help you master your gel nail lifting problems using only Leafgel Japanese Gel!
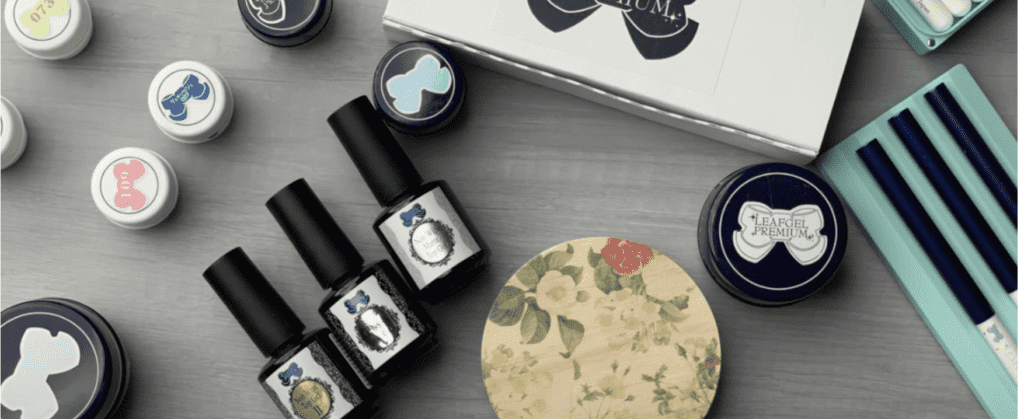
You can find Leafgel products at Zillabeau and use code PPN10 for a purchase discount 😉
Technique #1: Leafgel Sanding Free Base.
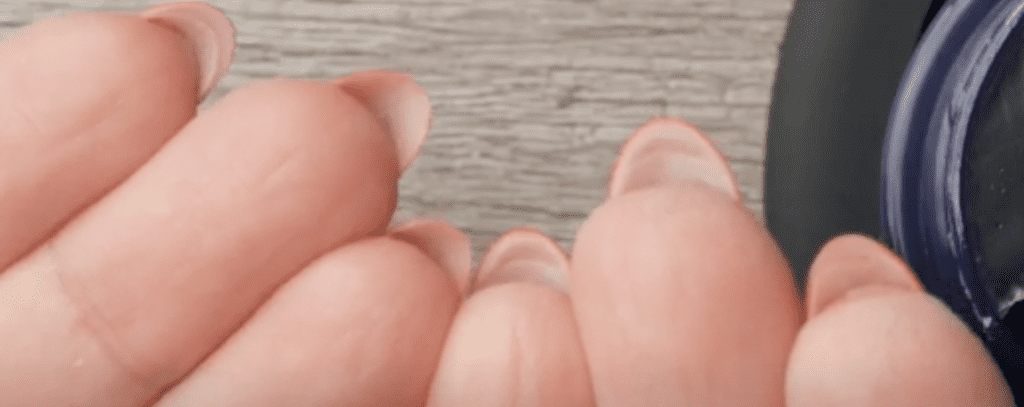
Prep the nail
First, If you have a problem lifting client, take a 180g board file to texture the free edge of the natural nail gently. The key word here is very gentle, ok? Follow with a wipe with alcohol and remove the dust and push back the cuticle (Pro tip: Take every chance you get to push back cuticles). The nail is prepped and ready for product application.
Product
Grab Sanding Free Base; this base can be used with minimal buffing of the natural nail or no buffing and still get 3-week wear. And you will scrub the natural nail’s free edge with the brush.
Give that brush a good cleaning.
Make sure the brush is completely clean before doing this. Grab a small amount of gel, flush all the color or builder gel out, then finish with a wipe with alcohol to clean any remaining product. Remember, color and builder don’t have adhesion components and could cause lifting. I have a video on how to deep-clean your brushes here :).
Scrub, scrub, scrub.
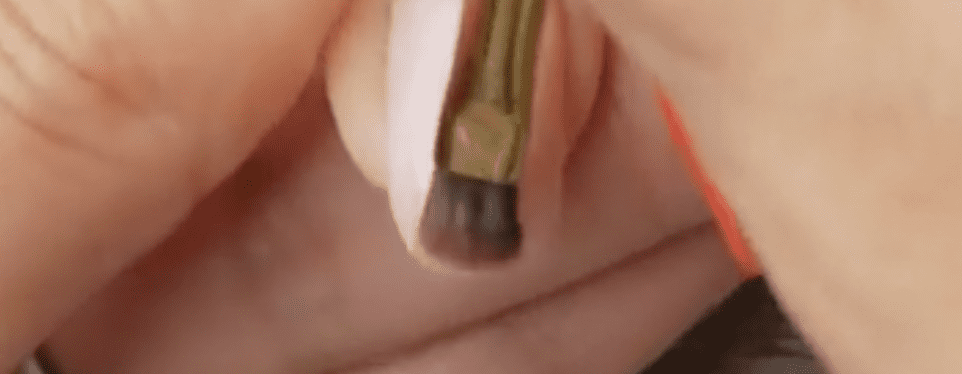
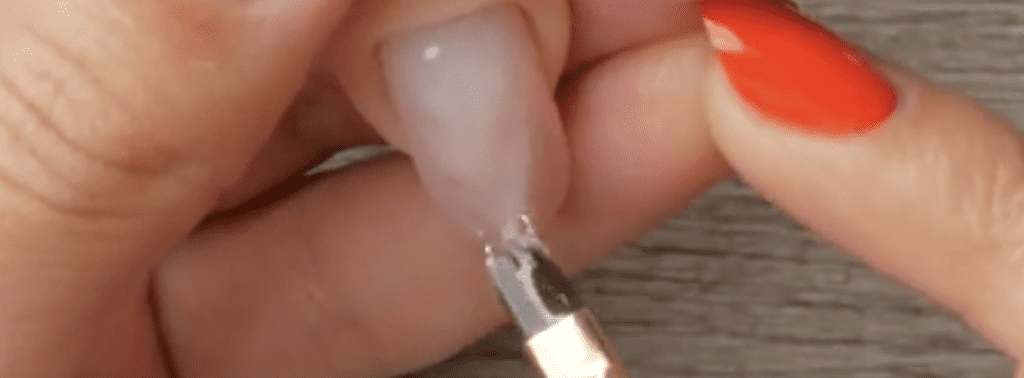
Again, grab a small amount of sanding-free base and start scrubbing the nail about 2/3s up the nail. Flip your hand direction and scrub the free edge beginning at the tip and up.
Immediately after that, give the nail a full cure. I want you to do this two nails at a time and cure. You don’t want to let this base gel sit because it will start moving and pulling from the free edge. Also, you might be super fast and confident. If that’s the case, then go for it!
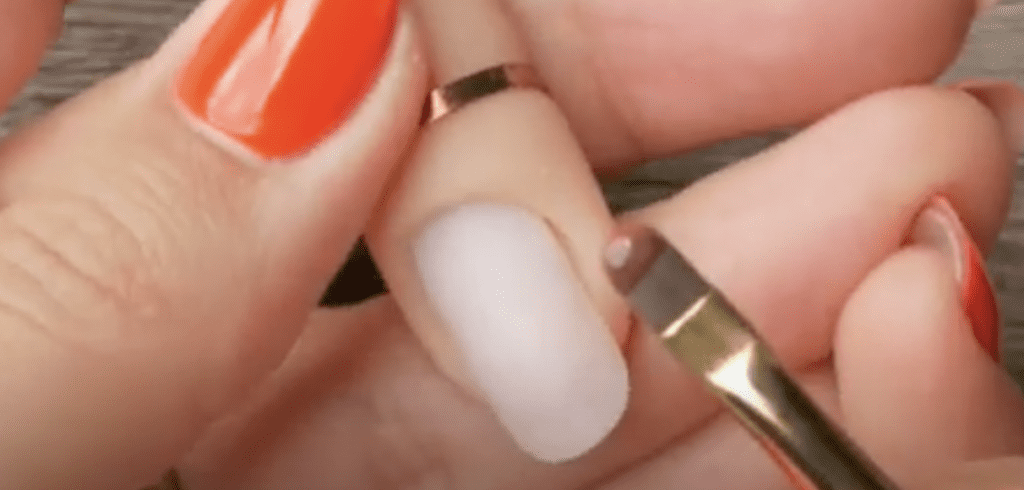
Come back with more product and apply a layer of Sanding Free base on the entire nail.
This technique will give you 2-3 weeks of wear guaranteed!
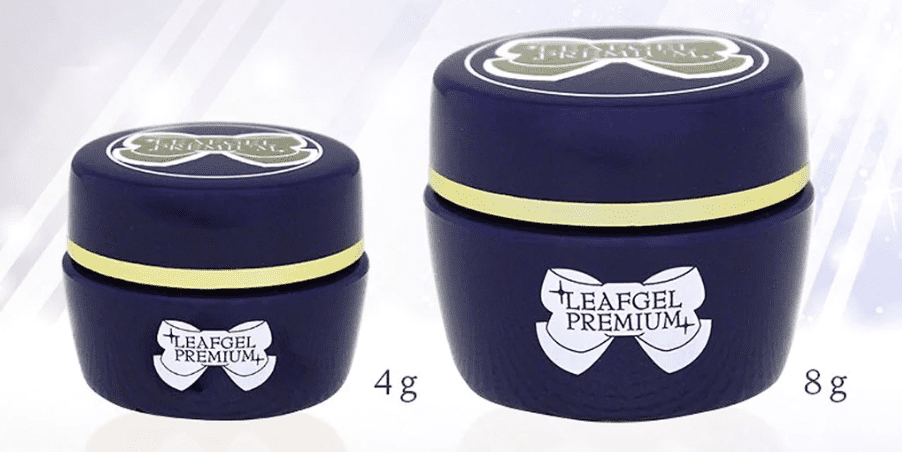
Sanding Free Base product update.
Leafgel recently updated their Sanding-Free base to Sanding-Free Base+. The difference is the viscosity and thickness. SFB+ is thicker and can be used for nail rebalances or fills and gives you the ability to structure. The previous version was almost waterlike thin, so there was no structuring. You can still use this technique with the updated product; just adjust the amount according to the thickness. You need a minimal amount of product for the scrubbing technique.
Think of this technique as an extra layer of protection ad peace of mind. I rather have you gently edging the natural nail than use primer. Primer is a very acidic product that excessively dehydrates the nail regardless of the label. This is important if you want healthy, non-yellow, pretty nails growing under the nail enhancements.
Japanese gel systems don’t have a primer or bonder. The adhesion components are already integrated into the base gel.
Technique#2: Leafgel Extreme Clear Base.
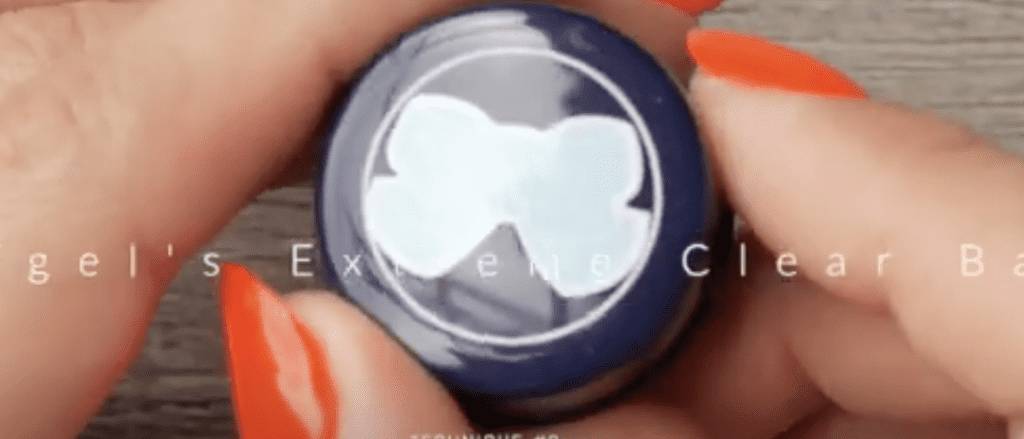
Just like technique#1
I want you to start and do the same thing we did in technique #1. Edge the natural nail and scrub 2/3 of the nail up with Extreme clear base gel.
This layer needs you to be very thin. Since you buffed the nail with 280g or 180g buffer, you fill in the groves and texture on the nail when you scrub the free edge.
Cure
Cure the nail after this. Cure these layers for at least 20 seconds. You will cure for full 30 seconds with the second layer.
Frame the nail
Grab a dollop of gel and apply it to the entire nail. This layer is to frame the nail. Always ensure no gel is touching the skin and that there are no dust particles that could potentially lead to lifting.
Structure the nail
Come back with a 2nd bigger dollop, place it 2 mm away from the cuticle and drag it down, side, side, middle. Let it self-level, turn the hand upside down and let gravity do its thing. Once you see the light reflection in a straight line, a smooth surface, take it to the lamp and fully cure it.
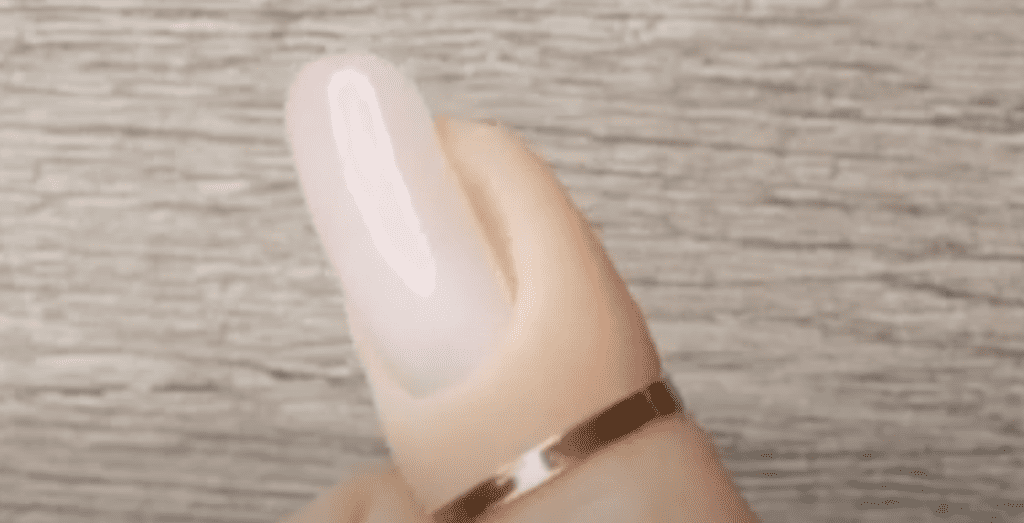
If you apply base coat this way, the thickness of the nail, the manicure will last an incredible amount of time; we’re talking even six weeks or the next time you see your client. That is, with the proper care of their jewels, not tools.
Technique #3: Leafgel Sculpting Gel II
Leafgel’s Sculpting gel is very strong, and heat is minimal.
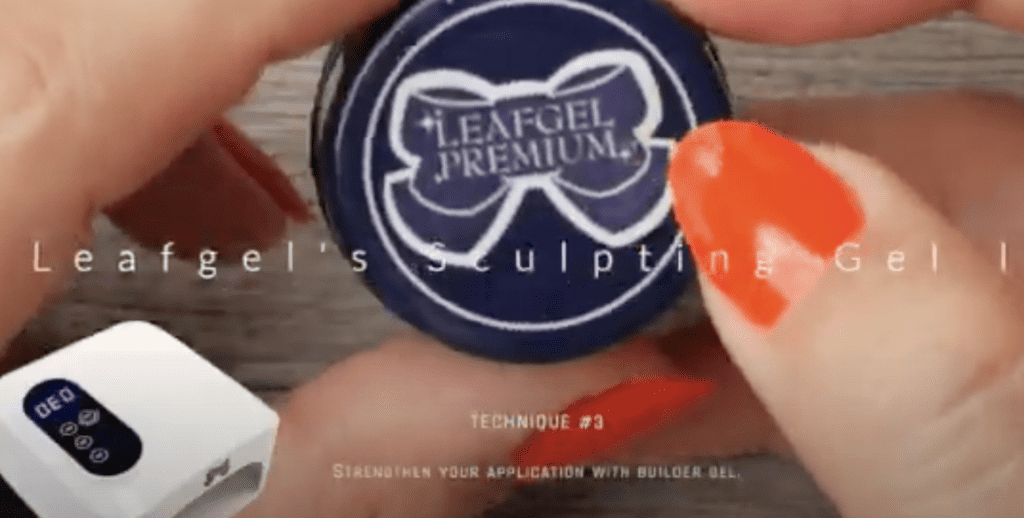
Apply over ECBase or SFBase+
With this technique, you will add a layer of Sculpting Gel II to the nail with Extreme Clear Base coat or the nail with Sanding-Free Base Gel.
If you add it to the Extreme Clear base layer, I recommend not self-leveling/structuring the nail too much because you will end up with a bulky nail. Just apply with a little thickness and move to the next step.
First dollop…
Take the Sculpting gel and grab a generous amount, just enough to go over the entire nail. After that, grab a second dollop to start self-leveling the nail. Drop it 2-3mm away from the cuticle, tip the hand down and guide the gel to the tip of the nail, creating a triangle. After that, start combing the gel down on the sides and turn the hand upsidedown to self-level.
Heat Spikes
Be patient when doing this part, do one or two nails at a time so you can keep everything under control.
Now you can cure it because there’s a lot of gel on this nail, flash cure 1-2 seconds at a time, and a full cure after that to avoid heat spikes.
Alright, that is how you would eliminate lifting using only Leafgel products. Let me know in the comment section if you have tried any of these techniques and your thoughts about them. Thank you for joining me today. Until the next one…
Please note… These blogs are copyrighted material and any use of this blog is not permitted without written concern first. Some of these blogs contain affiliate links that provide us with a small commission when qualifying purchases are made. Thank you for your support that helps us to continue creating valuable resources and content like this.


