
Clean Cuticle Area Application Every Time With Gel
So you paint a mani on, and everything is perfectly smooth and applied… except the cuticle area… which… really is everything in my opinion.
In today’s lesson, you will get 2 main tips, and learn which one of these tips is THE tip for a clean cuticle application every time!
Relax; this is going to help you tremendously.
There is one tip, one tip that I am going to give you. One that will transform the way you apply color for the rest of your nail journey.
With this tip, you won’t ever have to worry about whether your color application is even and as close as possible to the cuticle area. You can’t mess it up (Maybe you can, but who said you couldn’t start over?). This is regardless of what brush shape you are using, round v. square, ok?
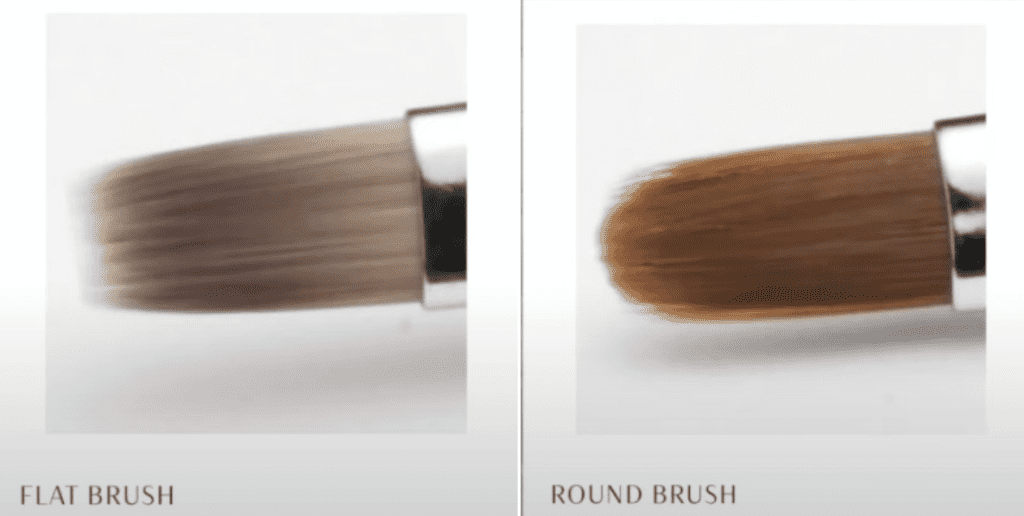
I will demonstrate with a bottle brush, and if you are using a flat brush and potted gel, you might feel nervous or anxious. Do not worry, my friend. The tip that I am sharing with you works with both.
First tip:
I am using red color, this one that I kept from Biosculpture named Angelina #016. To start, I am removing the shine from the nail surface; in this case, I’m using acetone on a nail tip. On the natural nail, use a sponge buffer 180g to create texture.
When you are ready for color application, assuming the nail has been prepped and base gel applied, here is the tip:
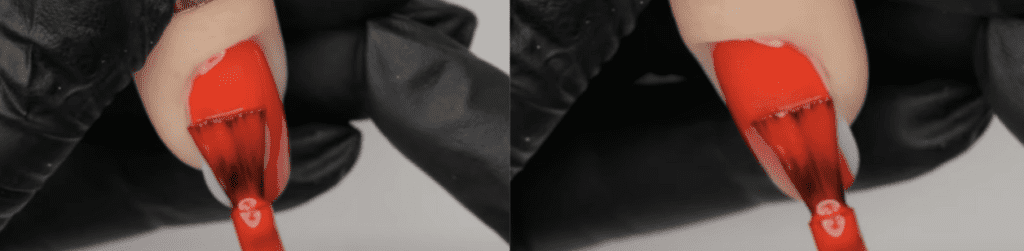
Always add product to one side of the brush and let it concentrate at the end of the brush.

You want to get in front of the bead of color gel and push it all the way up. Shimmy, shimmy, shimmy it up towards the cuticle area.

Once the color is where you want it, drag the brush down towards the free edge, then come back and drag it down on the left side and repeat on the right side of the nail.
Again, the tip is:
Pull up and shimmy it up. Use the roundness of the bead of color (don’t get over it), get behind the pearl of color, and push it up with the brush. You don’t want to move the brush to touch the cuticle area; instead, get behind the bead of gel and drive it up with the brush.
After that, come back and fix the sidewalls.
If you remember to do this, you will get a perfectly smooth, seamless, no-touching cuticle area every time.
Easy enough, right? You’re welcome 😉
The second tip:
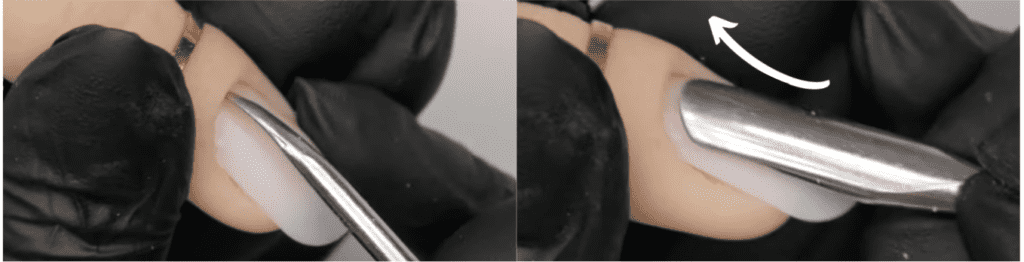
When you are prepping the nail and pushing the cuticle back, use your tool to not only push back but also pick it up a little bit. You are scooping up the cuticle like you’re digging for it.
You may have to loosen it up a tiny bit so use the other side of your cuticle pusher to scrape it to pick the cuticle up.
Now, suppose this was a Russian manicure. In that case, you probably come in with cuticle nippers and cut that skin, but that is still living tissue, so we will leave it alone.
I promise you that if you pull back, pick it up and scrape under the eponychium, that is sufficient. You definitely do not need to proceed with a Russian manicure; it’s totally optional. I did not do that in the salon because it was very time-consuming, and 90% of my clients did not need that treatment.
Alright, time to sum it up for you.
Here’s the cheat sheet:
- Clearing the cuticle path. Clean the cuticle area and scrape to ensure everything is nice and smooth. (Remember gentle and thorough cuticle cleaning).
- Grab a lint-free wipe with alcohol, and one more time, push the cuticle back and clean all debris.
- After base gel, grab a bead of color, place it 1-2 mm away from the cuticle area and push it up. Pull up and Shimmy it up. Regardless of the brush shape, use the roundness of the bead of color and frame the cuticle area. If you see product moving to the other side of your brush, just offload it on the nail and keep working.
- If you missed anything or want to move the color slightly higher, you can do so with the next layer of color.
- Cure after each layer and move to topcoat application.
If the product touches the skin, your application will lift, no doubt about it.
There you have it, perfect color application. Adding these 2, let’s say, 3 tips to your application routine.
A) Lose the nerves. Seriously, you got this!
B) Clean the road. Clean the cuticle road from any cuticle and dry skin.
C) Use the round part of the bead of color gel to frame the cuticle area. Shimmy, shimmy up.
That’s it, perfectly smooth application, even when doing bright, bold colors like red. I know you will master this every time.
I hope this helps, and don’t forget to sign up for my upcoming Leafgel certification, registration is open! Sign up to get the link to register here.
Thank you for hanging out, and I’ll catch you next time, bye…
Please note… These blogs are copyrighted material and any use of this blog is not permitted without written concern first. Some of these blogs contain affiliate links that provide us with a small commission when qualifying purchases are made. Thank you for your support that helps us to continue creating valuable resources and content like this.


