
Polygel and dual forms are trendy nail concepts on YouTube and DIY’ers. I believe they are especially so because of their ease of application, making them beginner-friendly.
I have tried it out a few times (you can come to this playlist here to check out all of my polygel content). But I’m curious, and I know you are too.
How would this work with builder gel, and specifically for us… soft builder gel? This is precisely what we’ll be diving into today.
Let’s dive into a step-by-step and answer some curiosities along the way.
Exclusives and Coming up Certifications
Welcome back to the zone of soft gel and entrepreneurship in the nails industry! If you like what you see and read here, sign up for our newsletter to email VIP exclusives at the end of this blog.
Before we get started today, I want to let you know our Leafgel Certification is now open for registration! Sign up to get the link to register here.
DGel Pump Gel
Today we will not only be having fun creating fun soft gel extensions with builder gel but also using a very cool brand of products, it is called DGel.
They are a well-known brand in Korea, most notably known for their pump gel, Disney Character Gel Polishes, and gel paints. It’s been a hit among bloggers.

If you want a list of Korean Gel Nail distributors, click here to download my finds (https://paolaponcenails.com/kgel)
Time for a confession. I didn’t know I was a picker until I started teaching online and creating content.
It started when I thought I’d try less permanent gel bases so that I could quickly soak off nails. And well, these tend to start lifting a bit after a while… that’s when the slaughter begins, and everything must come off… also, it doesn’t come off so gently when there are teeth involved.
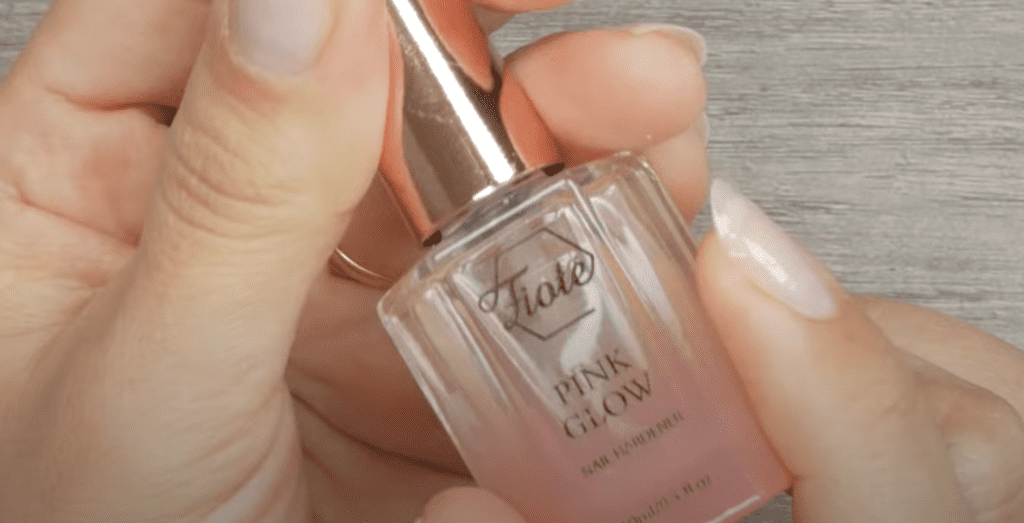
Either way, here we are after 2 coats of nail strengthened, I am using Fiote Pink Glow Nail Hardener, which I will leave behind for protection. If you’re wondering if the gel will stick… absolutely, and it will even aid in soak-off removal if I go ahead and do one.
Ok, enough chatter.
Let’s break into our dual forms with builder gel step-by-step.
Step 1: Dry Prep
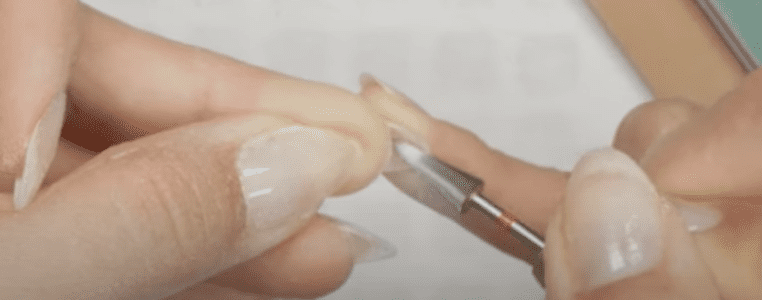
To prep, let’s do a dry manicure. I am using cuticle nippers, a cuticle pusher; my favorite nail implements and bits brand is Stalecks.
Use the nippers only if necessary remember, “If it’s not broken, don’t break it cause you will have to fix it.”
Use a cuticle pusher to push back the eponychium at the cuticle area. I like to scrape the nail plate with the other end of the cuticle pusher to remove the dead skin or “cuticle” from the nail. This is crucial to avoid lifting issues. Do this on all 10 fingers.
Now, I am using my MelodySusie Athena Cordless Rechargeable hand efile with a barrel diamond bit from Daily Charme. Nashly Nails also carries these cuticle efile bits by the brand Stalecks.
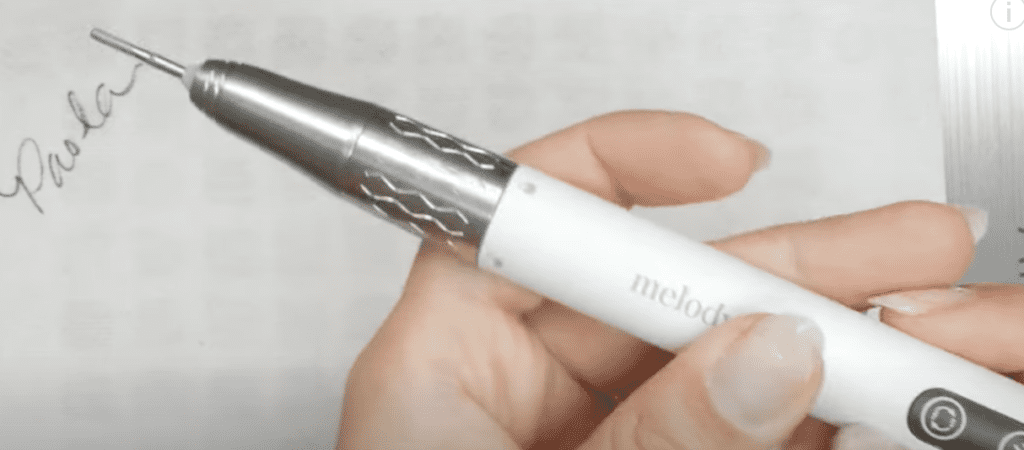
Make sure you have some sort of training before using an efile. I just made a video going through the machines and how they work. You can watch that here.
Use the barrel diamond bit to push back the eponychium and gently touch the nail; pressure is on the skin, not the nail. We love this bit because it allows for cleaning the skin without causing too much damage.
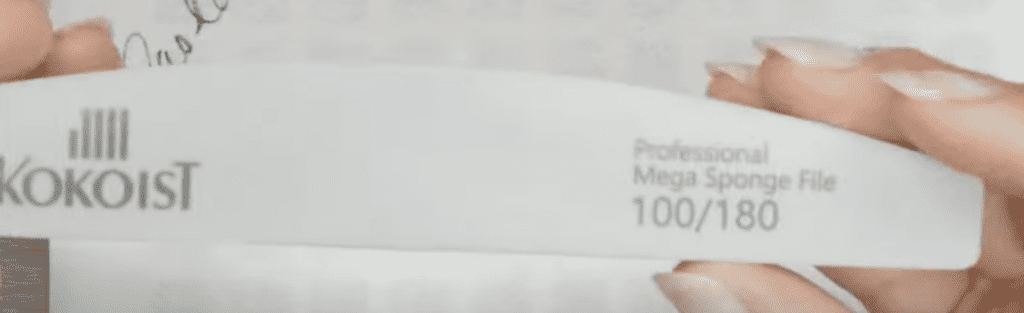
Step 2: Buff the nail surface.
Use a 180g sponge buffer to gently buff the surface of the nails to prep them for gel application. You don’t need to go super fast from side to side, as this will smooth out the nail. Instead, you want to go slow, remove the shine, and create texture.
I don’t trim my eponychium, and I don’t coach my students to do so unless they absolutely need to. Maybe it’s too thick or broken, and you need to cut it into one piece so that it grows back evenly. We teach that all in our e-filing course. Since I mentioned it, I’m going to go ahead and drop a link here just in case you want to check it out.
Step 3: Alcohol and wipe.
Take alcohol solution; remember 90% alcohol for Japanese gel for maximum adhesion. Soak a lint-free wipe and gently go around the cuticle area, pushing back the eponychium again to ensure nothing is dragging or attracting the gel on the nail.
Ok, we are ready for base coat application and extensions using DGel. Yay!
Extensions.
I am using “Pop its” or ” Dual forms” today. They are usually used with polygel, but I don’t use polygel, so I am using DGel pump builder gel instead.
Pop-its are basically a nail extension guide you use to create the extension, and then you pop it off, seems easy, right? I’m excited. They look so fun.

Step 4: Size the Dual forms
Check the dual forms and fit them to each finger. The form has to cover the nail from sidewall to sidewall without applying pressure to the nail form. I only need 5 tips because they are reusable, but you can have 10.
Step 5: Apply base gel first.
Apply a generously thin layer of base gel, with a base-gel designated brush on each nail and full cure.
Step 6: Build the extension.
I am using DGel pump gel in the thickest viscosity and applying it with DGel round brush #6, have your hand lamp handy to cure. I am pumping a bead of gel and dropping it into the dual form to create the apex, thin towards the cuticle and thicker towards the middle.

Once you have the gel on the dual form, place it on the nail and make sure it covers the nail from every angle and that the nail form is straight. Tip the finger downwards and use your brush to guide the gel where it needs to go if you need to before curing.

Now flash cure to help with heat spikes and give the nail a full cure.
I am not going to get ahead of myself and pop it off. I am doing the rest of the hand and then popping the dual forms off. Kinda excited, hehe.
Step 7: Pop them off.
Once everything is set and cured, it’s time to pop off the dual forms. Just pinch the form and wiggle them side to side to loosen them up.
Look at these beauties! Smooth apex, very cool.

And if you’re like, why would I do this instead of the traditional stuff? The point of dual forms is that you won’t have to do a ton of shaping and finish filing at the top of the nails, and they will be perfectly structured.
Step 8: Shaping.
Now you can move to shape the free edge to the desired nail shape. To do that, I am using nail nippers, not cuticle nippers. They are different, ok? I do that so I don’t have to spend unnecessary time filing off the product.
Like any other method, there is a learning curve to get used to it and learn how to get it even before offering it to clients.
I’m pulling out my Anemone dust collector and using a 180g hand file to shape the free edge. Also, I am using the efile to go under the nail to remove the gel overflow.
Some thoughts…
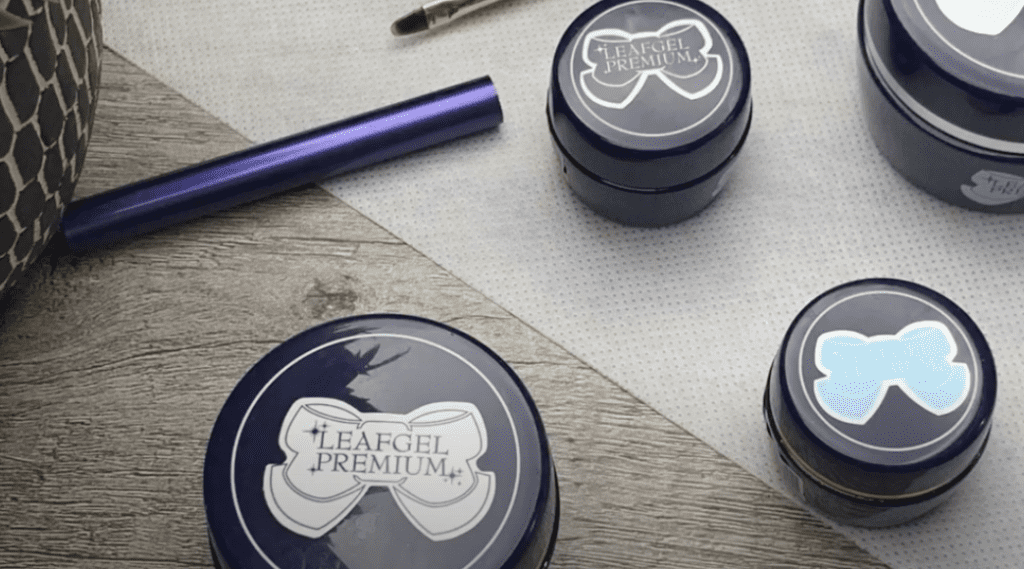
I am pretty much done with these nails. I will be trying them for a few weeks to see how they wear and also try this method with Leafgel’s builder gel to compare it with DGels pump gel. I’ll keep you updated on that.
As far as DGel pump gel, it feels like a soak-off gel, strong. Using it with dual forms gives the nails a skinnier look.
I did my other hand using Leafgels builder gel and the pop its. I am using a base gel to do a bit of restructuring at the cuticle area. I am pretty happy with the results. I just noticed that you do have to use a lot of product to make sure you cover the entire nail.
I can’t tell you if these are faster than my regular nail forms application, maybe if I do it on a client. Still, the truth is, I am a perfectionist, and I won’t get up until I am happy with the results.
Nail art
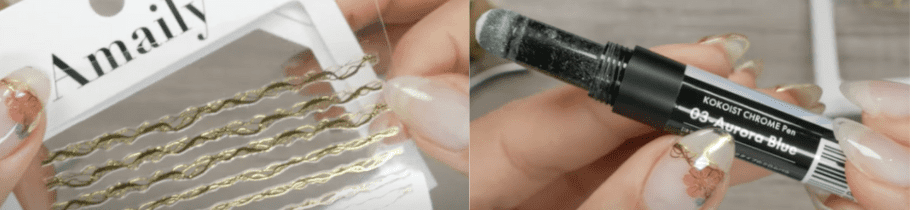
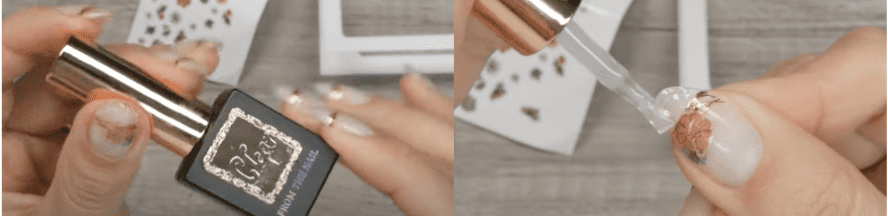
For nail art, I used clear gels and stickers from the brand Amaily. If you are not familiar with this brand, it is from Japan, and she curates a new design monthly. They’re beautiful, super thin, and very sticky. Once they touch the nail, it’s almost you’re not gonna be able to get them off.
Also, I am using just a tiny amount of the Kokoist aurora blue pen. You’ll see how I seal it so that the sticker doesn’t come through the clear coats and starts lifting, and it’s nice and encapsulated at the sides.
I say encapsulated, but you’ll see that we’re not encapsulating very thick like a hard nail. All right, are you ready to dive into this? I’m so excited; I can’t wait for you to see it.
Step 1
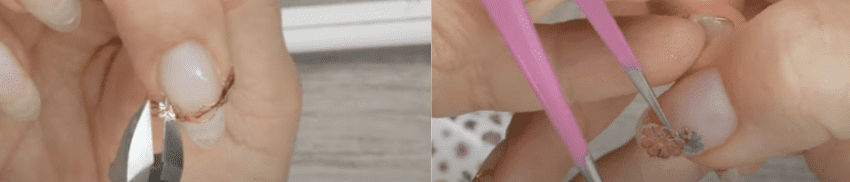
Place the stickers and cut the ends a millimeter before the free edge to avoid lifting. Then I go over them with a silicone tool to ensure they are nice and flat on the nail. The Amaily flowers, I just freestyle the placement.
I am using a layer of F gel clear gel for the aurora powder effect and curing for 6o seconds before applying the pigment. This helps the pigment glide and stick.
Step 2
Next, we seal off everything. Dust off any excess pigment, then use a thin gel layer to seal the stickers and cure. Come back with base gel and seal the entire nail to prevent chipping of the powder and cure. Finally, add one layer of topcoat, and you are done. Beautiful!
Final thoughts…
Let’s recap. What did I think about using DGel vs. Leafgel sculpting gel? How did I like the whole experience of dual forms? I liked it.
I thought it was super neat, and it could be faster.
My recommendation is to ensure that you have enough product on the center of your dual form, especially that your dual forms fit from sidewall to sidewall. Don’t press them all the way up to the cuticle area; this way, you don’t have to do heavy filing to blend the natural nail into that new extension.
Other than that, this is a viable idea. Try it a few times and then on a few clients if they’ll let you. I think you’ll like it, and remember, the pop-it dual forms are reusable, so you can reuse them.
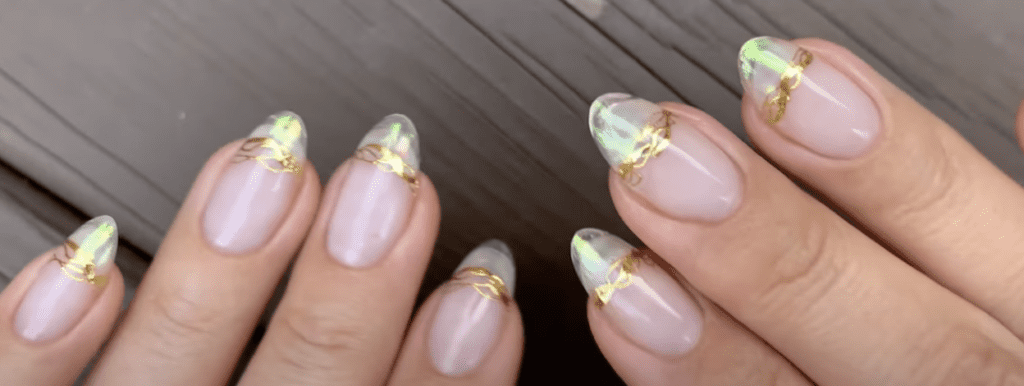
Here’s the final look, and I hope you enjoyed it. I’ll see you next time. Don’t forget to sign up for our next certification if you are interested; it starts in two weeks.
Here are my favorite Japanese Gel Nail Sources to find the products mentioned here.
- https://paolaponcenails.com/kokoist (code PPN10)
- https://paolaponcenails.com/leafgel (code PPN10)
- https://paolaponcenails.com/zillabeau (code PPN10)
Feel free to drop any questions on this blog below.
I’ll see you next week with another excellent topic, bye for now…
Please note… These blogs are copyrighted material and any use of this blog is not permitted without written concern first. Some of these blogs contain affiliate links that provide us with a small commission when qualifying purchases are made. Thank you for your support that helps us to continue creating valuable resources and content like this.

Am interested in step-by-step “how-to-do” at-home Builder gel, Poly gel, and acrylic nails. I am trying to decide which ones will work best for me.
I can no longer afford my nail salon as costs have risen so much.
And, yes, the “ymail” on my email address is correct.
Hey Viviane, my name is Fabi and I help Paola answer questions. Paola often mentions “the riches are in the niches”, in other words, find one system you love and master it. She specializes in Soft Gel nail systems, specifically Japanese gel nail systems. I would recommend watching her masterclass so she can tell you all about them and and help you choose.