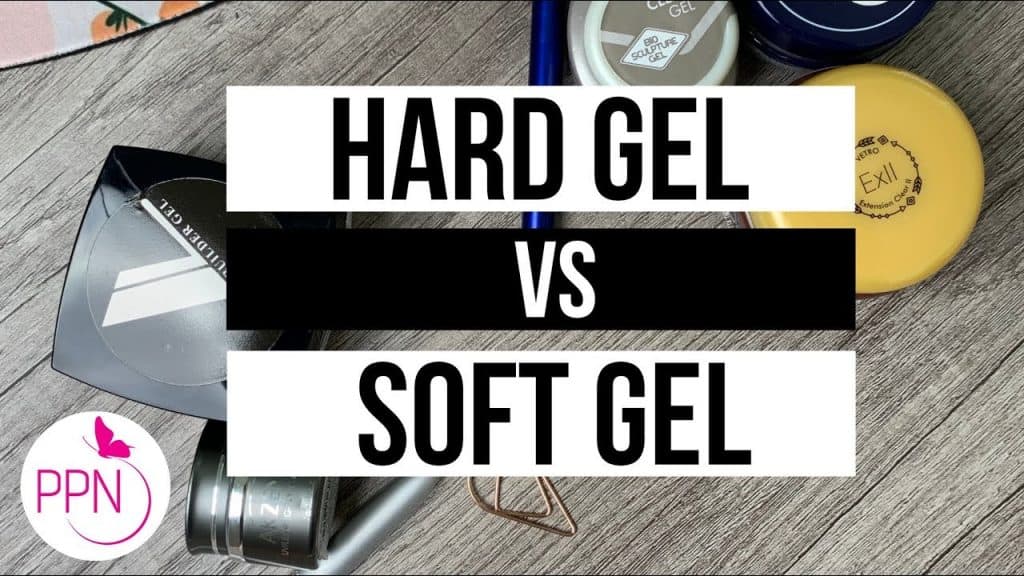
Is Japanese gel just a vanity gel to create kawaii and modern nail art, or can it be used as a gel to correct unsightly nail conditions also?
Today I will explain how to take unsightly ridges on the natural nails to a beautiful nail enhancement using Japanese gel only.
So you’ve seen all the fun nail art that Japanese gel nail stylists create, and boy, can it be fun. But is that it?
Is Japanese gel just for the fun stuff and those who already have perfect nails?
Not at all. For about 5 years, I used Japanese gel in the salon to help clients achieve their natural nail goals. That included turning nubs into beautiful natural nail enhancements before even dolling them up with nail art.
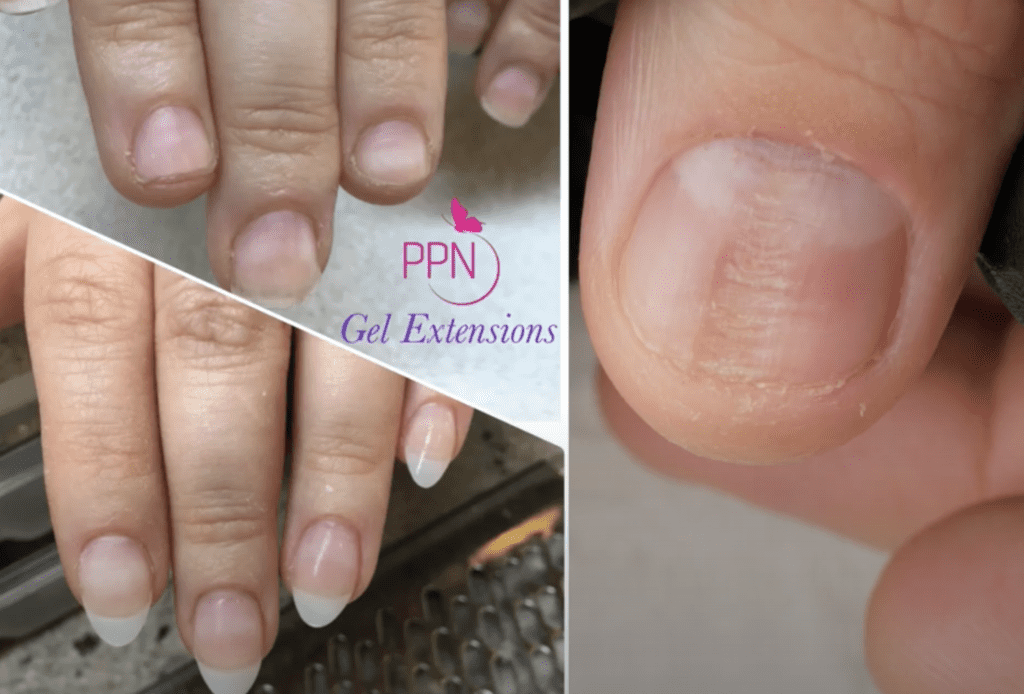
In the same way today, we will take unsightly ridges on a nail and transform them into a beautiful natural-looking-nail- enhancement.
That brings up a good point; many people cannot get rid of bad habits that cause unsightly nails because they look at artificial nails as a temporary fix, and that is just not the case with Japanese gel.
So the unsightly ridges on this nail are most likely due to years of a bad habit. What exactly is this bad habit? Sticking your thumb in your mouth and scraping the nail with your bottom teeth. Yup, this person can’t stop or won’t stop. But there is hope as I’ve seen some improvement. Stick around for that.
Let’s begin:
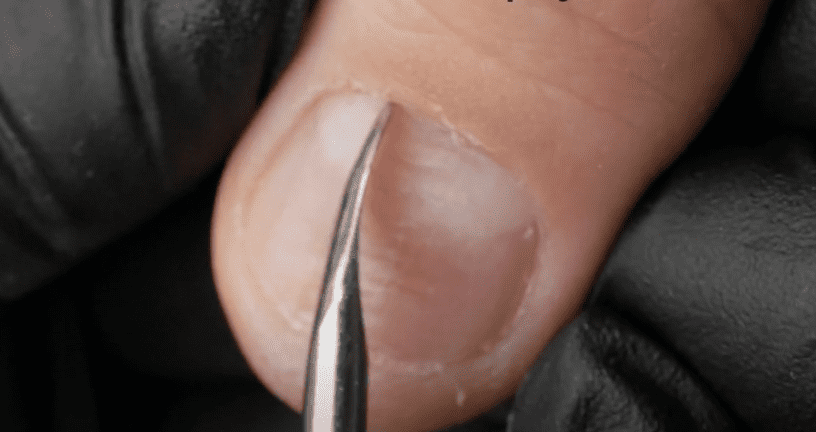
1.To get this nail on the road to recovery, I will create a Japanese gel nail extension, but first, let’s give it a proper prep. Go through your regular nail prepping by pushing back the cuticle, removing dry skin from the nail plate and around the nail, and wiping it with alcohol.
Also, be extra careful around damaged eponychium.
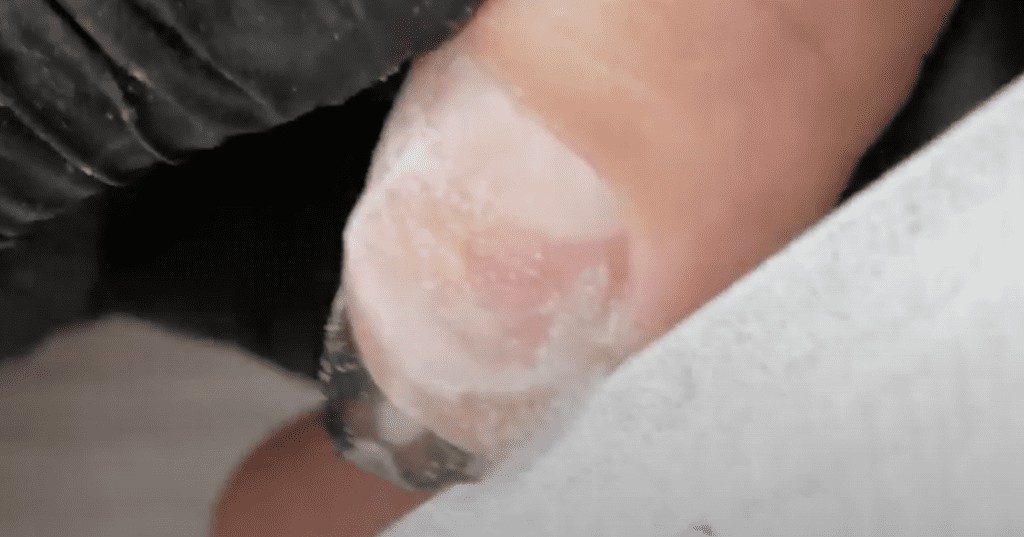
2. Gently exfoliate the skin around the nail. This will help the nail form to stay on. I am using a 220/280g buffer file.
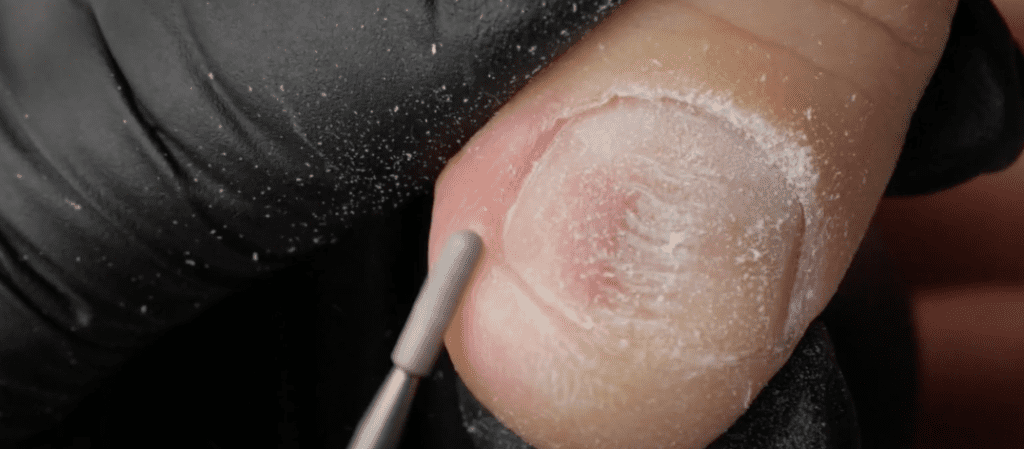
3. Gently buff the nail to reduce damage.
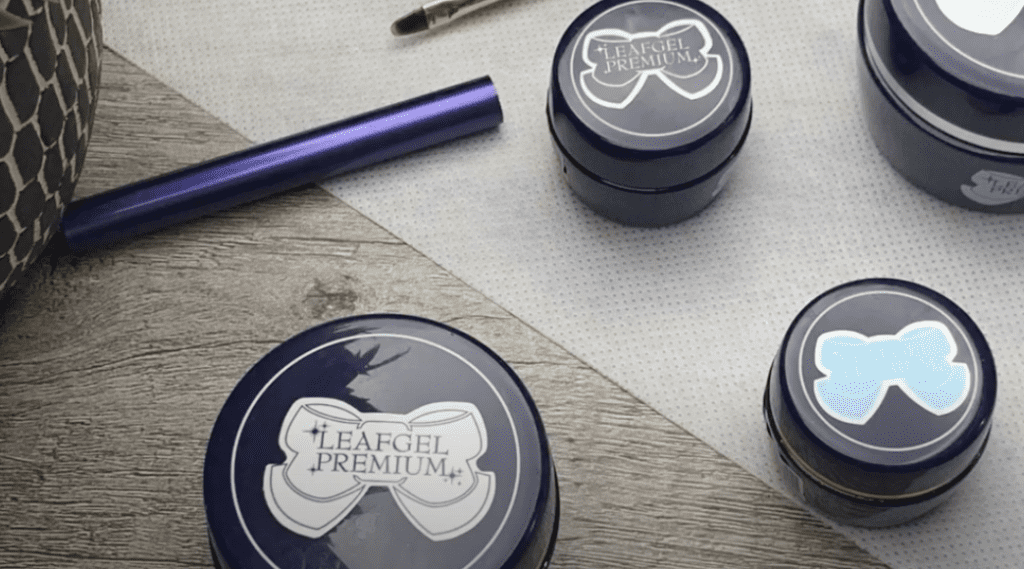
4. Apply a generously thin coat of base gel. I will primarily use Leafgel to beautify this nail and give an extension.
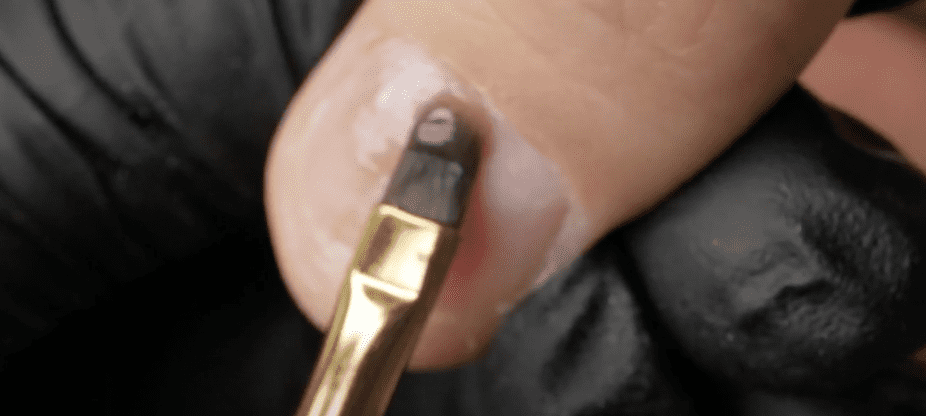
5. Flash cure to minimize heat spikes.
6. I mixed builder gel with nude pink color and translucent white to create a custom color gel. Use this mixture to create a free edge on the nail, this way you will be able to put on the nail form.

7. Put on nail form and start sculpting the nail using builder gel. Apply a dollop of gel to the nail form and connect it to the free edge to create length, then cure.

8. Pinch the nail form and remove it from the nail. Use a 180g nail file and shape the new free edge, get rid of excess gel, and shape it to make it look natural.
9. Now come back with the builder gel and add strength to the nail by adding a slightly bigger dollop of gel and structuring the nail.
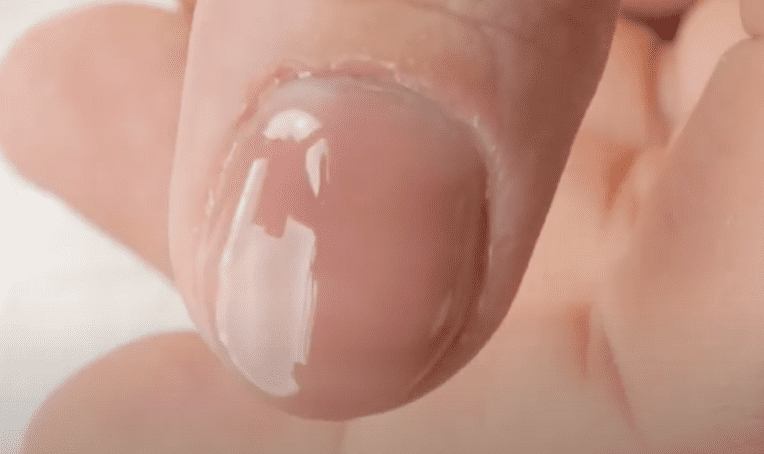
10. Finish filing, if you need to, and then apply color, topcoat, and you are done!
Notice how thin this extension is. An extension with Japanese gel feels very natural and lightweight, essential for those with lousy nail habits. It really encourages them to have nails that look and feel like their own.
Join the Gel Boss Network Facebook Group if you want to join our community of current and aspiring Japanese gel nail stylists. Also, sometimes I go LIVE with free classes. Check us out!
Bye for now…
Please note… These blogs are copyrighted material and any use of this blog is not permitted without written concern first. Some of these blogs contain affiliate links that provide us with a small commission when qualifying purchases are made. Thank you for your support that helps us to continue creating valuable resources and content like this.