Today I’m going to be working on my toes! Eek I know, weird. But you’ll learn a thing or two, promise!
I’m going to be giving myself a dry pedi. A dry pedi is a waterless pedicure. And we’re taking it a step further by making it a waterless efile Pedi. I’ll also be sharing with you some tips and tricks.
First things first, I like to work with my portable unit when I’m doing my pedicure. I’m using the Anemone airflow nail and dust collector, it’s great because I can just bring it to me wherever I’m gonna be sitting.
Ok, let’s begin!
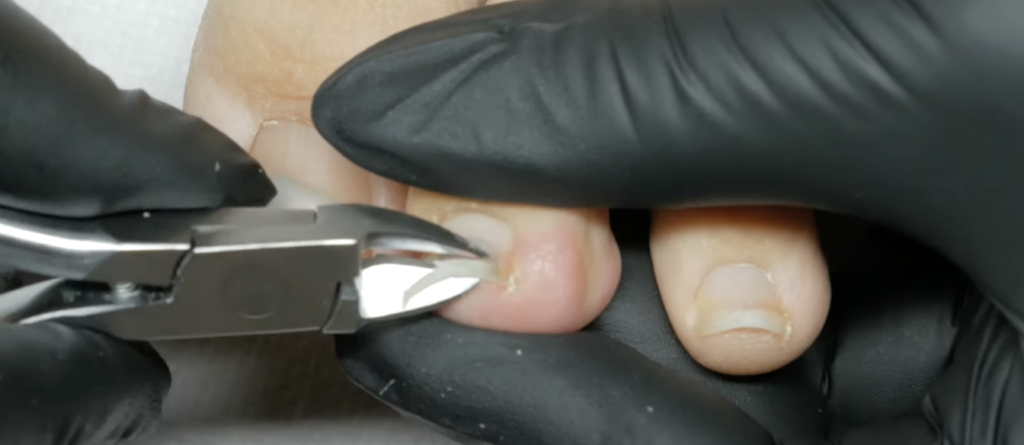
Step 1: Clip the nails.
Grap your nail clippers and cut your nails. I like the Staleks nail nippers, these nail nippers cut the nail straight and that’s important when you’re doing a pedicure. If you use those curved clippers you can definitely give yourself an ingrown, ouch! So don’t do that.
Then use a 180 grit emery board to shape your toenails.
Pro tip: Try to invest in a pair of these nippers, you won’t regret it, promise!
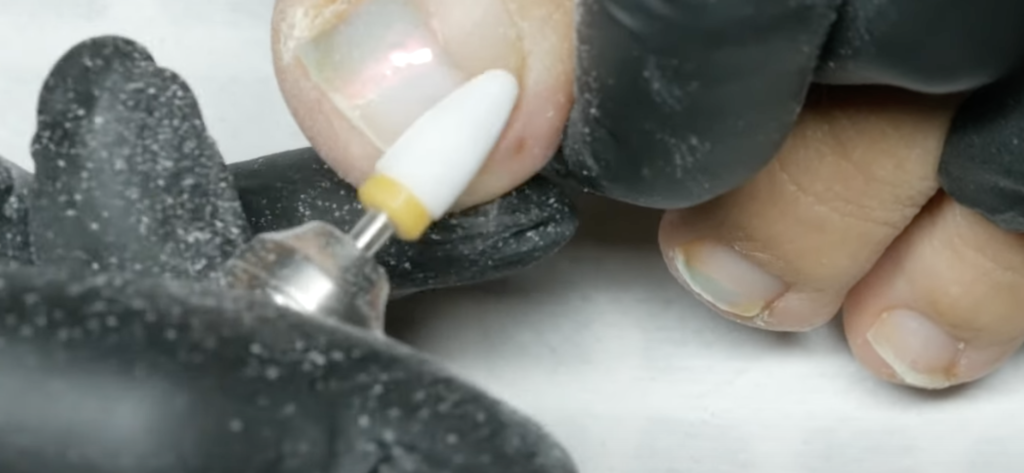
Step 2: Remove previous product (if any).
If you have nail polish or gel, here is where you remove it. I am going to remove the gel polish I had on using my strong 210 Saeshin efile machine. It’s strong yet so smooth, very light vibration and I hear it lasts a very long time.
Take an extra-fine ceramic bit for product removal, you can find these on amazon or Nail Labo. Very gently, with the efile on at least half of your RPM like 15 000 RPMs, remove the remainder of gel polish.
Pro-Tip: If you don’t want yellow nails as I have here hehe, remove your product whether that’s regular polish or gel if you are not getting a pedicure. I always tell my clients to do this.
Remove that product during the cold weather seasons, where you won’t be using flip-flops or exposing your feet to the sunlight. Sunlight is a beautiful thing for nails too, it actually balances the color of your nails.
Step 3: Cuticle remover and cuticle pusher… Aisle 1 for clean up.
Usually, I don’t use cuticle remover unless it’s a must. If you need help removing the cuticle, use this one from Leafgel. It has lots of nice ingredients and leaves the skin supple around.
Apply a small amount of cuticle remover on each toenail and let it sit for 3-5 minutes so it can penetrate the dry skin areas and make the cleaning much easier. Grab a cuticle pusher and gently push back the cuticle, and lightly scrape off the dry cuticle from the nail plate.
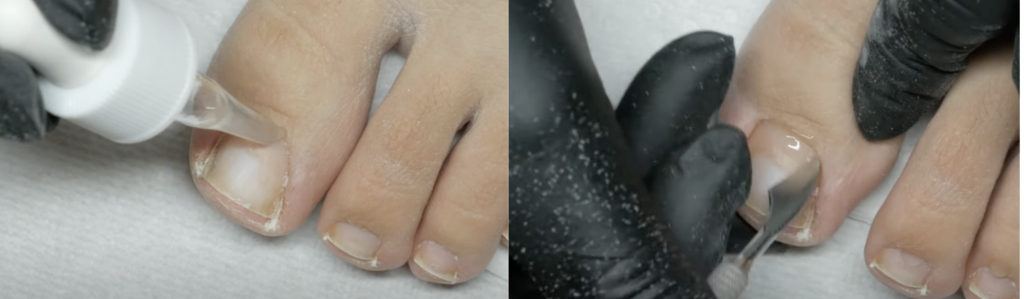
I like to use this particular pusher and scraper from Staleks, you find it here. This tool has a little spade at the end( be very careful, it’s super sharp) and is super handy to get underneath the nail and clean all the gunk out.
Step 4: Finish cleaning with a cuticle bit.
Now, use your efile with a cuticle bit. I’m using a flame bit. I used to be a little anti-flame bit but only because you really do need to be trained to use it.
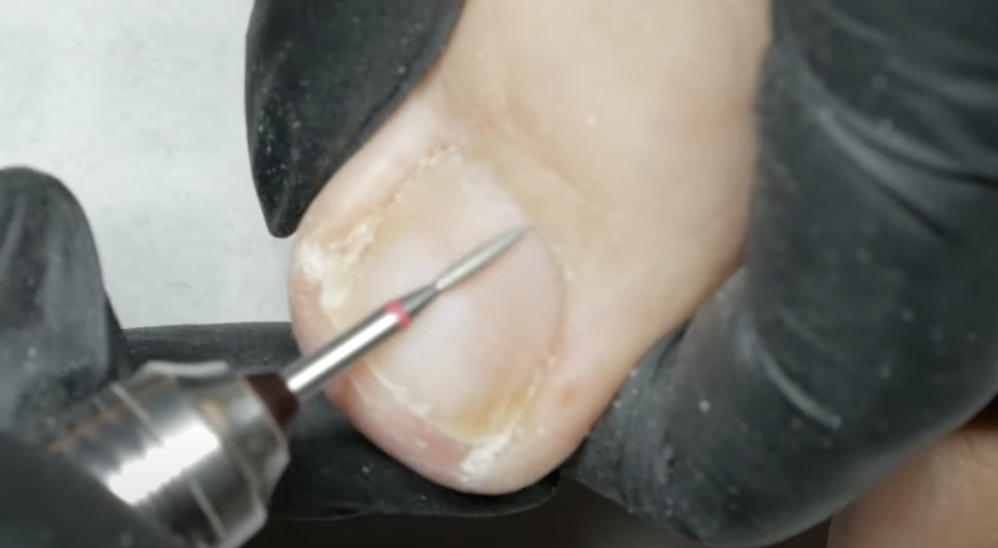
I’m taking this bit around the cuticle area. Be very gentle when you’re doing this, the flame bit kind of floats and touches the skin more than it touches the nail plate, believe it or not.
Pro-tip: It’s best to go in one direction and then switch the e file and go the other direction.
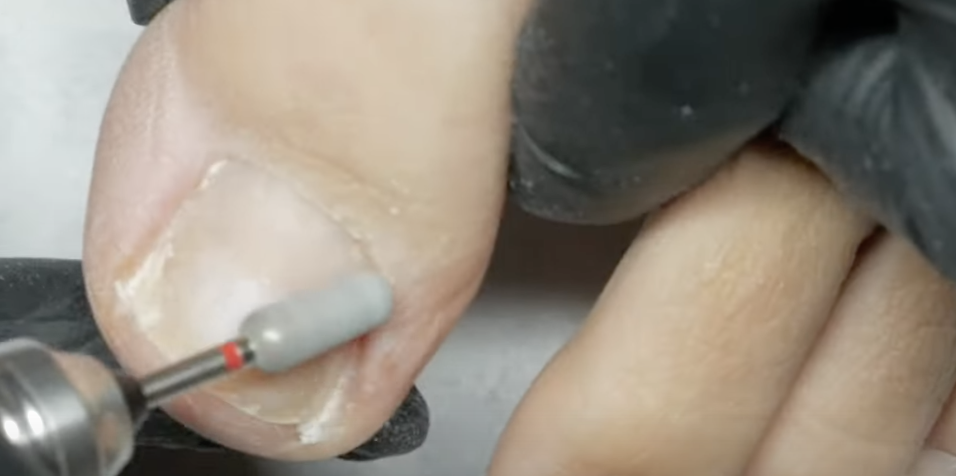
Step 5: Buff the natural nail.
Prep the natural nail now. Use a cuticle bit and go over the skin and the natural nail. Make sure it is a fine to very fine grit bit and set your efile to low RPMs.
I’m using another one of my favorite bits from Staleks. I like it so much because it allows me to push back the eponychium area of my toenails and remove any dry skin. Start at the skin, go around the skin and then come back and do it on the nail plate.
When you go over the nail plate, don’t smooth out the nail, just give it a little bit of texture by making them a little bit matte. You don’t have to super texturize these nails because you’re not going to apply a hard enhancement on them, okay?
If you’re using hard enhancements, yes you have to increase the grid on the board file that you’re using. If you have been following us for a while, you know we talk mostly soft gel only. So yeah, you only need to buff the surface with soft gel, okay?
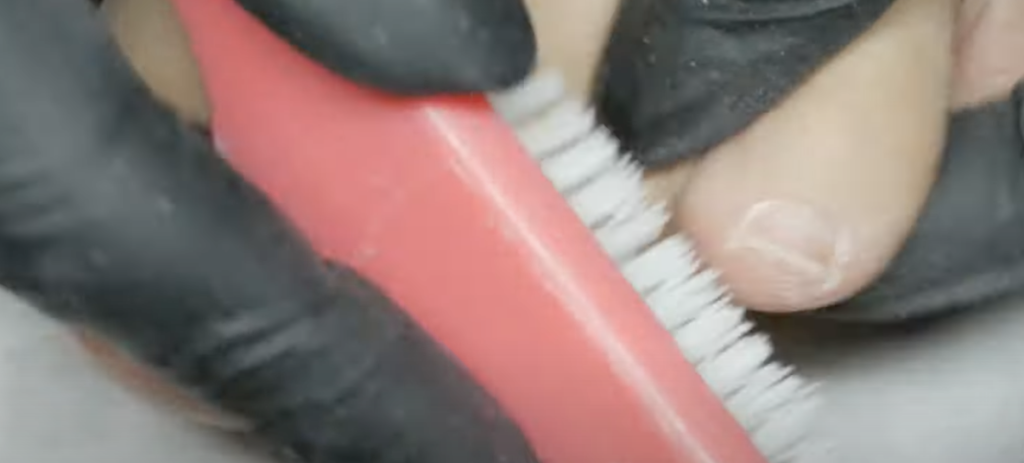
Step 6: Follow up with an alcohol brush and remove all dust with a lint-free wipe.
Use your manicure brush and remove the dust and dirt, then follow up with an alcohol brush. Just pump 90% alcohol into the brush and bam! All clean and good to go.
Pro-tip: Come back with a lint-free wipe and get rest rid of any dust particles because even just one little dust particle can cause lifting. I recommend a lint-free towelette with alcohol, push back the cuticles and dehydrate the nails.
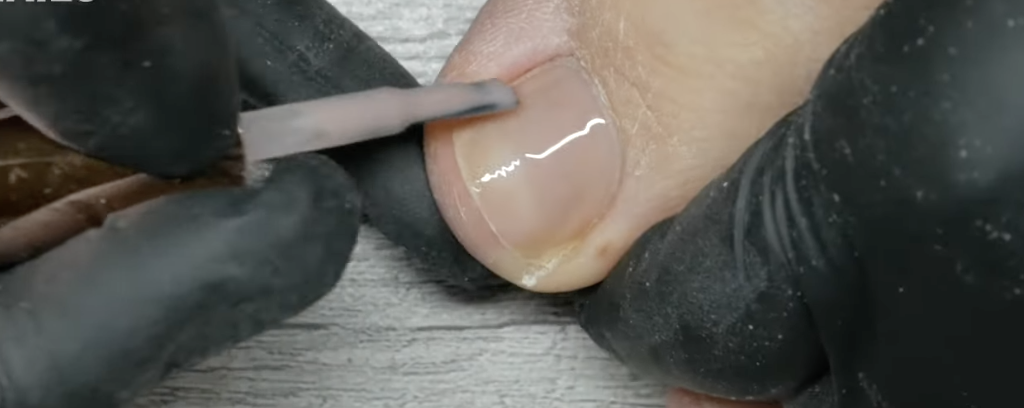
Step 7: This is where the magic happens, color.
Here’s the fun part. With a clean fresh nail plate, apply base gel, the color of your choice, and topcoat.
I’m using the Nail Thoughts Taupe Builder Base, it’s been my go-to for the last few months. It’s a beautiful neutral color and there’s actually a little bit of shimmer in there, to which most of us would be like: No, no glitter, right? But it’s super subtle, it’s amazing.
I’m just doing one layer of this followed by a tiny bead of gel because obviously, my toenails are super tiny. Once you are done applying color, apply topcoat, and you are finished!, however, I was not done, I felt like being creative.
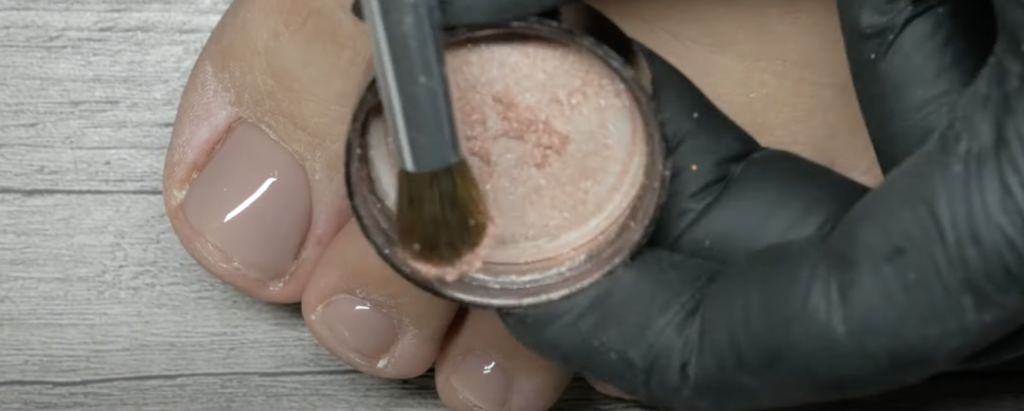
Step 8: Ombre detail… and maybe something fun.
I’m going to show you how to do an ómbre effect with a powder. Use a make-up eye brush, dust the excess powder off the brush before applying and then blush the tip of the nails. Start with a teeny tiny amount of powder, promise you’ll just kiss the powder with the brush and then feather it up. Another tip is to tap it on a surface or on your glove to remove excess and then apply. This way you get the perfect amount for a flawless ómbre
This is the easiest way to ómbre, well I’ve discovered an even easier way actually, you can find that one recently in my Instagram post but yeah, it’s pretty easy.
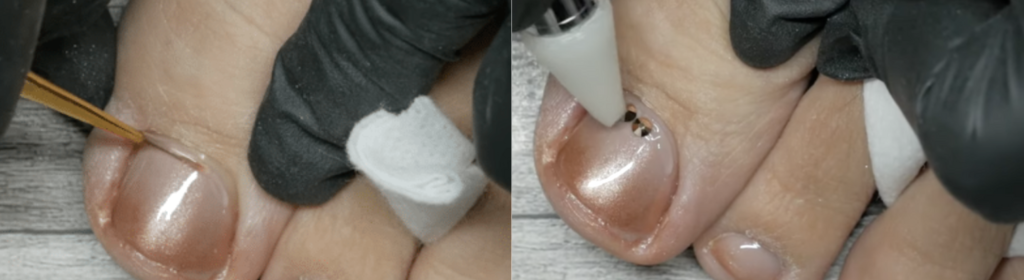
Step 9: Adding some crystals.
I wanted something sweet and fun so I will be adding Swarovski crystals. I’m using the Kokoist Non-wipe Accessory Bond to glue them on, this stuff once you apply it you don’t need to topcoat it.
Apply topcoat first, cure for 10 seconds, and then come back with accessory bond and brush on a strip to adhere the crystals.
Okie Dokie, I recommend you use a picker-upper tool like this one from the Daily Charme or the famous crystal Katana; grab the crystals and push them in there. The non-wipe accessory bond applies a little raised so don’t apply super thin.
You want it a little bit raised because of what you’re going to start embedding the crystals. I also posted a little tutorial on that on my Instagram if you want to see how to secure crystals for longer wear.
Place and adjust the crystals as you need to and then fully cure. Seal everything with topcoat, cure for 60 seconds, add some cuticle oil, and boom! You are done!
These came out gorgeous, I even showed them to my husband who usually doesn’t like a whole bunch of nail art, he was impressed, anyway; I hope you enjoyed this tutorial and maybe you get to practice it. If you do, feel free to tag me on Instagram I’d love to share your work. I’ll see you in the next one and bye for now…
These blogs are copyrighted material and any use of this blog is not permitted without written concern first. Some of these blogs contain affiliate links that provide us with a small commission when qualifying purchases are made. Thank you for your support that helps us to continue creating valuable resources and content like this.