
You may think that creating long nails is hard, but… I beg to differ.
Now, I’m not saying long nails are easy either.
When you are creating long nails, you have a greater surface area to move through. You have more space to comfortably swing your brush across and literally a bigger vision of whatever you’re going to do as far as your final look.
I’ve noticed that when doing nails if you mess up at the cuticle area or you happen to not be as meticulous there, because the rest of the nail is so long it distracts away from it… sometimes at least.
Either way, whether you think long nails or short nails are hard, we can definitely agree that both require technique… So, today I am going to show you how to create an apex on short nails.
Let’s begin.
First, let’s assess how short of a nail we are talking about.
Nail length is relative to a person’s own fingernails. The longest length on a client, whether extension or natural nail, is when the free edge extends out to twice as long as the amount that is actually attached to the nail bed. We’ll call this ’max length’ of the free edge.

So we’re going to classify a short nail as anything shorter than half the max length of the free edge.
The biggest difference, I have found, when structuring an apex on short nails vs doing so on long nails is that your apex actually does not have to lay right on, or right before the smile line. That is because there is less free-edge length than the body of the nails. So what we really are balancing is the growth of those nails.
In other words, we are anticipating and protecting the growth of these nails, within the next 10-21 days.
For this reason, our apex can be placed up to the cuticle area of the nails. Whether you leave it there or not is up to the shape of the nails you go for. For short squared nails, yes keep it up there, for everything else, shift it forward a bit (meaning away from the cuticle area).
Let’s go step-by-step…
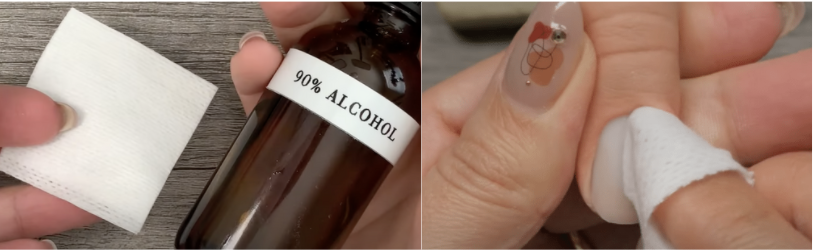
Step 1: Make sure to give the nails a thorough prep.
Any dust particles or loose cuticles will definitely pull the gel towards it, and if not cleaned up prior to curing, this application will lift.
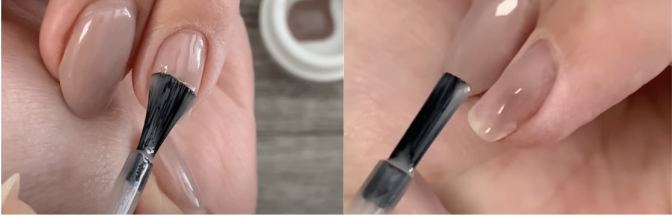
Step 2: Apply a wet layer of gel.
A wet layer is often referred to as a “slip” layer and this is a layer of gel that is left uncured because we are immediately going to follow with another bead of gel to structure the nail.
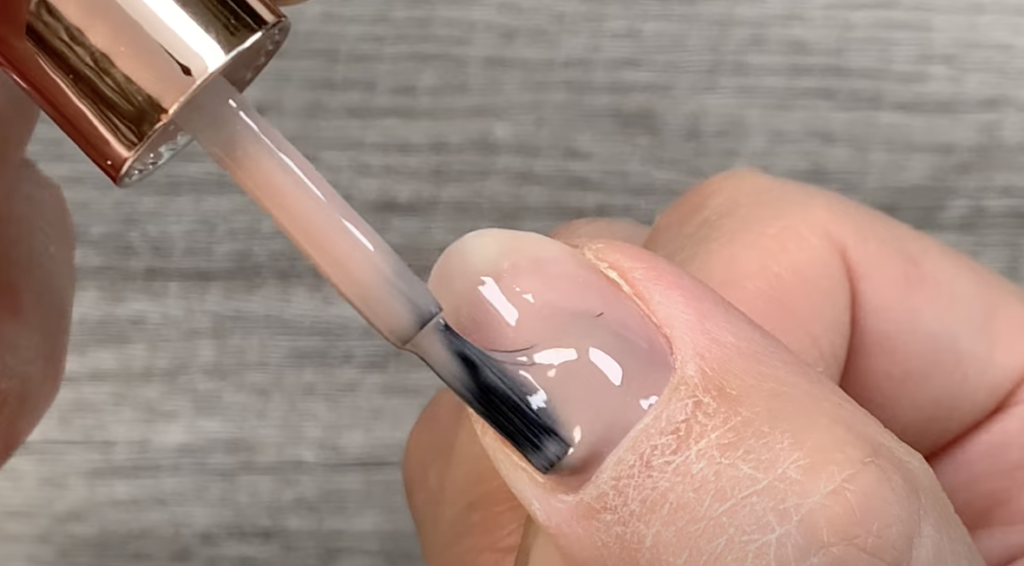
Step 3: Grab the right amount of gel to achieve self-leveling technique.
After applying your wet layer of gel, grab enough gel on your brush to cause self-leveling in your application. In other words, if you don’t grab enough gel on your brush, your gel will not self-level enough to create a smooth nail surface. If that does happen to you, no worries, you can come back and grab more gel. But you do really want to get it right the first time for time efficiency in your services.

Step 4: Place that bead at the cuticle area
Allow it to take shape a bit, or help it by pressing it in a bit, then guide it down. Because the gel I’m using here is of thin viscosity you need to guide it only a little bit before it starts taking shape on its own.
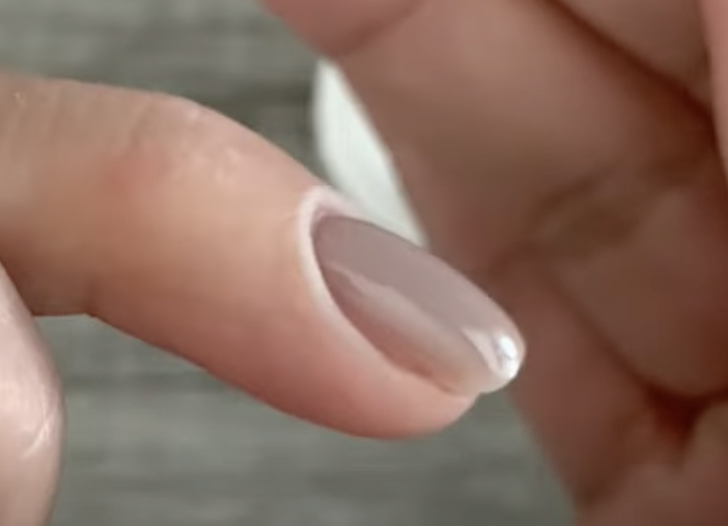
Step 5: Allow it to self-level… but just a bit.
We all love the magic of self-leveling gel, but when working on short nails make sure the bulk does not fully pass the center of the nail. This is the biggest difference between creating an apex on short nails vs creating one on long nails.
You may choose to work one nail, two nails, four nails, or if you’re super comfortable all five nails. Not to toot my own horn over here, but in the salon, I self-leveled all 5 at the same time when working on short nails.
Yes, there is a little trick you do with the thumb so it self-levels at the same pace all others do, but what is even more important in my opinion is that all nails have relatively the same amount of product, otherwise everything will be self-leveling very differently.
And there you have your 5 easy steps to shape a natural apex on short nails.
Before you go!
If you’re interested in the topic of starting a press-on nails business please sign up here for our free live class this week, Wednesday. I’ll have celebrity manicurist Julie Kandalec answer a few questions about her world in that niche and also press-on nails while being on set!
You’ll want to be on live. All live attendees will have the opportunity to work with me inside my newest course and even receive a complimentary copy of Julie’s Nail Art Design book, if you want more details on how to be part of this opportunity do sign up ASAP, as there are limited openings.
Hope to catch you next week again, bye for now!
These blogs are copyrighted material and any use of this blog is not permitted without written concern first. Some of these blogs contain affiliate links that provide us with a small commission when qualifying purchases are made. Thank you for your support that helps us to continue creating valuable resources and content like this.


