
Let’s talk about common mistakes beginners make with gel on natural nails but first let’s identify what type of gel we are specifically talking about.
We are not talking about poly gel. We are not talking about hard gel.

Today, we are specifically talking about soft gel, but! Even then, not all soft gel is created equal.
There is hybrid gel polish and then there is “true” gel.
Now, I don’t want to say (neither do I want you to think) that one is better than the other because truly, they both have their purpose in this world. Now, in your salon environment, as a professional, I do want you to pick one as your specialty.
However, for today’s purpose, all I want you to know about each type is gel polish vs. “true” gel.
Let’s start here.
Gel polish was the breakthrough in gel nail technology back in 2009-10 with the debut of Shellac and Gelish. Everyone was digging into the thin viscosity lacquer-like application these gel formulas helped achieve. They were instantly dry after curing and lasted about 2 weeks.
If you had nails like mine, kind of wide, thin, and flat… you quickly learned that gel polish didn’t like you and that you didn’t like ‘it’… am I right.
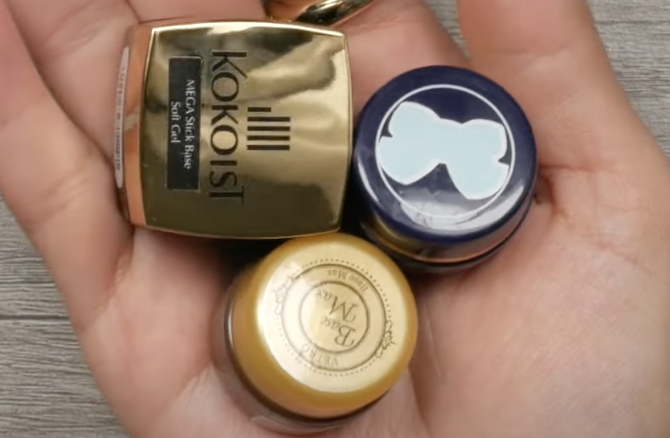
This gave the opportunity for a middle-of-the-road nail product to thrive, “true” gels. Gels that have less of the thin dilution monomers that gel polishes have, and rather more resin property.
These products were not new. Two of the pioneer brands of this thicker rubbery base products were Bio Sculpture and IBD soft potted gel systems.
Now there are numerous brands of quality true gel formulas offered more commonly in pots than in bottles, but both exist with the same purpose, to bend and flex with the natural nail.
Now the prep for each of these products is different!
In my experience, for hybrid gel polish to last on all nail types 2+ weeks, it will usually require a harsher prep.
This consists of making the surface matte w/ a sponge buffer, then using a pH balancer to neutralize the nail, followed by a primer to increase adhesion. There are different types of primer, and a nail primer can also be known as a bonder.
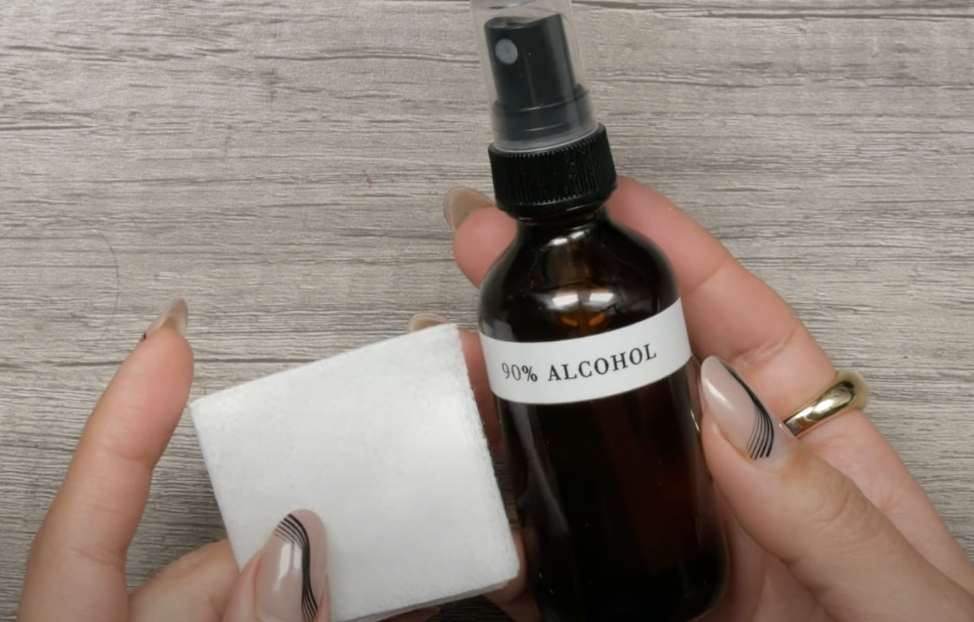
In the case of “true gels”, after making the surface matte, all you need to do is to scrub the nail w/ alcohol. No separate pH balancer or bonder is needed.
Regardless of hybrid gel vs. “true” gels the mistakes we’ll be covering are going to be applicable, and I won’t leave you hanging, I’ll also provide the solutions to each mistake.
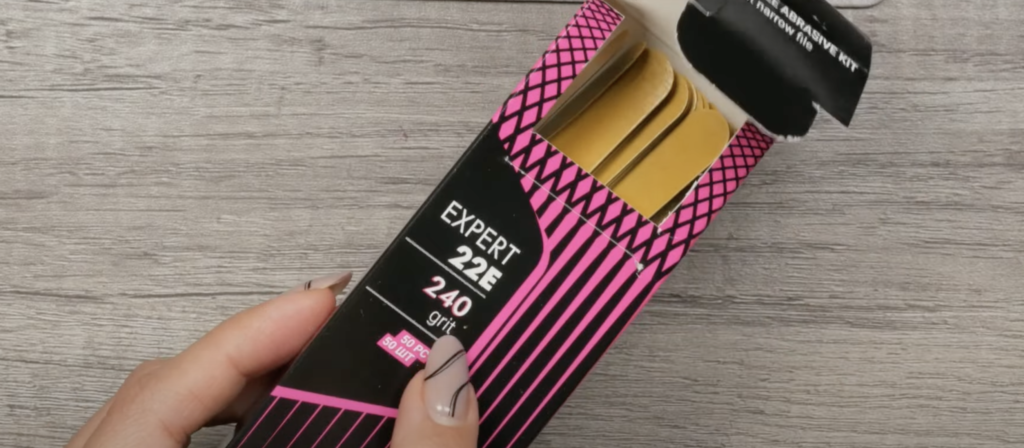
Mistake #1: Using coarse grit to prep the natural nails.
The whole point of using a soft gel is to preserve the integrity of the natural, while at the same time, reinforcing it.
If you take a coarse prep filing tool like a sanding band or a board file, you will be shredding and etching the nail. This is the type of prep necessary for harder nail enhancements like poly gel, hard gel, and acrylic. These rely on a roughened-up nail surface that interlinks with the product.
If you roughen the nail surface prior to soft gel application, will your product last, absolutely. They will bond together like no other. BUT, big but! Because you have thinned and shredded those natural nails (if your client has natural nail goals) she won’t be able to achieve these without having to switch over to a hard enhancement service because her nails will only make it to a certain length before breaking.
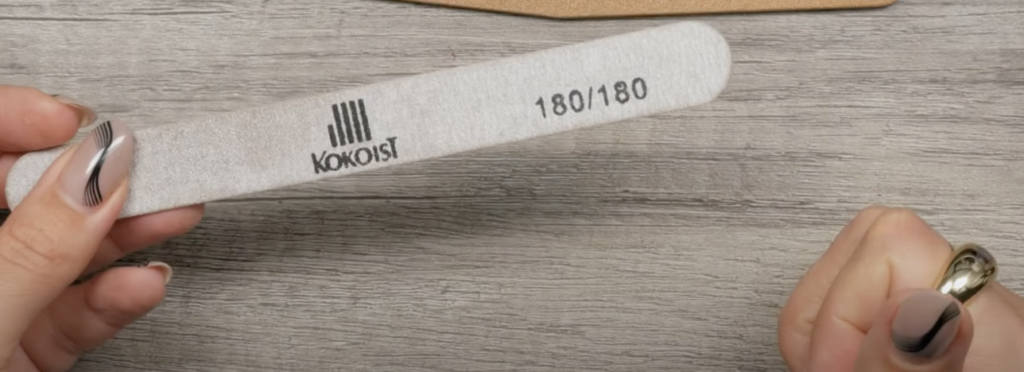
So, when prepping the natural nail for soft gel application, simply use a sponge buffer. Depending on the system all you may need is 200g! And listen, I much rather you increase the grit on a sponge buffer up to the max of 100g than switch over to a board file or a sanding band to prep.
Again, I remind you, the client opts for a soft gel manicure because she desires to keep her natural nails, help her by prepping gently.
Mistake #2: Always using prep products.
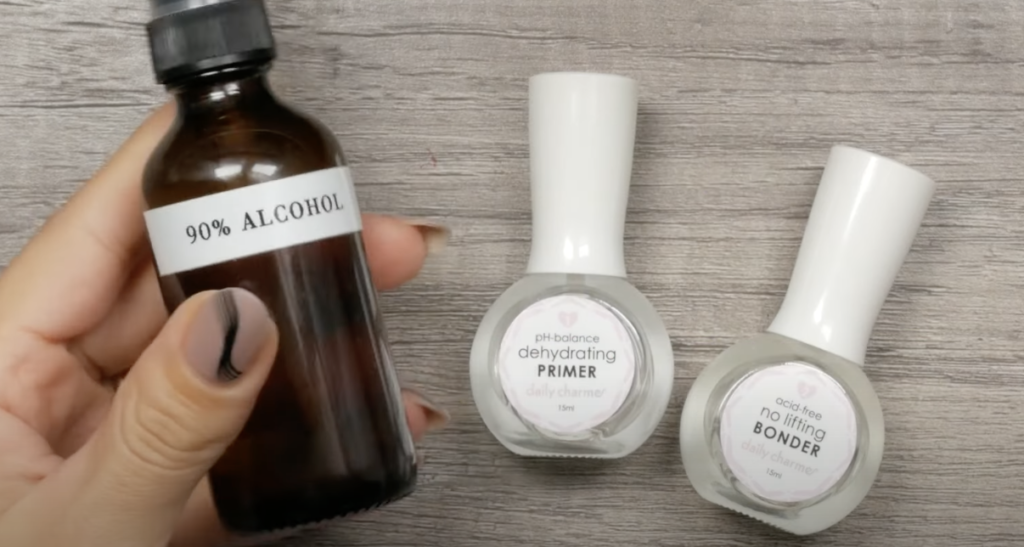
The 3 typical prep products before gel nail application are alcohol, dehydrator, and bonder.
But you see, not every soft gel product needs it! Trust the protocol that your gel’s manufacturers prescribe.
There are 2 main issues with gel nails and using too many prep products when the manufacturer does not call for it …
a. You are depleting the natural nails of their natural moisture, and dry dehydrated nails that lack moisture and oils will break. A soft gel product greatly depends on the natural nail being as healthy as possible, as the soft gel is there to enhance and reinforce the nails that you already have. Hard enhancements are molded or sculpted to form structures and lengths that your natural nail typically doesn’t have.
And…
b. Some prep products like a dehydrator create a thin layer of condensation, like what happens on your windshield when there is a fast change in temperature. Condensation is moisture, and moisture can lead to lifting.
So please, please if your soft gel system does not include a dehydrator or bonder, I promise you, they did not forget to create one. That just means a solution of at least 90% alcohol is all that is needed to prep the natural nail, and the adhesion component is found within their gel base.
Mistake #3: Using acetone to prep
Acetone can save the day to prep the nails if, say, you used an oil-based product prior to your gel base application, and you are having shrinkage around the cuticle, or you had overflowed onto the skin and you really want to wipe off the application and restart the application.
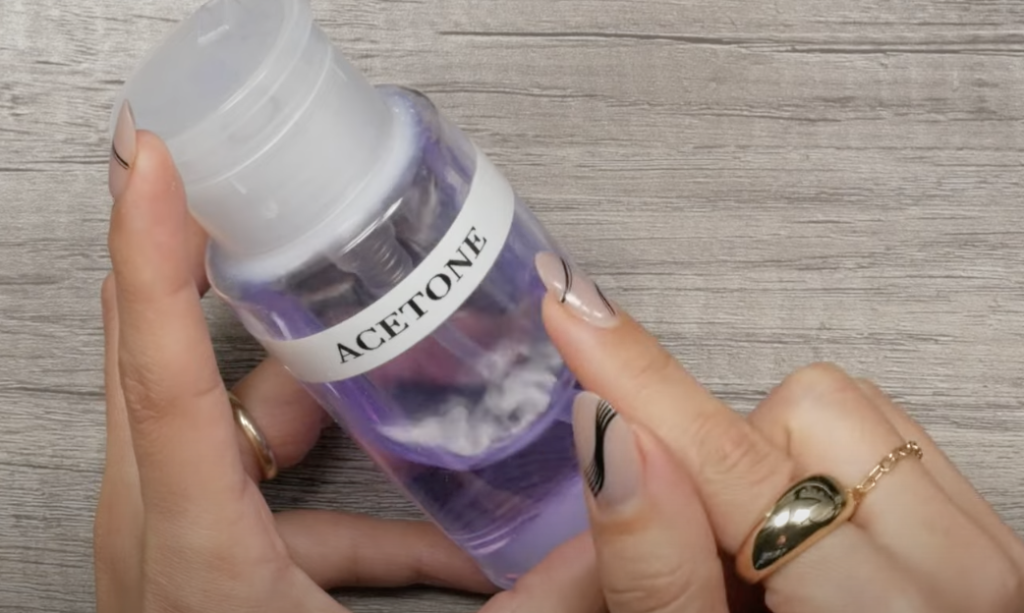
But to use acetone regularly in your prep is a no-no.
Acetone in my experience I found to be more aggressive at removing moisture and oils from the nail. Yes, alcohol does remove oils and moisture also, but I find that the nail tends to replenish itself faster by just using alcohol. Remember, you want the natural nail to have some natural oils and moisture in order for your soft gel applications to thrive!
Another thing is that just like a pH balancer dehydrator, acetone-based cleansers dehydrate the nail too fast, causing a condensation layer to happen on the surface of the nail potentially leading to lifting.
Again, trust the system of soft gel nail products you are using and follow their prep recommendations.
Mistake #4: Shaping the natural nails with a coarse file
Now we talked about preparing the surface of the natural nail with a coarse grit, now I want to caution you about shaping with a coarse file.
Many systems of gel nail products offer an emery board in their files and buffer selections, and for good reason. An emery board is crucial for correctly shaping natural nails prior to gel nail application. It removes just enough nail to file it into the shape you desire, and it allows you to get into nail grooves, or in between the skin and the nail plate.
If you file with nails with a coarse file and you especially go back and forth doing so, you will cause the layers of the natural nail to split, and this will lead to lifting of your gel nails, or chipping in using hybrid gel polish.
Mistake #5: Always soaking off your nails.
Let me start by saying that leaving a little bit of gel base behind on the natural nail is not a crime! In fact, I encourage you to not remove 100% of the gel nail product when possible.
Acetone as I have already mentioned depletes the nail essential moisturizers like water and oil.
If you are soaking-off nails every 2 or 3 weeks, rather than having those nails pampered on their visit, you’re seating them through a dehydration session. Imagine doing that 12-14 times per year, and you get how brittle those nails would turn out.
The most friendly product to leave behind on the nail is a “true soft gel” nail product, and it is one of the main reasons I have enjoyed working with soft potted gel products in the last 7 years.
Next time you are removing product off of your client’s nail, don’t be afraid to remove only 80-90% off it. File the remainder flush to the natural nail and reapply your entire application.
And if you want to know some of the mistakes I made as a newbie nail tech, check out this link for my free training, I’ll take you through my journey of gel nails and how eventually I found a few secrets to keep me booked solid.
Thank you for joining me and I want to hear from you in the comments section. What mistakes are you making as a beginner in nail tech? I’d love to help! I’ll see you next week. Bye for now.
These blogs are copyrighted material and any use of this blog is not permitted without written concern first. Some of these blogs contain affiliate links that provide us with a small commission when qualifying purchases are made. Thank you for your support that helps us to continue creating valuable resources and content like this.


The gel enables easy application of rhinestones. Such a manicure turns out to be discreet, but can no longer belong to the classics. Thanks for the great article!
Hi Paola!
My question is – with hybrid gel polishes. My system (Kiki London) has both rubber base and standard base polishes. I can efile down and leave behind some rubber base but the standard base is too thin for this. How do you recommend avoiding total soak offs with a standard hybrid gel base? I’m eager to hear from you.
Kindest,
Sophie X
I still used my efile when removing gel polish. I switched over to a ceramic bit to gently touch the natural nail, with low power/pressure. I left soak-off services, only of that was their final removal for a “break” time.