
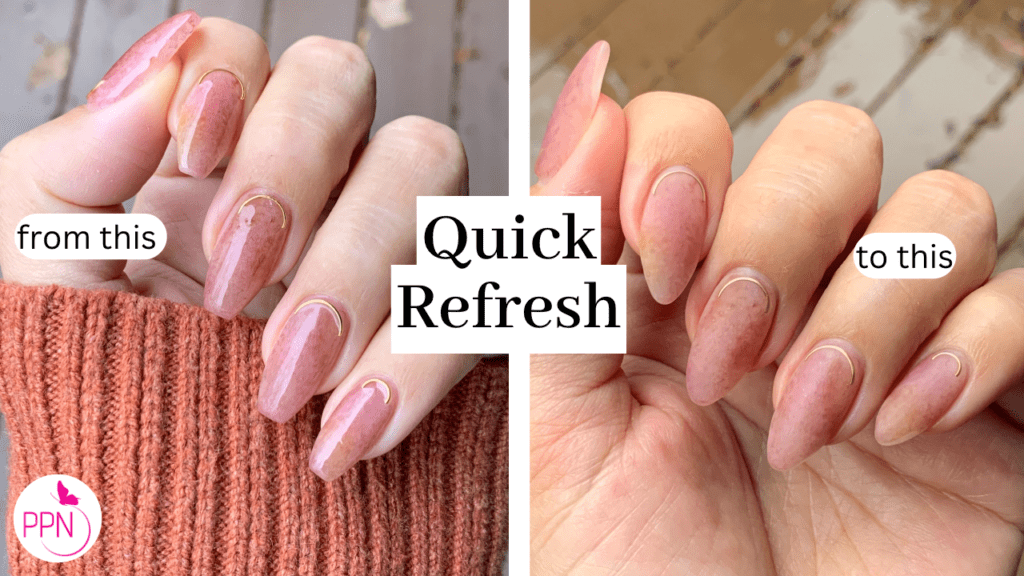
Easy, quick touch-up service for nails that have been done within five to ten days if you are going to DIY so let’s just say that you just got back from the salon, it’s been a week and you are content with your nails but maybe the shape wasn’t exactly what you wanted or you are over the shape and you want to refresh your semi new set of nails. You are by no means ready to remove this set because there’s barely any grow-out, this is whithin five to tne days from your nail appointment.
So, how would you retouch these without removing the whole thing? Say you just wanted to reshape them, right? Maybe the shape is the only thing that is making you 100% happy with you new set, so that’s what we will be doing today.
Alright, so in order to reshape these without damaging them, you’re going to need two things; and of course we will be filing over these but by no means we are going to damage them or cause severe adjustments here.
Step by step
Step 1: If you have a dust collector, turn it on and then reach for a board hand file, I recommend something like 180 grit. Now, I’m just going to turn these coffin nails into a soft almond shape or more like an oval. You are also going to need a 100/180 grit sponge buffer.
First you will use the board file to turn the free edge into a triangle and then marry the points.
After turning all the nails into a triangle shape, and you might have noticed that some are thicker than others, and that’s perfectly fine. Obviously aesthetically it might be a bit annoying if something is obssesily thick like this but if you have experience with an efile you can definitely put the efile underneath the nail here to thin the free edge out. If not, don’t even worry about it because we are just concerned about reshaping the nails, not doing a full rebalance service.
Step 2: Now you want to marry the sides to that point so that you have a nice, beautiful, soft almond or soft oval; I will go for a soft almond. That’s it, by doing those two steps it’s pretty much done for you. Repeat this in all ten nails.
Step 3: Use the board file again to gently go underneath the free edge on each nail, very gently marrying that shape underneath, then move to the sidewalls and ever so gently do a few passes to marry the sides. When you do this on the sides, make sure you move the file gently in one direction and not back and forth because you can cut and damage the sides with the file.
Now you can see that the shape is pretty much there so now I will be filing the top of the nails to retouch the metal pieces on the nails. Because I didn’t seal them properly on my last video (I know, I got a little lazy lol, but don’t do that on a client) they tarnished so I am going to retouch them with foils. So. use the board file to go over the top of the nail, move gently, just float the file around the cuticle area to avoid cutting or scratching the skin around. Do circle motions to smooth out rought areas to it’s easier to encapsulate.
Step 4: Reach for the sponge buffer and use it to smooth out everything and remove the shine, remember, gel likes to adhere to a matte surface.
Step 5: I really like how these look matte so I am going for it. I will use top coat first to seal them and apply matte top coat over fot the matte look. I will Glossy top coat by Leafgel, that’s a thicker top coat and it’s a wipe-required gel so the sticky layer is going to allow the next layer of gel to adhere very beautifully. Again, one coat of Glossy top coat on all ten nails and cure, follow that by a coat of Matte Non-wipe top coat by Leafgel on all tne fingers and so a full cure.
I am doing this because I am going for a matte look buf it you want the shinny look just make sure to seal the embellishments with base gel and then apply your shiny top coat.
This is a easy, quick method to refresh your mani if you just went to the salon a couple days ago or if your client decides to come in early for a squeeze in appointment, I would say, this is a 30 minutes service.
So whether you got bored of the look quicker than anticipated, or, you want to change the shape of your nails, now you know how to do it safely and without compromising the longevity of your gel manicure. It may seem daunting at first, but with these steps you can transform the art on your hands easier than you thought, and without upsetting your manicurist! Just be sure to have the right tools on hand and a little patience and you’ll never have to wait weeks for a new look again.
Thanks for reading, and feel free to ask questions down below!

Content written by Paola Ponce & Fabiola Saucedo
Loved this blog? Then I think you’ll love learning more about my journey as a specialized gel nail solopreneur in the nail industry. Click here to get instant access to my free masterclass. These blogs are copyrighted material, and any use of this blog is not permitted without written concern first. Some of these blogs contain affiliate links that give us a small commission when qualifying purchases are made. Thank you for being so supportive, which helps us to continue creating valuable resources and content like this.


