Hey there! Do you want to know how to file and shape your natural nails like a pro? Well, believe it or not, there is a little “science” to it.
I know sometimes you’re sitting there looking at your nails and thinking… Geez, where is my file? In fact, that is precisely what I want you to reach for, a file rather than a nail clipper.
You see, our natural nails, regardless if you think you have naturally strong nails, nails are pretty delicate pieces of keratin. They say natural nails are about 3-7 layers or so of keratin.
Keratin
You might be wondering what keratin is.
Keratin is a protein most commonly found in our nails and hair. Relatively speaking, keratin is quite strong and appreciates a little TLC. Just think of how much you spend on your hair and nails with beauty visits. If you leave it alone, it also does well; even when you abuse this protein (think about bleached hair and acetone soak-offs), it is also quite resilient.
So when figuring out how to file your own natural nails. The first thing you should be cautious of is a good quality gentle nail file. Frankly, suppose you can make it to your local pharmacy store. What they sell in their aisles is actually perfectly soft for natural nails. (Nail pros, on the other hand, may not find the coarse grits they need for artificial nails.)
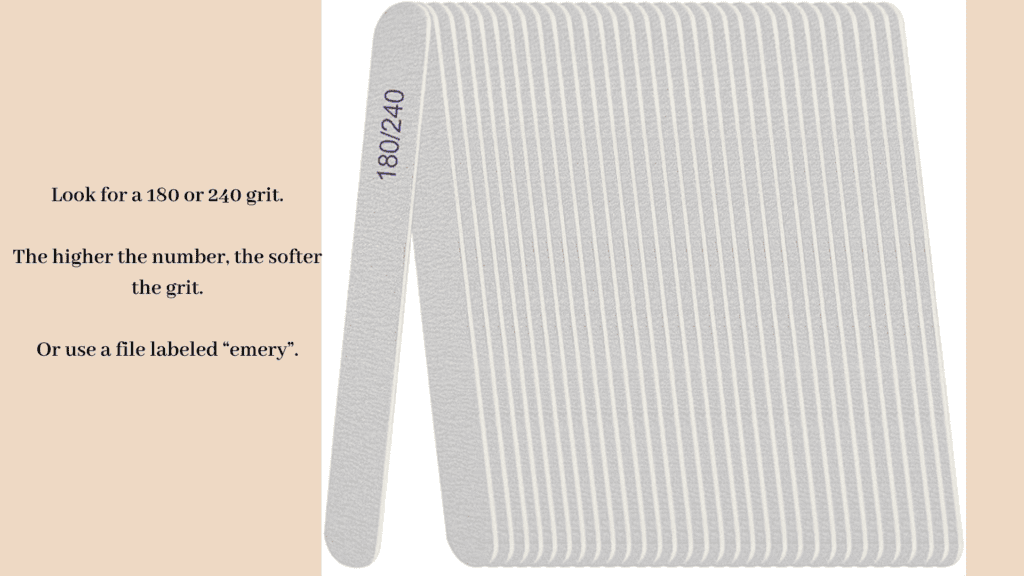
If you want a specific number of grit for your natural nail file, that would be 240 or 180 grit. Often it is labeled as an emery board…
An emery board is just a thin board file with the perfect grit for natural nails.
So, if you cannot find the grit number on your file, just look for the words “emery board.”
I recommend one like the one below. They come in a pack of 24.
Now that you have your gentle file… How do you shape natural nails?
Believe it or not… some people just want the most natural look. Their not necessarily sure they are into a square or round shape. They literally just like a “natural” shape.
If you’re a DIY’er, you’re probably like, I’ll just invent that for myself, but if you’re a PRO, how do you determine that for your clients?
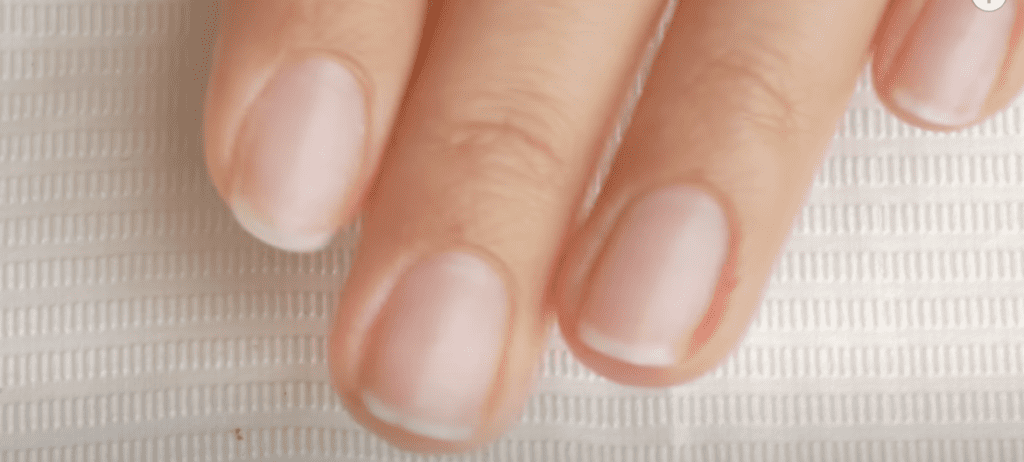
This is actually easier than you think… Just follow the smile line of the natural nail.
Smile line.
What is the smile line of the natural nail? It is the opaque line that forms at the end of the last bit of nail plate connected to the nail bed; that then goes off into being the nail tip, or free edge.
Look at your naturals right now. What are they naturally doing? Is the smile line of your nail profound? More straight?
If you want the most natural nail look and feel to your nails, just shape your nail according to the nail smile line. Unless you want a square or an almond nail, don’t force the shape of the nail here. Just file it naturally to what it’s already doing.
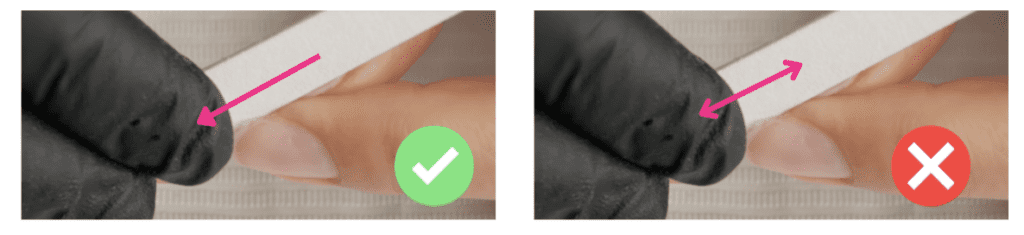
Oh! And when you file, don’t take your day’s stress out on your nails, do it gently. I want you to imagine yourself playing a tiny violin at the tip of your finger. But rather than playing the violin, you’re gently shaping in one direction with the hand file.
Filing in one direction.
Why one direction?
Sawing back and forth will shorten your nails and cause those nail layers to split. Filing in one direction actually blends those layers and promotes nail growth.
In my case, my nails tend to fan out just a little. I mean that I don’t have the same width from the cuticle area to the free edge. The free edge is slightly wider than the cuticle area part of my natural nail. If your natural nails fan out too, you’re probably not a fan. (Well, that sounded kind of funny.) Hey, neither am I! So, I will be filing those fanned-out free-edges in.
So you want to use the width of your cuticle area as the reference point. Ideally, you want to file in just enough to match that width. You will be tempted to file in even more, or you may accidentally do it. So go back to playing that tiny violin on your natural nails. Little by little, in one direction.
First, set the file straight on the sidewalls, and then angle in just a bit from smile to free edge to taper those sides in just a bit.
Remember, and I am being redundant here. When filing natural nails, do not saw back and forth or dig your file into the side wall areas of the nail.
Also, remember that this is an entirely optional step. If your natural nails’ free edge does not fan out enough for you to want to take the extra time to file it in, then don’t. Simply worry about making the nail edge (the tip of the free edge) the desired shape.
As a side note, filing in one direction will take a little longer, but your natural nails will thank you. They’ll do so by growing long and strong!
Those natural nails will grow long and strong. Use a clipper only when you want to take down length quickly, and use an emery board or gentle natural nail file.
What nails should be what length?
I’m sure you’ve wondered when filing your natural nails… Ok, what nails should be what length? They cannot possibly all be the same length?
Here is how that goes…
Thumb and middle finger…
Most people’s nails typically have the same growing patterns. Like everything else, there are exceptions.
So, typically the pointer (index) finger will grow the fastest. The thumb will grow the slowest.
Typically also, your thumb and middle finger will be the broader nails. So because these nails are a bit wider, consider leaving them a bit longer than the rest of your fingernails. But seriously, just a tad.
Index and Ring Finger.
With the thumb and middle being taken care of, you now have the index and ring finger to file. These 2 should match in length (but remember, they are slightly shorter than the thumb and middle). However! Because the index/pointer finger typically grows the fastest you or your client may want it shorter….
Pinky.
I know, I know. So what is the point of these filing rules if we break them, right? Well, these are just those little big executive decisions you’ll have to make, my friend.
Lastly, your pinky finger, This one should be the shortest of them all, but just a tad shorter than your index and ring finger. I would not recommend you leave it as long as any of the 3 middle fingernails. It will look freakishly weird.
Lastly, Corners. On or off?
Whoof… I know that may have been a little stressful, but if you follow these guidelines, I promise that when you photograph your nails, you’ll see all of the “science” that went into filing your nails.
Ok. If you’ve been following along, you probably have nails with rough edges. We need to marry this look. This means if you want corners to the shape that you chose. Keep them, and if you don’t, violin them out… In other words, smooth them out and blend them into your desired shape.
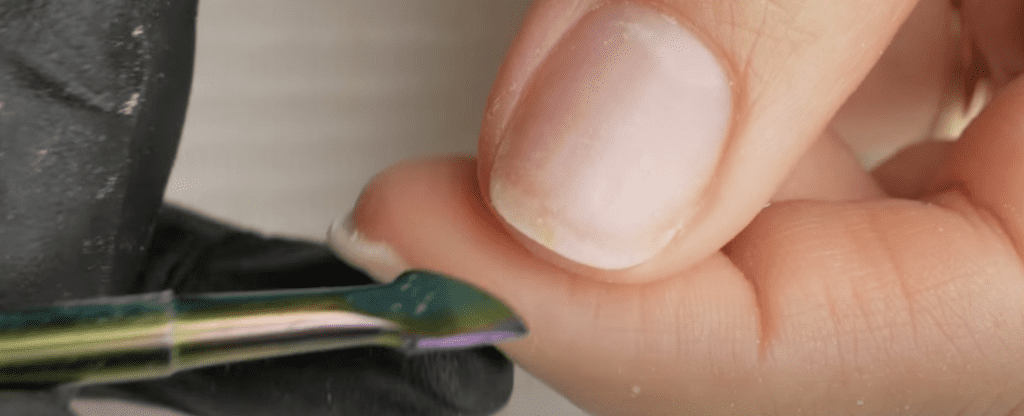
Lastly, you most likely have accumulated debris underneath your fingernails after all that filing. Grab a cuticle pusher and scrape out those frills with the opposite end of the pusher tool. Alternatively, you can grab a manicuring nail brush to scrub underneath them with alcohol.
Alright, you’ve really put some intensity into filing those natural nails. Wipe them down with a bit of alcohol and a lint-free towelette, and nourish them with cuticle oil.
Congrats! You’re done.
If you want to try some of the professional files I used, you can find them here at Zillabeau, they are from Leafgel. Also you can add code PPN10 for 10% discount.
Thank you for joining me today. I know you will shape your natural nails to perfection using some of the tips we went through. Let me know how it goes, until the next one.

These blogs are copyrighted material, and any use of this blog is not permitted without written concern first. Some of these blogs contain affiliate links that give us a small commission when qualifying purchases are made. Thank you for your support that helps us to continue creating valuable resources and content like this.