So before we go into an application step-by-step, I want to tell you about the mechanism of this new chrome pen trend.
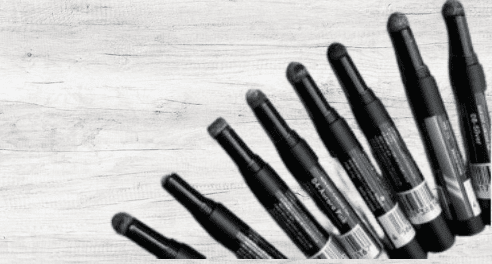
For starters, when you turn the pen to uncap it, do note that there is a bit of tension when it is uncapping the pen. So if you don’t do it slowly, it can pop open, causing a little but annoying amount of spill.
I’m not sure if the tension feels like it is coming from a coil behind the sponge or just a result of squeezing the sponge into the cap. I think the latter.

And on the cap is where the pigment is stored. When I first received one of these pens as a gift from Zillabeu, I was confused because I thought the pigment powder could be oozing through the sponge. Hey! I was thinking creatively, ok!? Also, you can use code PPN10 for a 10% discount at Zillabeau if you’re interested in these ;).
So no, the powder does not ooze through the sponge; it is pressed into the cap. You then tap the pen into the pressed powder inside the lid. Now mind you, each time you use your chrome pen it is stored and pressed into the powder, so it will be ready to go for you, and, more often than not, you’ll have more powder on the sponge than you’ll need. If that is the case, find a lint-free surface to offload the excess before applying it to the nail.
Now unto the “how-to’ of using the chrome pens on the nails.
Follow these five steps, especially when doing full coverage applications:
Step 1: The right chrome base gel is Key!
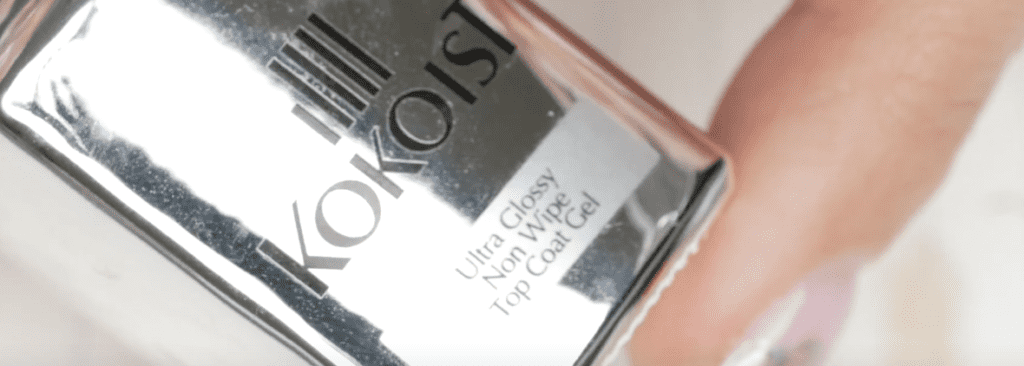
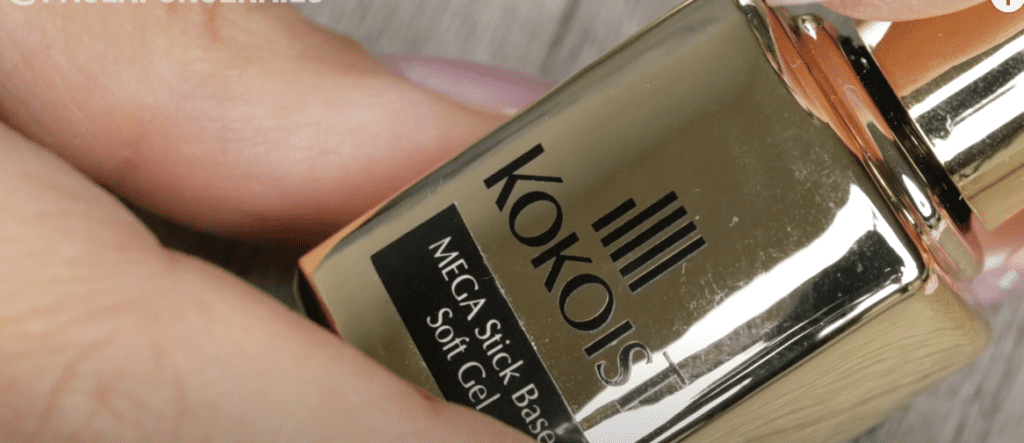
First things first, chrome pens and powders, for that matter, will only work on a tack-free glossy clear gel. This is why a non-wipe top gel is often needed as the gel layer the chrome powder glides onto. Now, not all non-wipe top coats are created equal. You will have to test the optimal cure time of your non-wipe top gel. For example, if you under-cure the top gel, your chrome pigment will glide on but may prematurely chip. If you over-cure your top gel, often the chrome will not glide onto the top gel.
For instance, you can use Kokoist’s Ultra Glossy Non-Wipe as a base for the chrome, but we’ve found that this top gel should only be cured for 10 secs, so this may cause premature chipping. However, if this is your only option, do not worry. The next steps include tips & tricks to make this process foolproof.
My best advice for ultimate chrome nail success is to invest in a separate dedicated chrome-use gel. Like Daily Charme’s Non-Wipe chrome gel, I’ve used this one for a few years now, and it is by far the best for me regarding consistent results. I’ll link it for you in the description box below.
My other advice is to, no matter what non-wipe top gel you use, apply a nail primer on the tip of the nail so that even if your gel does not adhere well to the chrome pigment, this primer will aid in bonding. When you use your bonder brush, tap off some excess and do not brush downward but upward so that you don’t wipe off much of your pigment.
Step 2 Now that you’ve chosen your chrome base gel, cautiously open your chrome pen.
As mentioned, slowly twist the pen, rub off any excess on a lint-free surface and begin applying.
Step 3 Apply your chrome powder.
Now yes, you can tap and apply, but I find that the technique you need for a successful chrome application is one of “burnishing.” Burnishing is the act of making it shiny by friction. So initially, tap your chrome powder on to get a sufficient amount of powder unto the nail surface, especially if you’re doing a full cover, then burnish it. So rub the chrome pigment fast and with pressure to activate that high gloss by friction.
Step 4 Cure.
Yes, cure that chrome pigment for at least 10 secs. Any last bit of uncured gel particles will attract the chrome pigment.
Step 5 Dust off the excess.
Now while you may have done a great job about burnishing your chrome pigment, there may be a few loose particles. One of the big reasons you’ll want to dust off with a very soft bristle brush is that you will murk your next layer of clear gel, making the glossy effect you achieved by burnishing dwindle.
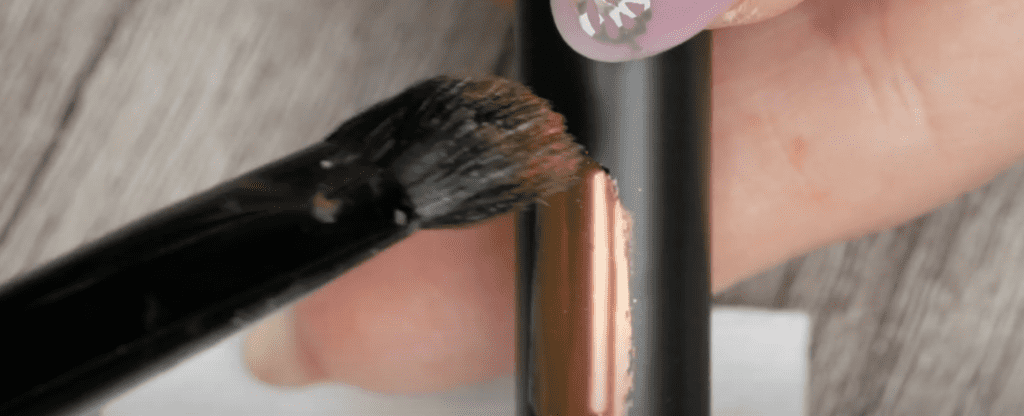
Step 6 Seal it w/a bonder.
Remember to brush upward, not downward.
Step 7 Seal it with a base gel, a clear builder gel matching the flexibility of the natural nail.
You will want to seal your application with a thin layer of a flexible base gel to provide your application with some impact absorbency with the day-to-day wear of life on the nails. If you move straight into a top coat, especially a Non-Wipe one, you will experience micro-shattering and, thereby, chipping.
Now, the full-coverage chrome nail works if you’re still not finding success with it or you don’t want to go through all the trouble. No problem, partial and dainty chrome applications are currently SO IN, so have at it. You can take some of the same tips and tricks above and succeed!
Now, I want you to check out all the colors I own from this Kokoist Chrome collection (Remember to use code PPN10 for a 10% discount at Kokoist and Zillabeau ;), and I also want to show you two cool ways to swatch your chrome pens. Enjoy this swatching; you’ll be shocked to see that what you see is not actually what you get with these colors. They are so much fun!
Was that not so fun?
Ok, so I’m all about swatching what you own. Whether that is a solid color, a glitter, or a chrome pigment. So I’m going to be doing a little bit of glass tile swatching, and if you want a detailed step-by-step on how to swatch all of your colors, do check out my previous video on this topic.
Well, that is all that I’ve got for you on this topic of chrome pens. I have you enjoyed the step-by-step and the swatching suggestions.
Thanks for joining me, and I’ll see you next week.

Content written by Paola Ponce
Loved this blog? Then I think you’ll love learning more about my journey as a specialized gel nail solopreneur in the nail industry. Click here to get instant access to my free masterclass. These blogs are copyrighted material and any use of this blog is not permitted without written concern first. Some of these blogs contain affiliate links that provide us with a small commission when qualifying purchases are made. Thank you for being so supportive, which helps us continue creating valuable resources and content like this.
![5 Must-Buy Efile Bits for Soft Gel Nails [Japanese Gel]](https://paolaponcenails.com/wp-content/uploads/2020/05/bitsthumb-1024x575.jpg)