
If your business or hobby is upgraded, so should your swatching and display strategies!
You may have gotten into nails as a creative outlet, or perhaps you’re coming back to the industry, or you’re already successful in the nail industry, but your products simply are… excuse me … boring. (admit it!)
Well, welcome to the world of Japanese Soft Gel! If it is not cute, quaint, and focused on the details… we don’t want anything to do with it. Simple.
Add to this that the products are of excellent professional-grade quality, and the real question becomes… Why not?
If you’re just swatching with swatch sticks or palettes, alright… no biggie. But suppose you can present your beautifully crafted Japanese Gels in the cutest ways. In that case, you will fill yourself with a clientele (if you’re a pro) that keeps coming back repeatedly—creating a thriving business of recurring revenue, looking forward to their nail escape every month.
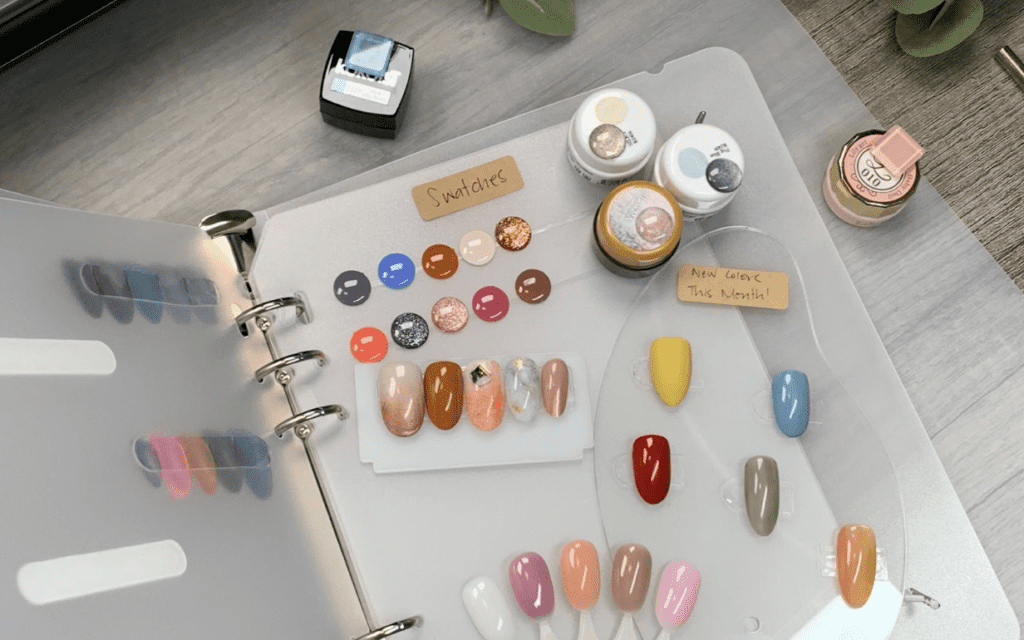
From glass tiles to swatching notebooks and displays, you’ll learn all the aesthetically pleasing ways to swatch your dainty and delicately created Japanese Gels.
You can swatch all your colors if you want to; that’s what everyone does. They swatch them all, put them together and bring this big batch of colors to your client. Now, with all the swatch ideas I will share today, you will learn that there are more fun/effective ways to present these to your clients instead of just throwing all these colors at them and being like, “Here, choose.” Japanese and Korean gel nail brands take a lot of time, effort, and thought to create small swatches so your client can have something digestible when they sit at your nail desk.
Pro Tip: I did not swatch all my colors and drop them at my client when she sat at my table; instead, I had seasonal colors they could choose from, so please consider having them.
I will teach you about that and more in my Master Gel Nails course. You can learn more about it HERE and immediately access the free masterclass.
Ok, let’s start with the swatching ideas!
As you know, I do my part to support the niche and the brands I am part of, Japanese gel nail systems. As you already know, my favorites are Kokoist, Leafgel, and Vetro. Some Korean brands from Zillabeau also distribute Leafgel.
That said, I got everything we covered today from Amazon. This is one of those things that I would get from Amazon. I’ll link them to my Amazon Store, and you’ll be able to see everything I ordered for today’s topic in case you are interested in buying them for your swatching needs.
Let’s start with the basics. With what everyone is using to swatch their colors
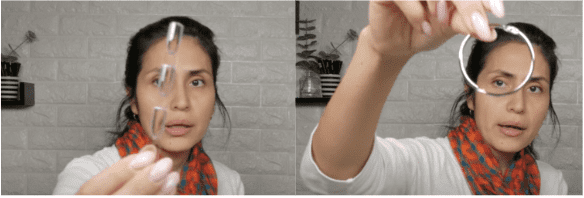
1. Swatch sticks
Everyone has these, right? They come in different shapes ( almond, coffin, stiletto, etc.), but I like to keep them simple when I use them. I use a round nail swatch so the client can have a neutral shape so the client can have a feel/idea about the color; because the client will grab the swatch stick and place it over their finger to see if that matches, so you want to have a neutral shape, so they’ll be more likely to get that color.
Then you can use a ring like this to organize them and put them in collections or seasonal colors or by hues or tones, your reds, your nudes, your pinks, all of that, depending on how your want to be creative.
You can place the swatch sticks rIngs on your wall; it’s pretty common and effective; there’s nothing wrong with them. If you’re like, “I don’t want to mess with swatching ideas,” these are the ones.
2. Swatching Palettes
I really, really like these. When I told you I like to do colors seasonally, I like to buy (and you do too, let’s face it). If you’re in the salon, you’ll purchase colors often, maybe more often than you want to. And when you do that, colors sit on your shelves, or your drawers just sit there, and your client doesn’t care for them.
I’m going to give you this pro tip, and I hope it inspires you to do it yourself and you will be banking. I’m talking about making money and having money to buy colors when needed because this piece of advice is money-making. If you are in a salon environment and have a lot of colors, go through some colors seasonally; for example, it is fall-winter, so that I would swatch some fall reds, browns, navy blues, forest greens, and maybe mauvy colors. Then I would have my regular pinks, neutrals, and a few glitters sprinkled there.

Just a few glitters because if you are a nail art specialist, you’ll want to have those options open, right? You want the client to request your nail art, not just all glitters. Just keep that in mind.
This is what I have used at the salon for many years. I would create a new palette for the next season, so when my clients came in, I gave them the seasonal color palette and proceeded with the gel removal. They casually look at them and get excited because they are new or recycled colors. You can use the same colors from other palettes and add them to the new ones because those will play differently from the other color selection. By doing this, you are ensuring all of your colors are moving throughout the year, and you’re not just buying and buying colors, and your client is like “red,” “pink,” and “nude,” right? So please keep that in mind.
3. Swatching wheels
These can be fun too. These also work great for doing seasonal colors, or I would recommend these for your nail art, for example, decals, charms, or embellishments, as opposed to passing cases of nail art pieces to the client so they can see how they wear. These can inspire you to create more nail art, and you could add the price on the center, like “all the embellishments on this wheel are a $10 upgrade on your manicure” These wheels are beautiful for that.

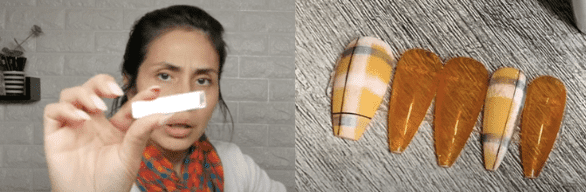
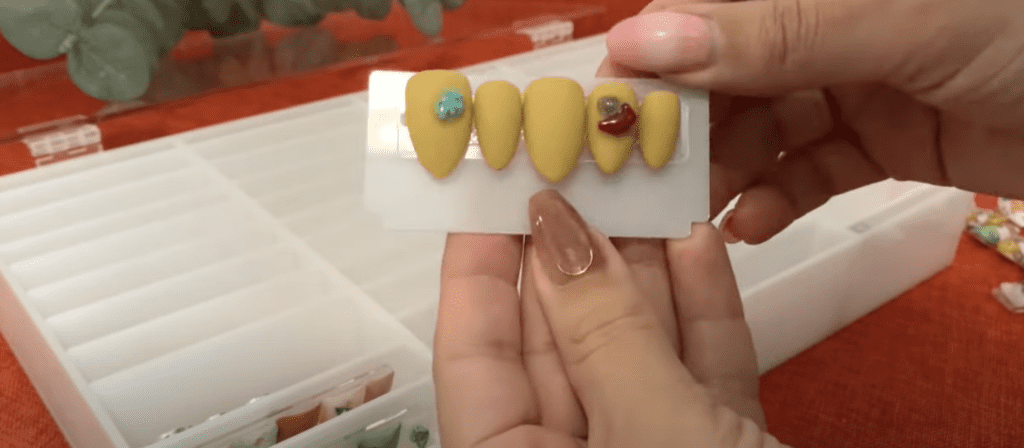
4. Swatches Handle
These are new to me. I’ve seen the press on’s gals mailing these with their sizing kits. These have five swatches, which are great if you do press ons. You offer a complementary base color for the customer to choose from. Then you do the nail art on top of them, for example. She doesn’t know what wears well with her skin. You could say, “Hey, along with your press-ons sizing kit, I can mail you the shade matcher tool that allows you to try the different base colors to find the best match for your skin color.”
Otherwise, you can use them just like the wheels to showcase your nail art, embellishments, etc., and that would be fun, also. The reality is that if the client is not seeing your nail art or your embellishments, that means it’s not moving, it’s not selling, and you start thinking that they are not interested when it’s really because you’re not making it easy for them to book that service.
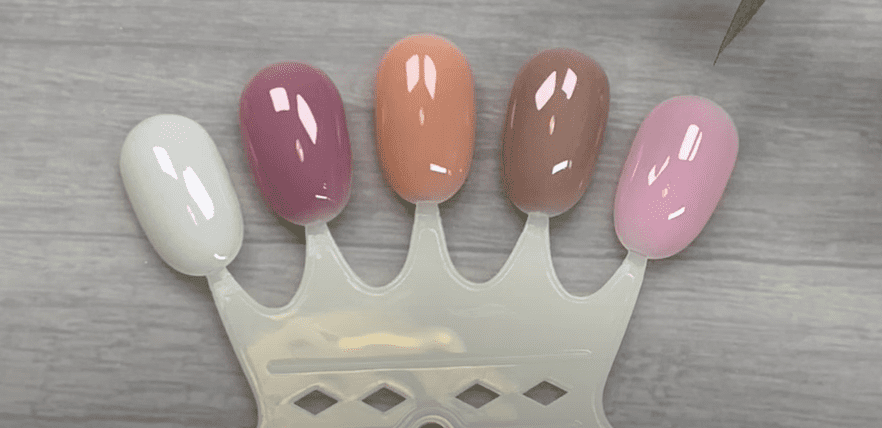
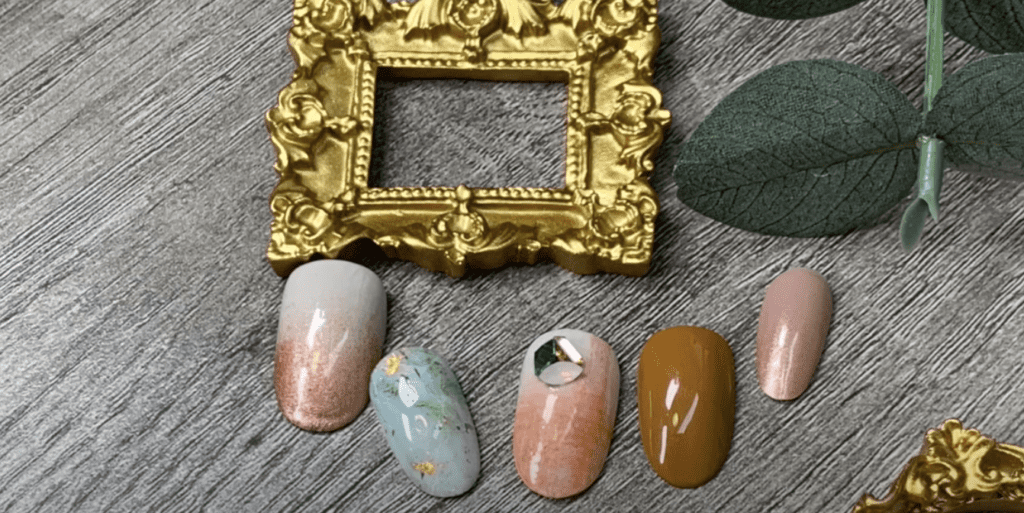
5. Swatch Frame
This one is fun and pleasant to look at. You can add your seasonal colors or nail art; maybe you offer monthly designs, which can have a little discount. If they request the featured monthly design and come in for their service every month, they come in excited to see that new you got.

Having fun, fresh ideas like this one on your station is good for you and the client. On the one hand, you get to design and create what colors look together and how your nail art creation looks with the rest of the colors. It keeps the creative juices flowing and builds client loyalty. It’s all about the little things, believe me.
This frame has a piece of paper in the back with the swatch spaces, you can use it like that, or you can put a white piece of paper on top and show five nail tips with the design you are showcasing and the variations. For example, this design is $90 this month; many Japanese nail stylists do this and offer monthly design variations; it’s fun, fresh, and keeps your products moving.
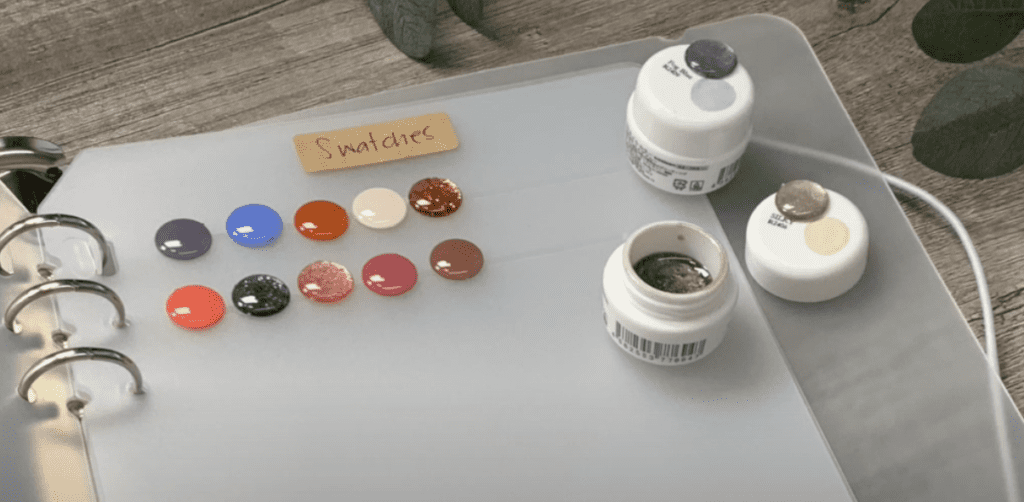
6. Glass Tiles
I ordered the big ones, but I would encourage you to pick the small glass ones. I feel those look prettier and last longer.
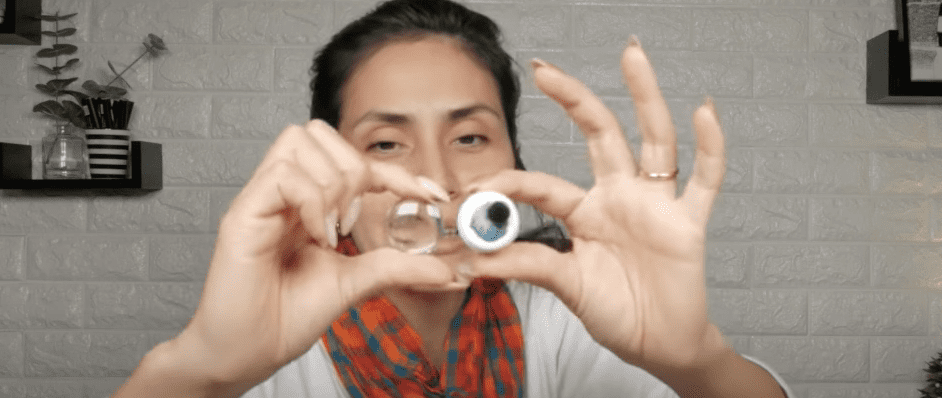
You can use these to swatch individual colors, or if you are creating content, you can lay the colors down. If you are content-creating, it’s all about aesthetics.
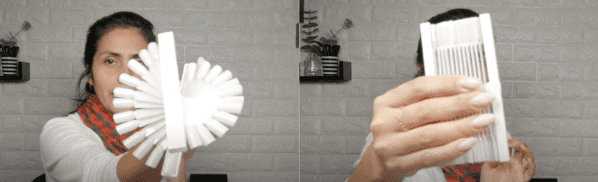
7. Twist swatch sticks sets
This one is really fun; it’s like the swatch sticks but let’s say you are doing shades or tones; you’re not doing all the collection. I don’t recommend you do that because many nail art products will not be used.
So, when the client comes in, you can say, ta-dah! There are the colors for the season! Take a look. Once she’s picked her color, you can twist it back into shape, and these look like the swatch sticks. These come with 24 swatches, and they store very easily.
8. Three in one swatch sticks
These come with three nail tips on one swatch stick. You might think, What will I do with these? Swatch three different colors? Not really, no. You can swatch one color with a shiny top coat, the next tip the same color but matte, and the third could be one coat of color or an ombre/gradient effect. Then you can place them on a ring and hang them somewhere, just like the regular swatch sticks.
9. Acrylic rectangles
These acrylic rectangles are used with strong double-sided tape to stick your nail tips. Then you could stick there on the swatch frame we discussed earlier or store them in containers. We’ll use these for another purpose; I’ll show you later.
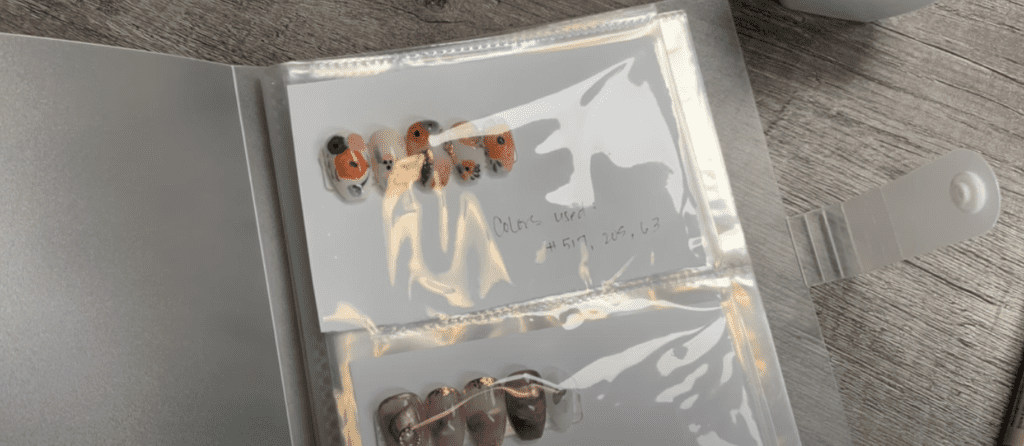
10. Binder
I was intrigued by this binder, and I really like this type of plastic. This binder comes with double-sided stickers that you would use on the plastic sheets to place the nail tips on them. You can just stick them like that or use the rectangle acrylic pieces. This looks super cute and organized, and the client can flip through it like a nail art book. You can organize each sheet by season, nail art, or color tones. You decide.
Nails, especially what we do here with Japanese soft gel, is starting to become an artistic outlet, it’s not just for the pros. It’s professional-grade products, but it’s just so pretty, so quaint, Kawai and Japanese culture infused, so cute. It’s becoming a creative outlet for so many, so if you are DIYer, watch a lot of our videos or blogs here, so you know how to do it responsibly and what mistakes to avoid.
If you are thinking about making Japanese gel your niche because it’s super fun, professional, and hypoallergenic, meaning it has a lower possibility of becoming allergic because of lower monomer ingredients, then you’ll want to check out our free masterclass.
People are looking to get their nails done and will spend their money where they get the experience, fun, exciting nails; otherwise, they do it themselves or don’t do it at all. Believe me; it’s not about the most luxurious art design; it’s more about people escaping from their daily lives into a fun, pampering, exciting experience.
11. Nail Binder
Binders are super beneficial, and this one, for me, was perfect for organizing and showcasing my nail stickers and decals. I like to use them for that because the pockets are card-size, so the decal sheets fit perfectly. You can organize them like this and also add information about the color or nail art you used.
For water decals or nail stickers, I have a video explaining the difference and how to apply them. These wear so beautifully thin on the nail, and my source is Nashly Nails; they have a large selection of water decals; make sure to watch that water decals video first to learn how to apply them.
12. Nail Color Book
Again, you have to decide if you are going to make books your swatch books or nail art design books. I got this one from Amazon; it’s white and looks like a computer; pretty cool.
You can use the tabs that already come with the book and arrange them in rows, or it comes with plastic nail tips that you can slide into each nail spot individually. The nail spots are numbered, so this would be a nice swatch book; it’s cute and reminds me of a makeup palette.

13. Display accent pieces
This is a super cute small display you can use to showcase a single design or a few accent nails for the month. Maybe you don’t have many designs and just have one for the month. Then you can use something like this. Make sure it’s a design anyone would like to wear so your client is more inclined to try it.

It’s pretty, doesn’t take too much space, and will draw your client’s attention; it happened to me all the time at the salon with my crown brush holders. They were a conversation starter for sure.

The other nail display holder comes in two easily assembled blob-shaped acrylic pieces. You can use them to display more sets of nail art or your seasonal colors. The last one is an acrylic rectangular piece; it’s larger, so you can use it your more swatch space, as a sign, or even show your colors if you want to. You can use glass swatch squares, hearts, circles, etc. Those are linked on my Amazon too ;).
13. Photo Props
These last ones are for your photos. I know many of us get clients through Instagram, which is a great tool but do not disregard Google. In my Master Gel Nails Pro course, I teach you how to get clients on Instagram and Google; again, check out the free masterclass or be on the lookout for a promotion; sign up for our newsletter below, so you are the first ones to know when a launch is coming, and you can get on the waitlist.
You can use these as props for your nail design pictures; again is all about aesthetics and creating a vibe, so good lighting, 1 or 2 props, and a beautiful set of nails are all you need for a perfect IG pic. You can also use these at your nail station or salon, and your customers will shop based on that feeling they get when they see eye candy, so that’s what will bring him/her back, the feeling.
14. Swatch Case
We move to the bigger cases. This one has a magnetic closure and has a ton of space to use the rectangular acrylic pieces to store nail sets like jewelry. You don’t have to buy something this big, but I can see myself one day bringing this to a show full of my designs.
I thought this is a cool way to store all your designs and protect them.
15. Acrylic Archive
You have this acrylic box frame and the acrylic sheets to insert inside the box, like oven trays but for nails. You can place this on your counter, nail desk, or nail station. You can use these for press ons anything you can think of!

That is it for me today; what did you think of today’s topic? I don’t like to say buy all the time; I like to be very organized and strategic when purchasing stuff. The products we use are higher-premium, but the good is that we don’t need a lot, so buy when you can and what you can when they have a big promotion or use our affiliate codes PPN10 for 10% discount at Kokoist and Zillabeau. These are great ideas to help you set up your nail nook or station with the right vibes and organization if you are a professional.
Please let me know what you think; drop your comments below. I’ll see you at the next one!
Content by Paola Ponce and Fabiola Saucedo.
These blogs are copyrighted material and any use of this blog is not permitted without written concern first. Some of these blogs contain affiliate links that provide us with a small commission when qualifying purchases are made. Thank you for being so supportive that helps us to continue creating valuable resources and content like this.


