
Hey, Hey!
Good news and bad news.
THE BAD: Enrollment for my annual Leafgel Group Class Certification closes this Thursday, March 2nd, @ 10 pm EST, and the 20 student slots are almost gone.
THE GOOD: We have room for 5 more students!
If you’re still a bit on the fence about enrolling, no worries! I’m hosting a free Leafgel orientation class this week.
All you have to do is register to start watching it immediately. (It will expire this Thursday @ 8 pm EST, so make sure to start watching it ASAP after registering, as this deadline will not be extended.)
But! Here’s a big tip, don’t register until you’re absolutely ready to treat yourself to some quiet time to watch. Really plan to spend this hour on this class as a me-time hour.
✅ Distractions off
✅ Favorite beverage
✅ Favorite note-taking pen
✅Favorite note-taking journal
And you’ll definitely want to be distraction-free as we’ll have 3 “sneaky prizes” throughout the class! But please, please, only participate in this class if you’re seriously contemplating a Leafgel Certification this year, I want our prizes to go to those who much need them.
If you’re ready to enroll and start watching, here’s that link!
P.S. If you’ve meant to enroll in this year’s Leafgel Certification but have forgotten, CLICK HERE TO ENROLL NOW.
Ok! now, into today’s topic.
A client comes in; she wants those dreamy and trendy new chrome nails… You’ve quoted her…, and now she sees your nails with the same dreamy trendy chromes PLUS your gilded gold accents. Cha-ching $20 upgrade, here we go! (P.S. That’s minimally what you should charge after seeing all that is involved to add those dainty accents!
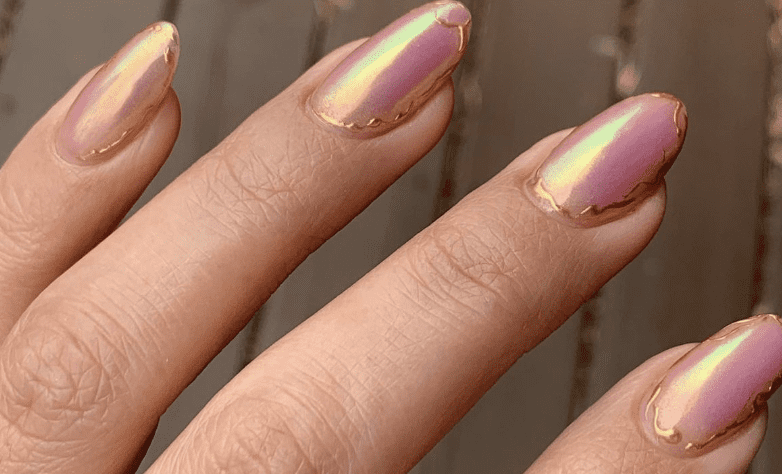
I am working over my liquid chrome nails I did not too long ago. If you want to recreate the liquid chrome nails, check out my full step-by-step video HERE.
Here are all of the materials you’ll be needing for this look and where to buy them:
- Cuticle pusher (Mine is from Stalecks) Use code PPN10 for 10% off
- Gold Chrome powder
- Lint-free towelettes
- Application brush (I’m using Lily gel square/flat brush)
- Medium-short liner brush
- Leagfel Extreme Clear + Base gel
- Leafgel Non-wipe Matte Top coat
- Leafgel Fixing gel (lilac bow)
You can shop Leafgel products at Zillabeau and don’t forget to enter code PPN10 for a 10% dicscount at checkout :).
Step 1: Your working area
Start with a clean and organized working area. After setting up my dental bib on my nail desk, I like to use a spray bottle to dampen the dental bib to add moisture and a nice fragrance to my work area. This creates a friendly, relaxing, spa-like vibe, and the moisture helps to catch the dust from the nails, especially if you don’t have a dust collector. That’s a pro tip.
Step 2: Remove the shine
Very gently buff the surface of the nail. I’m not trying to remove anything other than just shine, so I will grab a gentle sponge buffer.
You want to keep the grid of the buffer that you will be using quite low. So you can either grab your 200 or your 100 grid. It just depends on whatever you’re comfortable with, whatever you have. Either one will be fine. I will go with the soft side of my sponge buffer.
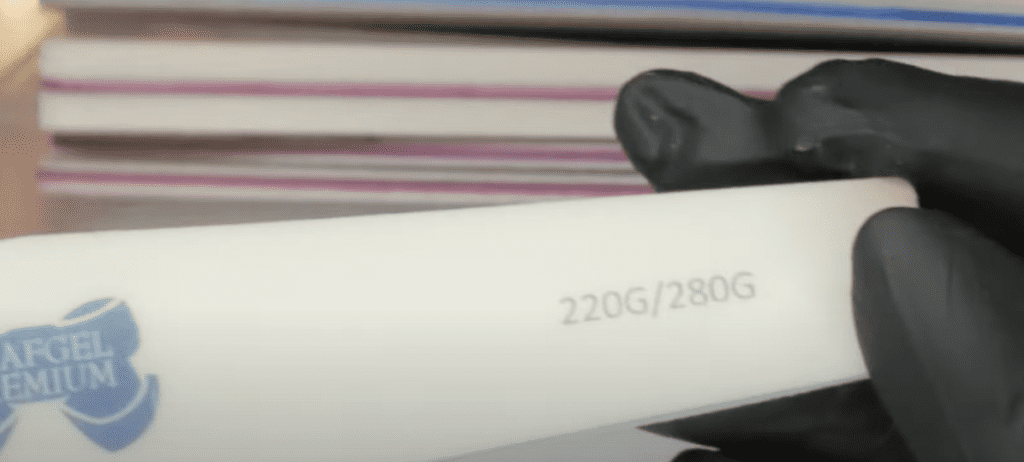
If you don’t trust yourself and think you’ll remove more than you need to, please grab the smoother 200-grit sponge buffer, so you don’t do that. Do this on all of my nails.
Step 3: Remove the cuticle and dry skin from the grown-out area.
I’ve removed the dust, and you want to go in there with your cuticle nipper or pusher and remove and find that cuticle because it’s there. I’m going to be using my favorite manicuring tools. They’re from Staleks Pro. A very quality reputable company from, I believe they are made out of Eastern Europe. My favorite tools do come from Staleks Pro. They’re disinfectable And will last you a very long time.
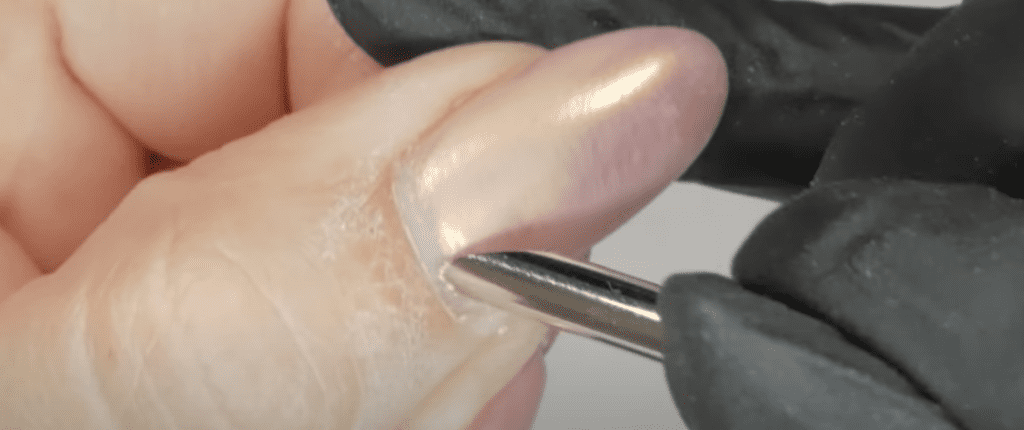
Make sure that you’re hitting the nail plate. And then, take the scraping end of your tool and go ahead and remove all dry skin. Remember, the cuticle is almost invisible, so these sharp tools will help you scrape clean everything. Do this on all of your fingers.
Step 4: Clean with 90% alcohol and a brush
I’ve already pushed back and scraped all the cuticles off the nail plate. Take a manicure brush, put 90% alcohol on it, and scrub them clean.
The skin around the cuticle area is called eponychium, and I don’t recommend nipping immediately. Mine is really thin, so I’m not going to nip it. If you have hangnails, use the cuticle nippers only to nip off that tiny piece and continue your service. I don’t do all the unnecessary stuff unless the client needs to. But otherwise, this is all you need.
Push back the skin in all ten nails and continue with the next step.
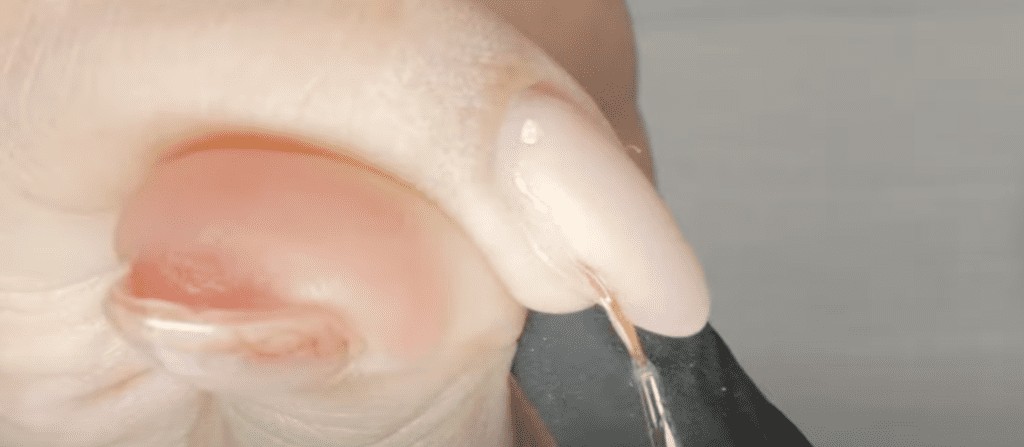
Step 5: Base coat
From here, I just want a very thin base coat to go behind the grow-out line, right behind the grow-out line, to refresh the set.
You can charge for this level of art if you’re a pro. But if you want to add more, we’re talking maybe $10 to 20 dollars more, then what we’re going to do today is that upgrade. So Leafgel’s Extreme Base gel is really thin; If you’re using Kokoist’s Mega stick base, it will be perfect for this.
Grab your application brush. I will get my square brush because I think it will get through this area more. It’s a little thinner than my oval in this case.
Now, I will do a coat that allows me to get on the entire nail surface without spilling. I want to be thorough. I don’t want to touch it because your eponychium regresses or falls back down, so I’m not worried about my gel not touching back over there because I pushed it back significantly before this manicure.
Use the corner of the flat brush to line this side idea wall without touching it. Touching equals lifting once it’s secured; cure it. Notice I am not structuring.
Step 6: Matte topcoat
Now, grab your non-wipe matte topcoat and add another very thin coat on all of these nails, very thin. All we want to do is have it so that our next gel, which is this one here with the fixing gel, the lighter Lilac Bowl, needs a base to stick to the nail; without a base coat, this is going to lift because the fixing gel does not have adhesion component to the natural nail.
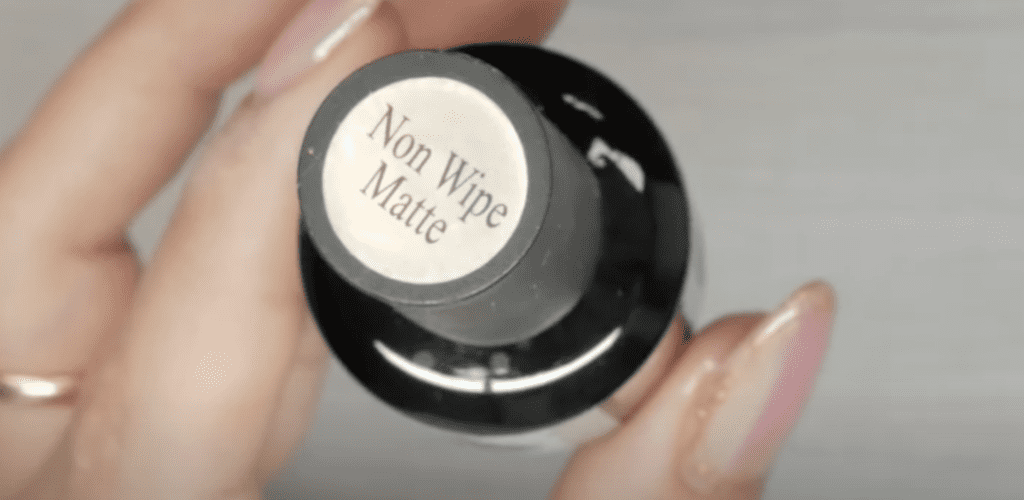
The matte topcoat will help the chrome powder to only stick to the gold outline you draw with the fixing gel and not the entire nail. You can leave the nails matte if that’s the vibe you like, but I’m going shiny today.
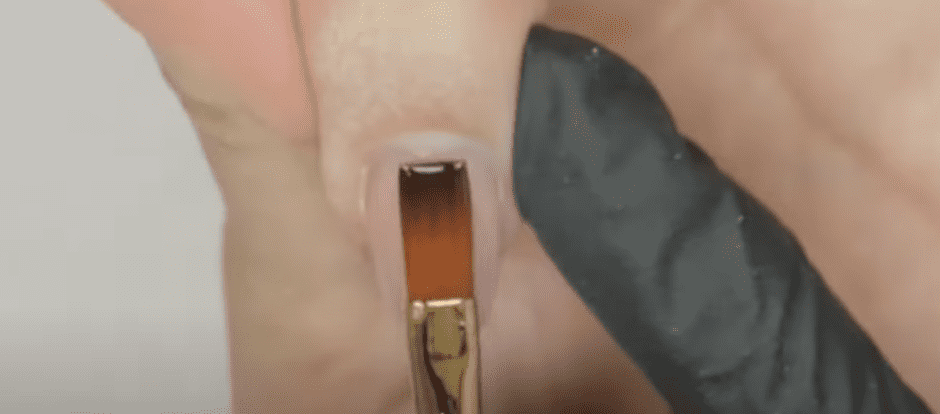
Step 7: Fixing gel
Now, you need a thin liner, not super thin. Then we will grab the fixing gel and create a trim around the perimeter of the nail. Now, this fixing gel is already non-wipe. That’s what will allow the chrome to stick to the trim only. Just create a little border of your liking and cure.
Cure this for at least 30 seconds, and then I will apply my Chrome pigment. You can use any brand of gold pigment. Rub the chrome pigment on the fixing gel trim and use fast friction instead of pressure to make it super shiny.
Step 8: Clean the chrome pigment
Clean the areas that don’t have that gold. Then grab a dust brush, but I only use this one for nail art and then wipe off any excess glitter. I just want that gentle combing.
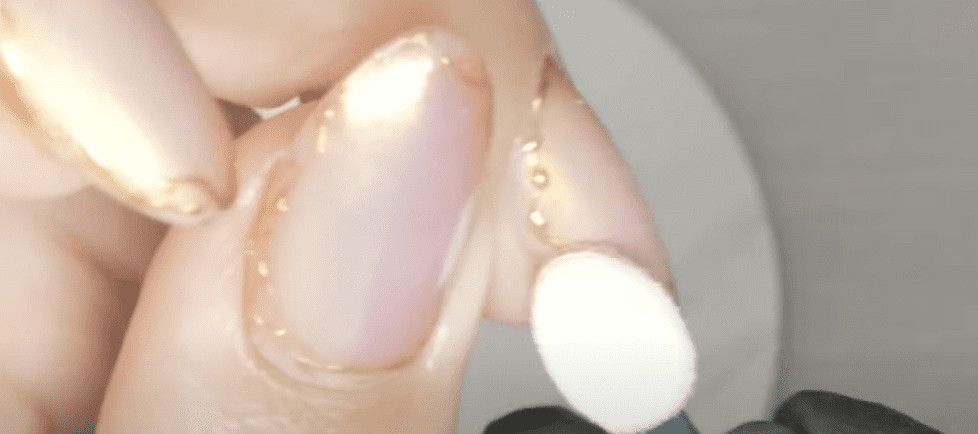
Now, if you did have gold where you don’t want it to be, what you can do is grab some toilets for one and then spray it with a little bit, or you can use your pump in this case because we’re not going to put it on the nail. Ta-da! That looks so pretty.
Step 9: Double-seal the chrome
I always like to double-seal my Chrome. I’m going to be using Glossy because glossy has sticky components. And then, it will allow my non-wipe to adhere because the rule of thumb is that when you’re working with gel, shiny does not stick to shiny. Use a thin coat of base gel followed by a top coat or a layer of wipe required/thicker topcoat followed by a non-wipe topcoat.
Cure fully between layers and finish with a full cure after the last coat of top gel. Done!
Don’t these just look so upgraded, guys? So if you paid attention in our last video on how to do the liquid Chrome, and now you have learned how to do these, you can seriously upgrade your services.
Just let your client know what this is like with this two-step technique of Chrome first, and then the gold trim would be, and then boom! You can add an additional $30 to your base price service.
Again, base price plus your nail art. I primarily use Leafgel products. You can find the Leafgel products here and a 10 % code PPN10 for you to use.
If you’re interested in that certification, if you want to learn more about Leafgel, even if you’re DIY, but you just want to know how to apply and use your products properly, then I would encourage you to look at that. We have added a payment plan also if you can’t make the full investment yet.
Enrollment for our Leafgel certification does close, by the way, on March 2nd at 10 PM Eastern.
If nail art is super fun for you to create, you’ll be excited to put in all the little bitty-gritty work involved. I hope you enjoyed today’s process on how I upgraded my structure gel overlay chromie set.
Let me know your favorite part of this mani down in the comments section below. Thanks for hanging out with me today, and I’ll see you at the next one!

Content written by Paola Ponce & Nail Fabs
Loved this blog? Then I think you’ll love learning more about my journey as a specialized gel nail solopreneur in the nail industry. Click here to get instant access to my free masterclass. These blogs are copyrighted material, and any use of this blog is not permitted without written concern first. Some of these blogs contain affiliate links that give us a small commission when qualifying purchases are made. Thank you for being so supportive, which helps us to continue creating valuable resources and content like this.


