I’ll be the first to say I don’t like giving or receiving a rushed beauty service. But, as a service provider, speed can be camouflaged when you work efficiently.
And what does that exactly mean? Think about it like this.
You go to get your hair done, and your stylist asks you a few questions about what you want to be done today. She washes your hair, conversates just enough while doing it, and before you know it, your hair is blown and styled, and you’re paying for your service.
Your hair looks great, and you’re done within an hour. That’s efficiency. It was over before you knew it, your appointment was pleasant, and the result was what you wanted. This was my experience at my last hair appointment, which is why I considered this analogy (ha!), and it strengthened my view on efficiency as a profitable service provider.
As a nail tech, your services should take place the same way:
Consult
A little optional (but recommended) chat in between and a set of gorgeously manicured nails.
Once you understand and implement this flow in your business, things will slowly but surely go smoothly. However, you may still find yourself stuck when it comes to application. Like your application is still taking much longer than you would like.
Today, I’m sharing two areas where nail techs struggle with consistent, quick, and efficient time frames, leading them to add 20-30 minutes of unnecessary service time. Are you ready? Let’s do this!
Real quick!
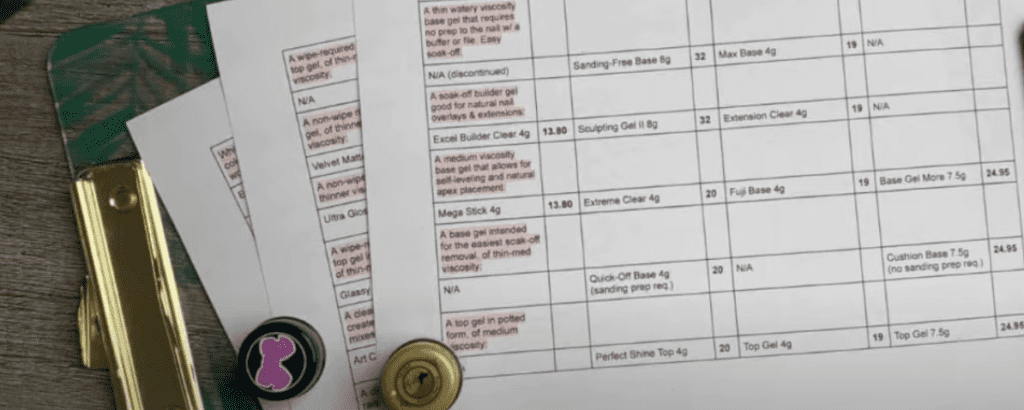
Before we jump in, I wanted to let you know about a free resource my team, and I just recently finished putting together. It is a comparison guide of 3 of my favorite Japanese Gel Nail Brands.

We break down the core gels’ characteristics and make some recommendations for starters. Best of all… all of the core gels we discuss come with the number of sets each gel will yield. This guide is super unique and valuable. You’ll want to claim your copy HERE.
Alright, back to today’s topic.
So there are two areas where you may linger for more time than you need or want to when styling nails.
These are

These two stages are where most nail stylists will spend more time than needed, and I will show you how to shave some time in these stages with two powerful speed tips.
Powerful Speed Tip #1
While all clients may need something different done to their nails, you cannot get hung up on removing their gel nails. This time in your services cannot be variable. For example, one day, it cannot be 10 minutes, and another day or with another client, 30 minutes.
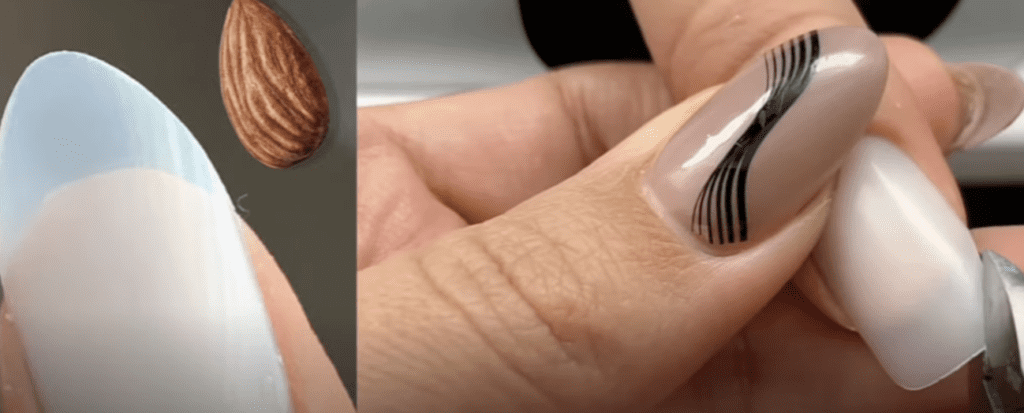
So here’s my tip. When your client sits at your station, consult with her, figure out what she needs and then… start removing. And remove down to about 20% of the gel nail product (a little less or a little more as needed), and here’s the bigger tip: remove it flat.
Ensure you have not left an apex behind when you are done with each nail.
This is super helpful because you will treat the nails like they had no product (although they have just about 20% left). But because it is left nearly flushed to the nail, you can re-apply and structure as if the nails are getting a fresh set of gels.

No wasted time on pondering or stutter stepping whether or not these nails need a fill or full removal.
The slowing down and adding unnecessary extra time to your service comes because you treat every single client as if their removal procedure is uniquely different.
Even if the nails have grown nicely, as in no lifting at the cuticle area, you must remove the old gel flat. Otherwise, you will be left digging, lifting areas off, or preserving the old apex and trying to marry it to the new one.
Structured overlays should rarely be treated as a “backfill.” We are working with soft gel, not acrylic.
Once you lay your soft builder gel or builder in a bottle product behind the grow-out, it will run. It is unlike acrylic, polygel, or hard gel, where the product stays put for a while before it begins to flood the eponychium.
For this reason, and in my experience, you must remove the gel flat for a speedy efficient service and shave off some time from your application. No bumpies, no uneven surfaces, and no old apexes left behind.
Woo! Ok. If this is still not clear, or if it is indeed VERY CLEAR, let me know in the comments section below. I want to see if I am coming through with this time-saving tip 🙂
I strongly recommend you level up to the efile manicuring technique as this will increase your speed tremendously. I’ll drop some links below for any resources or courses to help you do that.
Powerful Speed Tip #2
File the nails into shape after your builder gel application.
So typically, your nail shaping happens before or after your cuticle work.
But here’s the problem with that.
Once the gel goes on, it will accentuate any unevenness in the shape of your nail, and naturally, you’ll end up re-shaping it, am I right? And so guess what?… in this one nail service, you just spent two sessions obsessing about the shape of the nails.
So here are more details on this time-saving tip.
Remove the gel as we talked about earlier.
Get to work on your cuticle work.
Then, this step is essential, trim the nails to a “general” shape of the shape your client requested. If she keeps the same length and shape, you don’t have to get into shaping at this point… I know, I know, it may feel unnatural at first. But trust me, you’ll love how much time waiting saves you in the end.

Now, buff and prep the nail for gel application, and apply your gel(s). Before moving to color layers or nail art… this is where you get to obsess (or not) about perfectly shaping the nails to what the client desires.
Dust and wipe the nails, and wah-lah! You are home free to your color and top gel application.
Give these two time-saving tips a try. They have made a tremendous difference in my application time and my students.
If you want to continue growing with me in soft gel and gel overlay structures and business, check out my free training. In this class, I share three additional business growth and success tips and break down the details of my training Master Gel Nails. Master Gel Nails is where I teach you my application of gel overlays and extensions step by step, using soft gel only.
Thank you again for watching, and I’ll see you in the comments section. Bye for now.
These blogs are copyrighted material, and any use of this blog is not permitted without written concern first. Some of these blogs contain affiliate links that give us a small commission when qualifying purchases are made. Thank you for your support that helps us to continue creating valuable resources and content like this.


