
Hey there!
Here’s something we don’t often do, a “watch me work” session! I’ll do my nails today using Japanese and Korean Gel Nail Products.
And we are happy to be providing you with a step-by-step, should you be interested in recreating this set of nails.
Before we get started…
I wanted to let you know of an exciting new program I am putting together! This program is for beginner nail techs or those needing maximum clarity in their business to be successful as independent nail techs.
Suppose you are considering a career in nails but do not know where to start or are hesitant and scared to dive fully right in. In that case, you’ll definitely want to sign up for a new program’s waitlist. Next month I’m launching a new program that will help you every step until you get booked solid success as an independent nail stylist in your own space.
Sounds exciting? I hope so! I cannot wait to launch this program and start coaching the next generation of highly ambitious nail techs.
And guess what? Even if you’ve already made the leap into being your own boss, but you’re not yet seeing the results of your hard work, I want YOU to join the waitlist for this upcoming program. I believe it could be of great help to you.
Join the waitlist for my newest program MGN Pro here!
Alright, now to today’s Japanese Gel Nails!
Today it’s easy; I will use the encapsulation method to show you how to put these stone flakes/crackles in natural nude color.
I like to set up my materials first, and I am using my new Izemi Acrylic palette from Zillabeau. This palette is excellent for placing your gels and embellishments in one place to keep you organized, and it’s acetone resistant. I am using Lily Gel Base gel, Vetro color, and adding gold flakes from BonnieBee, a few colored shell/stone pieces, and a couple charms from Make.N.
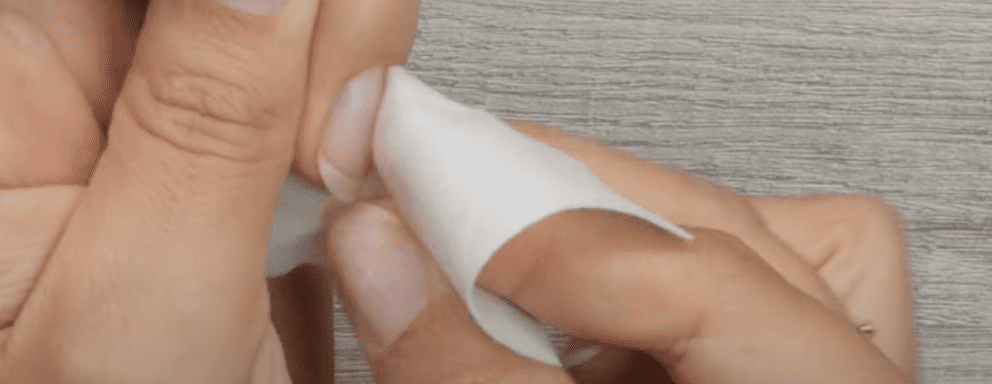
Step 1:
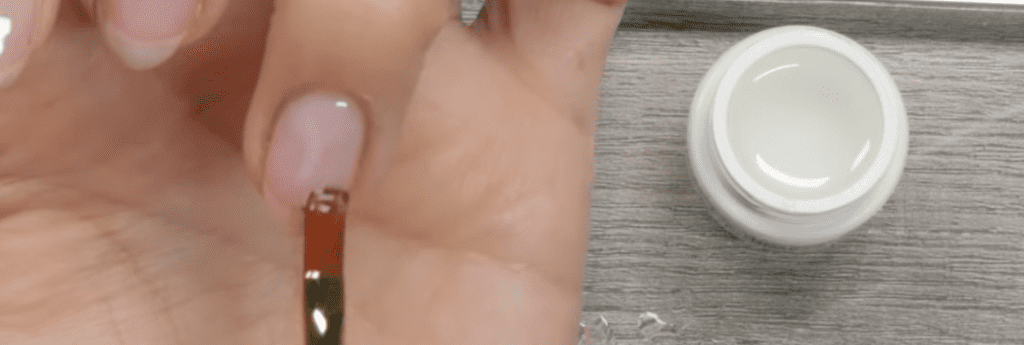
I am starting with clean natural nails with no product. I am cleaning and prepping with 90% alcohol. Use a lint-free wipe with 90%alcocol to wipe the nails and the sidewalls and push up the cuticle area in all fingers. Remember to clean the underneath the nails too. 90% alcohol will clean and dehydrate the nails enough to prepare for Japanese gel.
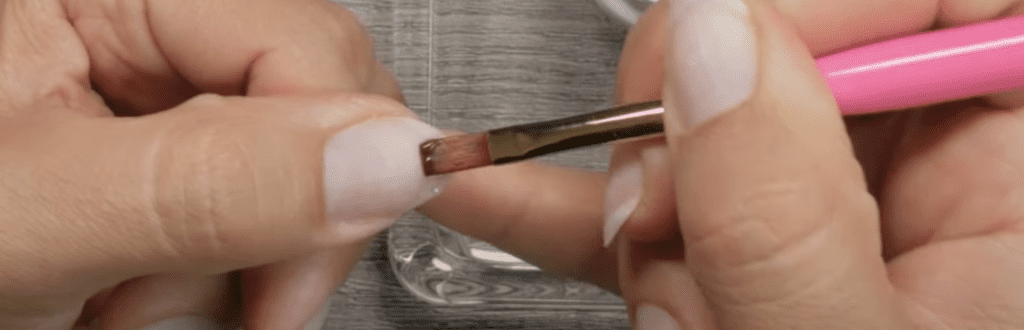
Step 2:
First, I am doing the “scrubbing” tip technique. Using a tiny amount of base gel, I scrub the free edge of the natural nail and cure it for 30 sec in the lamp. This technique helps to minimize lifting at the free edge.
Im using a flat brush to apply Lily Base gel; I love their flat and oval brushes for gel application.
Step 3:
Come back with a small bead of base gel and apply to the entire nail; do this on all ten nails and fully cure.
Step 4:
Time to structure the nail. I am grabbing a bigger bead of base gel and placing it 2 mm away from the cuticle. Use the roundness of the bead to frame the cuticle area and pull the gel down towards the free edge. Use the light’s reflection to ensure the surface is smooth and even. Turn the hand upside down if there are breaks on reflection to help the gel self-level.
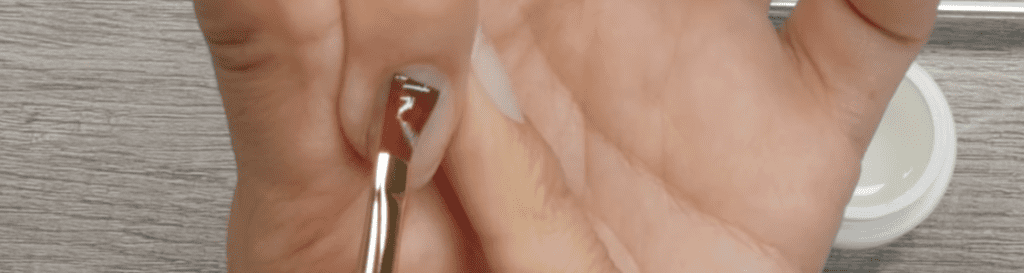
Step 5:
We are ready for color. I am using Vetro’s color #014 Vainilla. I haven’t used this color, so I am moving the gel inside with a stir stick.
Apply one thin coat and cure, then a second layer and cure again for 30 seconds.

Step 6:
Im using Lily’s oval brush with Leafgel’s fixing gel (the light lilac bow on the cap one) to set the charms on the thumbs. I’m grabbing a small bead and placing it on the nail, then using the wax point tool, taking one flake of the gold ones and sticking it on the dot of fixing gel. To make it extra fancy, I am placing the Make.N charm over the gold flake and flash curing with a mini handheld lamp.
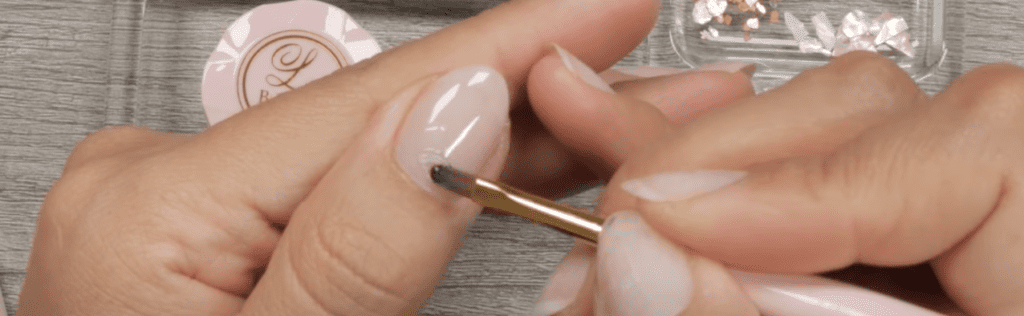
Step 7:
Now, you can totally play with the placement of the charms and flakes; let your creativity lead the way. I am placing mine on the thumbs, and the crackles towards the free edge. Again, I grab a small amount of fixing gel, place the flakes, and fully cure.
Step 8:
I am using Leafgel’s Sanding Free+ to encapsulate embellishments and apply a generously thin layer over the entire nail. I am using Lily’s Oval+ brush, one of my fave brushes. Repeat on all fingers and cure. If you need to smooth out the surface where you applied the embellishments, use more gel on the area sticking out and brush in up and down vertical motion to help the nail self-level.
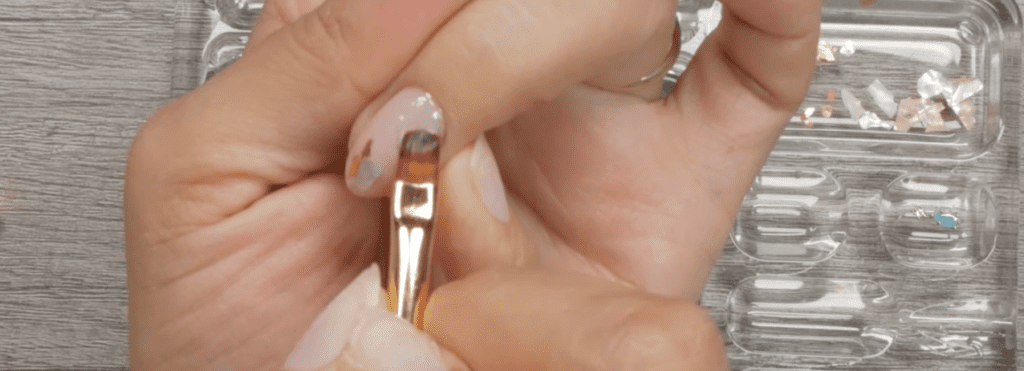
Once you are happy with the results, take it to the lamp for a full cure.
Now, I am encapsulating the charm on the thumb. Since there are crystals, I am careful not to get gel on top of the crystals, just around the entire charm. This will secure the charm and prevent it from getting caught on your hair or clothes. Using Lafgels’ long liner, I am applying fixing gel around the charm’s edges. Cure for 30 seconds.
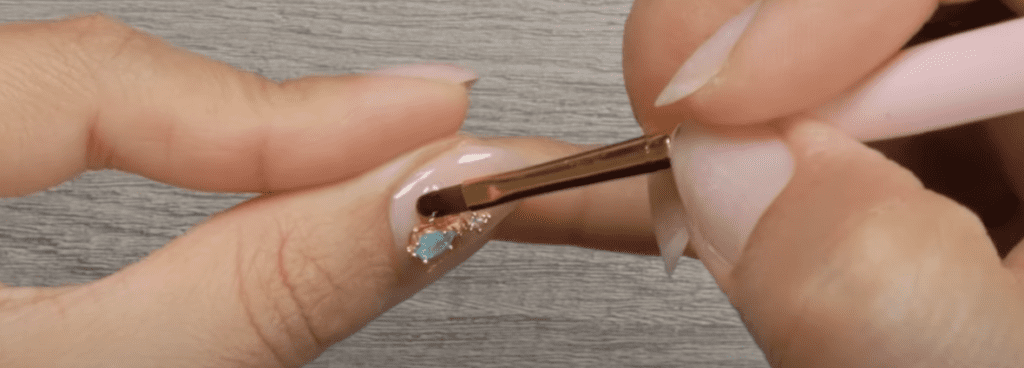
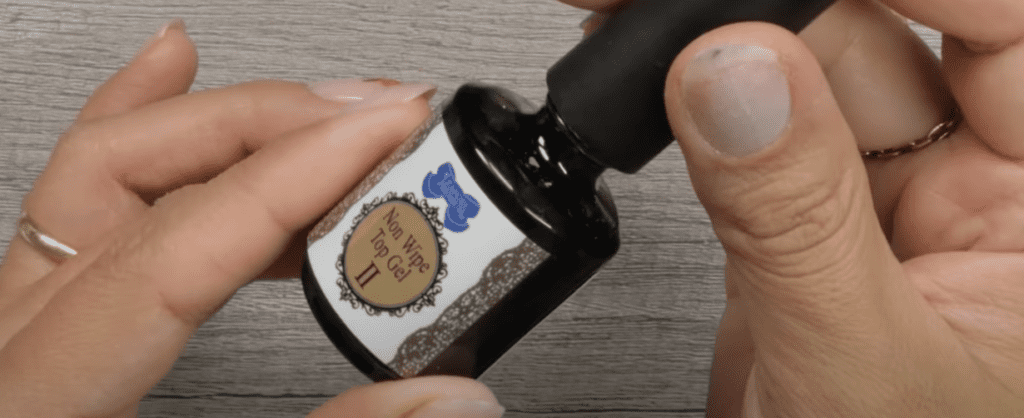
Step 9:
I am using Leafgel’s Non-Wipe Top Coat to finish these beauties with supreme shine. This topcoat is great to use then you don’t want to add extra bulk to the nails. The thin consistency is perfect for encapsulations. I am applying over the entire nail and embellishments, avoiding the top face of crystals. I like to do four fingers first and cure, then thumbs separately because of the gel’s consistency.
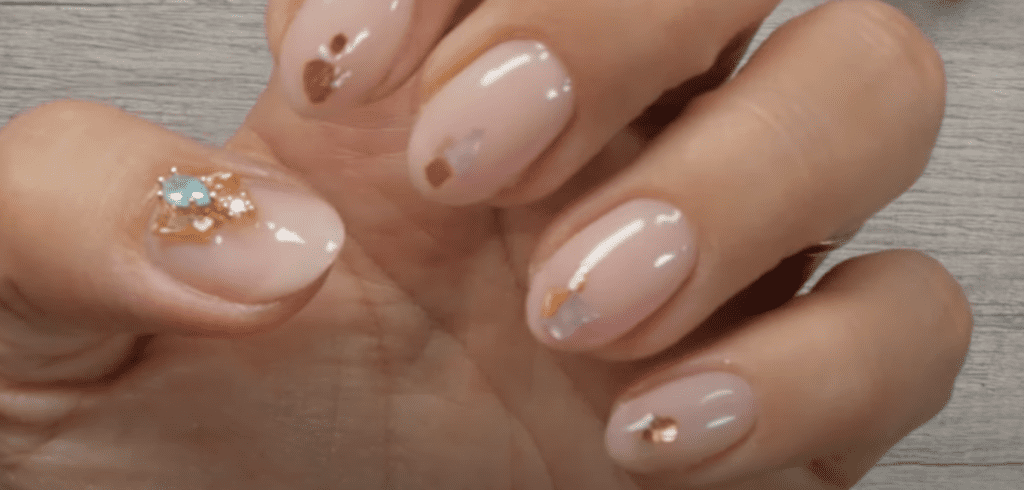
Cure for 60 seconds and let them cool off after taking them out of the lamp before touching them.
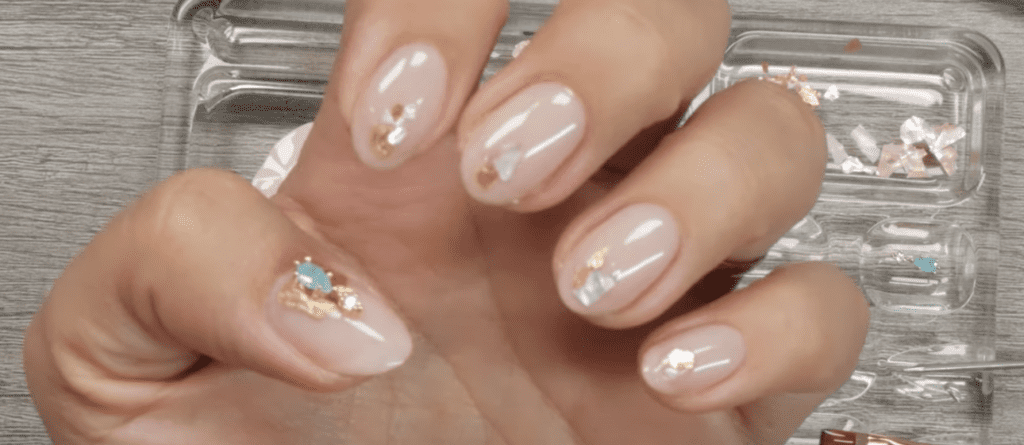
Apply cuticle oil, and we are done! How pretty, sophisticated, and fun are these? You don’t need a ton of gel to encapsulate embellishments, especially when using Japanese gels. Japanese gel creates designs like these while keeping the nails looking natural and delicate.
If you are interested in any of the products used today, you can find everything at Zillabeau. Use code PPN10 for a 10% discount!
I hope you enjoyed this one! Let me know if you have tried encapsulation this way or have any questions. Thank you for joining me, and we’ll see you next time. Bye for now…

These blogs are copyrighted material, and any use of this blog is not permitted without written concern first. Some of these blogs contain affiliate links that give us a small commission when qualifying purchases are made. Thank you for your support that helps us to continue creating valuable resources and content like this


