
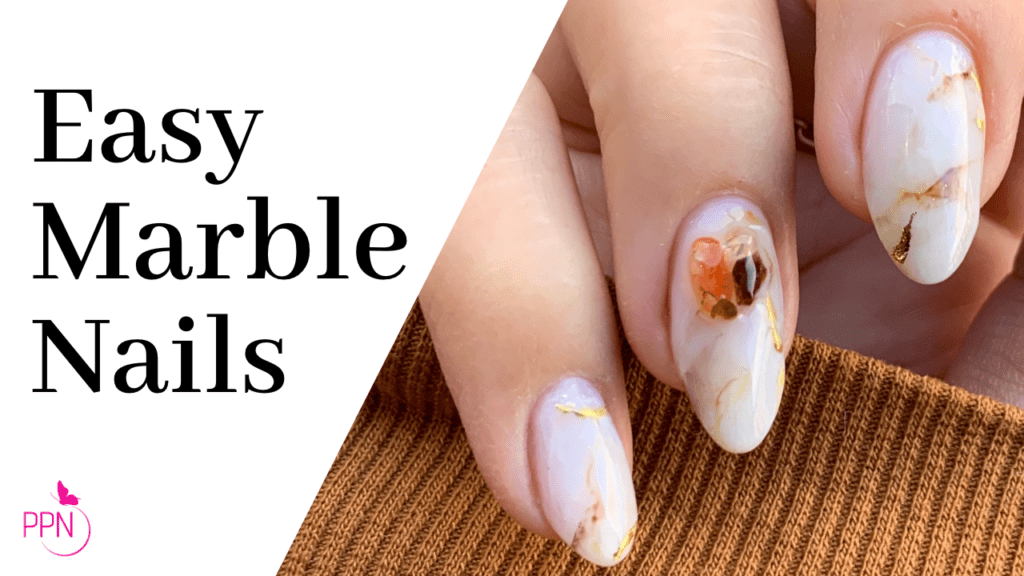
The Easiest Marble Nails On Soft Gel Nails
Imagine making a design that took hmm- say, 15 mins and that you could charge an additional fifteen dollars minimally for!
Marble nail art can be a fun and creative way to express yourself through your nail design. With a little practice and some experimentation, you can create various marble effects and styles to suit your personal taste. The key for this design is starting with a milky white base before moving into a simple alcohol ink action.
With the right tools, you will be surprised by how easy it can be to create this soft, dreamy, realistic nail art. Its timeless design will impress your clients/friends, and family, prompting them to ask you if it’s a sticker!
Let’s dive in and create gorgeous pieces of art.
Here’s The Recipe For This Look
Here are all the materials you will need:
- #1 Kokoist Bleeding Inks – brown, yellow, and red
- #2 Nail Thoughts Base & Builder – Milky Base
- #3 Kokoist Non-Wipe Matte Top Coat
- #4 Kokoist Bluey White
- #5 Kokoist E-A0 Art Clear
- #6 Kokoist Round Brush
- #7 Kokoist Pointed Brush
- #8 Kokoist Angular Brush
- #9 Kokoist Short Liner Brush
- #10 Nail art foils
- #11 Kokoist Foil Tuck Gel
- #12 Kokoist None Wipe Accessory Bond
- #13 Daily Charme Accessories
You can find all the gel porducts use today at Kokoist and use code PPN10 for a 10% discount at checkout!
Here is the step-by-step:
Step 1: Prep your nails thoroughly.
Refer to my videos for detailed instructions for no lift prep.
Step 2: Overlay with Milky Base
Remember to create the appropriate structure for the length of the nail.
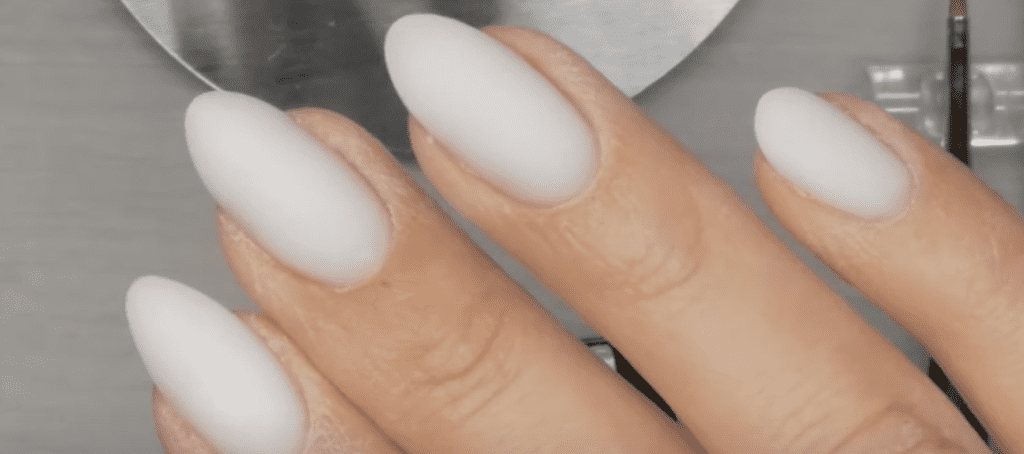
Step 3: Apply and cure a matte top coat
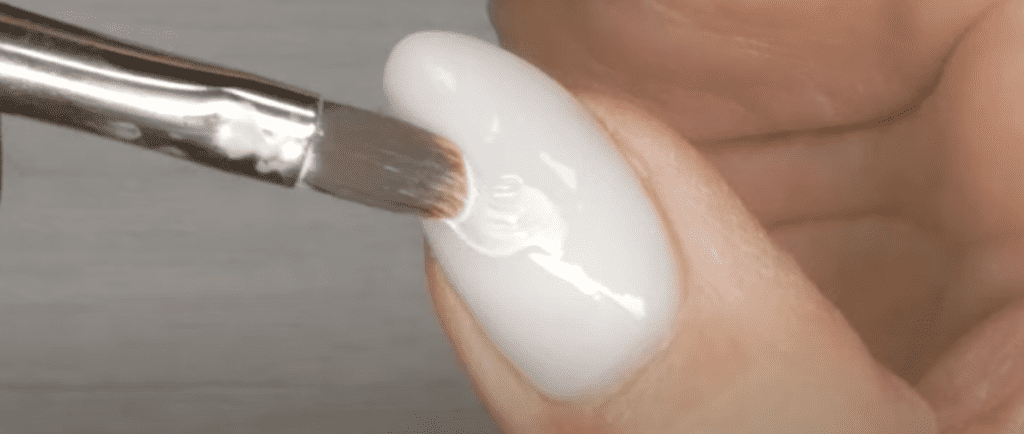
Step 4: Apply a thin coat of Art Clear
Take care not to flood the nail surface, and maintain the structure created by the base. Do not cure.
Step 5: Apply Bluey White
Start away from the nail corners to avoid clumps and create the illusion of marble. Keep it subtle with gentle touches. This creates depth and dimension. Use a little alcohol to disperse any harsh applications with your brush. Cure when happy with the outcome.
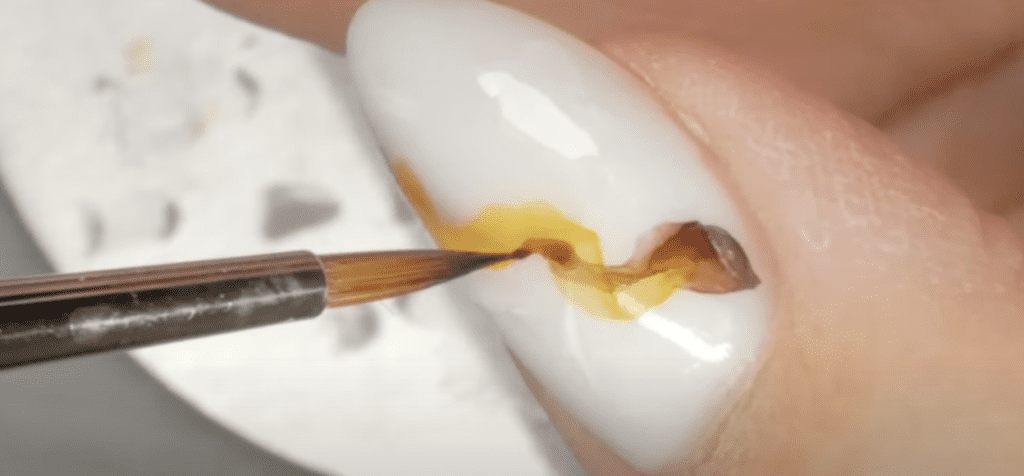
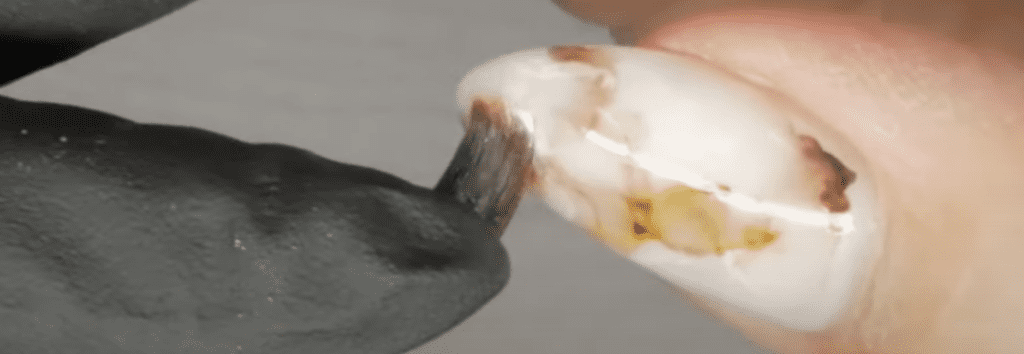
Step 6: Apply alcohol inks
Using the pointed brush soaked in alcohol, I am using the pinter brush from Kokoist, this brush is designed for this type of art and flowers. Start with your lightest color to your darkest. These pigments go a long way. Create natural patterns, don’t be afraid of having shaky hands here. Clean off your brush and load more alcohol to bleed the ink’s edges. Think of cloudiness and cracks. Go with the patterns that naturally form as your play with this method. Clean your brush regularly to avoid it looking too messy. Allow airing dry.
Step 7: Add further dimension.
Using your angular brush and bluey white, drop it anywhere you like to overlay your marble. This will help conceal any areas you are unhappy with while also creating the depth that’s required for a marble look. This will soften the look so long as you don’t oversaturate any areas. Cure.
Step 8: Coat with matte top coat and cure.
Remember that top gel can smear your design, so apply with a light touch, floating it on.
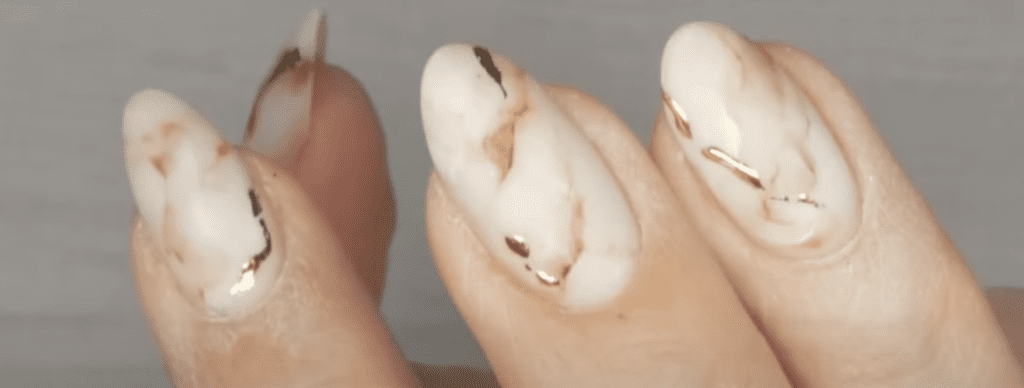
Step 9: Add embellishments.
Apply using a short liner brush and Foil Gel to where you would like your gold foil to stick. Cure. One firm press of the foil to apply cleanly. Flash cure. Use accessory bonds to adhere gems, stones, and flakes where you want.
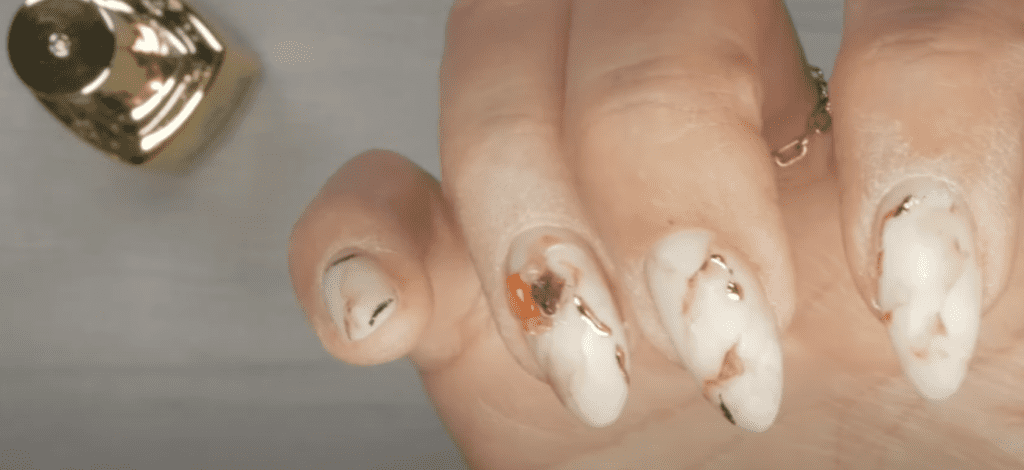
Step 10: Top Coat
To secure foil and embellishments, coat with base gel before top coating. Cure.
Final Thoughts Tips & Tricks:
Marble is a beautiful natural stone. To emulate this on your nails, keep the color palette you work with similar to what you may find in real marble.
Don’t be shy to use reference pictures and find inspiration in other nail artists’ work, but make it your own and not copy exactly.
While this art style looks difficult, it is much easier than anticipated, thanks to the forgiving direction it can take when applying the cracks. This is even more achievable when using high-quality products that give consistent results, like Kokoist.
Thanks for joining us today. How did you like today’s look? Let us know in the comments below.

Loved this blog? Then I think you’ll love learning more about my journey as a specialized gel nail solopreneur in the nail industry. Click here to get instant access to my free masterclass. These blogs are copyrighted material, and any use of this blog is not permitted without written concern first. Some of these blogs contain affiliate links that give us a small commission when qualifying purchases are made. Thank you for being so supportive, which helps us to continue creating valuable resources and content like this.


