E-file manicuring is the process of using an electric file and bit attachments to exfoliate dead or dry skin cells on and around the natural nails. An e-file may also be used to service artificial nail enhancements. Today’s efile manicuring focus will be on that pertaining to the natural nails.
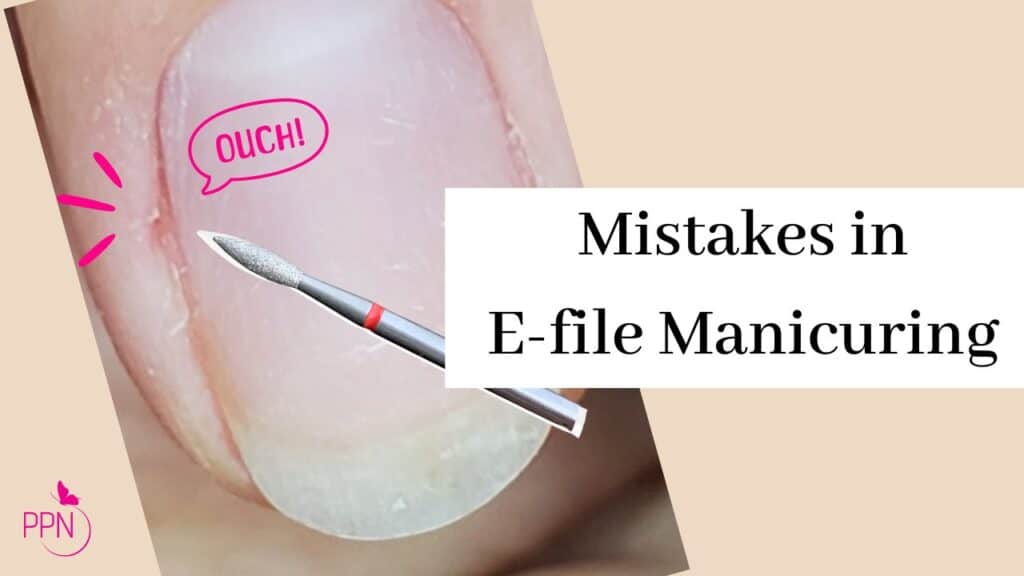
Today, I will be taking you through 5 newbie mistakes to avoid when e-file manicuring.
E-file manicuring is a skill that takes time and repetition to master. If you are a DIYer just barely starting to do your nails, I would advise that you do not move into efile manicuring until you have mastered your technique using hand tools like cuticle pushers and nail files first.
But assuming you have mastered some form of manual technique to prep your nails for product application, today’s e-file manicuring tips should be helpful to you if you are just starting to pick up an efile or are considering starting to practice and train in e-file manicure technique.
Let’s dive in.
Mistake #1 Not knowing the anatomy of the natural nails
This has to be the most important mistake to note. I’m going to exaggerate here so that you can understand the magnitude of not knowing nail anatomy before using tools, especially motorized tools, on the natural nails.
Not knowing your nail anatomy and trying to work your tools to prep the nail for a product procedure is like a doctor trying to perform surgery blindly.
A recipe for disaster, right?
Bleeding, temporary, or permanent damage can occur as a result of not knowing the areas of the nails you can operate on with your manual and efile tools.

The areas of the natural nail unit that we work on are:
- Nail plate
- Cuticle
- Nail folds
Knowing where they start or end is important to conduct a safe e-file manicure.
The nail plate is the hard surface of the nail where the nail product is placed. It’s made up of keratin. It is a very durable material to apply product on, and its integrity needs to be preserved so that it can remain strong and allow you to safely and beautifully wear nail products on them for years to come.
The cuticle is the dead skin found attached to the nail plate. It must be thoroughly exfoliated because if it makes any kind of contact with nail products, those products will lift. Nail products that last weeks only stick to the nail plate. Not the skin, whether dead or living.

The nail folds. The nail unit has a proximal nail fold and a lateral nail fold. The proximal nail fold surrounds the cuticle area of the nail, and that thin translucent strip at the edge of the proximal nail fold is called the keratinized proximal nail fold (sometimes pros will also call it eponychium, I certainly have, but according to industry scientists, keratinized proximal nail fold is the correct term.).

The lateral folds surround the sides of the nail plate. It’s that skin immediately next to it.
When working with your file, you need to clearly know these areas of the nail and use the correct exfoliation protocol for each.
Mistake #2 Not taking note of the type of skin you’re working on
There are three types of skin conditions you will be working on during a dry-efile manicure. Normal, dry, and oily.
Normal and dry skin will generally be easy to work on.
Oily or moist skin will have to be dehydrated during the service with alcohol or a moisture-absorbing powder.
In combination with the moisture level of the skin you will have to consider whether the skin is thin or thick.
Certain skin types may be too thin for certain diamond or polishing bits, and so you may have to adjust the grit or bit, or both, or altogether avoid an efile on that type of skin. And that is fine too. Safety and care first.

Mistake #3 Not knowing your working angles
Angles in efile manicuring are very important. The wrong angle on any particular bit can cause damage.
A high angle typically will create pressure on the nail, cutting or leaving indents.
A low angle is usually safer, but if you’re working with bits that have a “belly” to them, like a flame bit, and you work them low or flat, you will also create damage.
Also, take note of the angle at which you position your pointed bits and instruments. These are rarely used directly parallel to the nail and into the skin. Instead, they are used at an angle, and their sides are the part that is used to do the work.

Which angle you use will depend on what you’re trying to accomplish and with what bit. But generally speaking when it comes to tools on the nail plate. You want to avoid deep, or high angles as these can cause damage.
Mistake #4 Working at the wrong speed with your efile
Buying expensive equipment like an efile is like essentially hiring help, and you wouldn’t want to be doing the hired help, otherwise why bother hiring them, right?
Likewise with your efile. Your efile should take a lot of strain off your work and should speed up the service. However, one of the most common mistakes I see newbies make is working at a low speed and taking ages to move out of those low RPMS.
Like, I get it, slow and steady in the beginning, but at some point, you should be very comfortable removing at the max speed of your efile.
What I want you to remember when it comes to using your efile to exfoliate the skin and around the nail plate is that slow means you’re tearing at the skin or nail plate, fast means you’re smoothing out or polishing.

Keep this in mind when determining what is your purpose for the specific area of the nail unit that you are working on.
Mistake #5 Overfiling in the nail groove
This mistake can be irreversible, so let’s make sure we note it and avoid it.
Flossing your efile bit right on the groove where the lateral fold meets the nail plate is a big no-no. Doing so disconnects the nail plate from its attachment layers, making it very difficult for those structures to reattach, leading to permanent detachment of the nail plate from the nail bed in that area.

This goes back to knowing your working angles. You want to point your bit away from the sides and rather keep it parallel and off from the nail groove to avoid detachment of the nail plate.
Mistake #6 Choosing low-grade tools
For a proper e-file manicure, you need quality tools. The star tools in an e-file manicure are:
- An efile machine
- Manicuring implements
- Bit attachments
You have to look at your manicure tools as hiring an employee. They have to help your workload and make things easier for you, not more complicated.
That is why quality tools matter. Low quality tools will lead to poor efficiency in the work you’re doing, yielding a-ok results.
Let’s start with an efile.
When choosing a quality efile machine, you are looking for a machine with high torque and low vibration.
Those are the two key components to weigh in on your efile purchasing decision.
The best way to explain torque in an e-file machine, at least in my head, is as the resistance the e-file motor creates to avoid getting bogged down or slowed down while it’s rotating the bit. It’s an opposite resistance force- you’re going this way, the efile is rotating the other way. If you make contact with the bit on the nail plate and that efile slows down or bog down, that efile has low torque.
The most professional efile should yield high torque and low vibration; usually, those are e-file machines with a brushless motor.
But an e-file machine is only a third of the equation for a beautiful e-file manicure.
Before getting to work on your e-file on natural nails, you need to prepare the canvas. You have to clear all dead and living skin out of the way where your nail products are going to lay.
Precision is key, and you can only achieve it by using good technique and quality tools.
That is why for the last 5 years I’ve resorted to using Staleks, this video’s sponsor, as my first choice when it comes to manicuring implements and diamond bit attachments.
Staleks, a European company, has been a leader in manicuring tools now for almost 30 years. They’re there at every step of the manufacturing and distribution of their products. From cutting the steel bars and employing state-of-the-art machinery, to investing in training their employees in precise hand-sharpening of their tools, Staleks goes above and beyond to keep their status as a global leader in manicuring tools.
With distribution in 90 countries, you’re sure to find a distributor in your area. Their website will be linked below so that you can find your nearest distributor and learn more about all the different pushers, nippers, and bits they offer.
__
So, what are you looking for in a quality cuticle pusher and nipper? You’re looking for sharpness.
You will know your nippers are sharp and precisely cut if you press to cut and the cut is made at the first go without you having to pull at the skin at every nip. You simply cut and release to remove the skin you are trying to remove.

A cuticle pusher tool also needs to be sharpened thinly. I didn’t know this until about my 3rd year in the industry.
Having a pusher tool that is sharpened at both ends is going to help separate the nail fold from the cuticle, allowing you to easily distinguish between the two for thorough exfoliation.
I used to think any cuticle pusher was just fine, until I was introduced to Staleks pushers and was told they were sharpened. Mind blown!
Blunt pushers will be OK to use if you are just trying to push back that proximal nail fold, but you should definitely give sharpened pusher tools a try; you’ll see what a difference they make on the majority, if not all, of your clients.
And lastly, the third crucial tool in an efile manicure is a quality exfoliating bit. The best are delicately coated with fine diamond particles. Diamond is the hardest substance on earth, effectively and delicately exfoliating skin.
Mistake #7 Not maintaining or replacing your tools in a timely manner
I’ve had my cuticle pushers for years now, and although I don’t use them full time as a nail tech, they’ve maintained their sharpness.
Depending on how much your nippers cost, it may be worth throwing them out and buying a new pair. This is why it may also be a smarter option to just buy a good-quality pair, which you can then send off to get sharpened several times. Of course, having several as a nail tech is key here.

A good quality diamond and carbide bit is usually replaced within 3-4 weeks as a full time nail tech, and your nippers will probably need re-sharpening (again as a full-time nail tech) every 3 months or so.
If you are just starting out working on yourself, friends, and family, then you could most probably go months before needing to replace your bits, and maybe close to a year before you need to sharpen or buy a new nipper.
Again, this is possible only when you invest in quality tools and you look after them.
Conclusion:
E-file manicuring is a way to upgrade and get more efficient with your services, but only if you let the tools do the work for you.
Let’s recap those 7 newbie mistakes again
#1 Not knowing nail anatomy before starting
#2 Not taking note of the condition of the skin you will be working on
#3 Not knowing your working angles
#4 Working at the wrong speed
#5 Overfiling in the nail groove
#6 Not using high-quality tools
#7 Not maintaining or replacing those tools on schedule
On behalf of my community and myself, I want to thank Staleks for helping me create this video to bring you these mistakes in efile manicuring so that you can avoid them and improve your technique.
I first came across Staleks manicuring implements at a class in 2017 and over the years I find myself coming back to them again and again for their commitment to quality and precision.
I’ll link their info HERE (use code PAOLA for 10% off) for you to find a distributor near you. Currently they offer distribution in 90 countries.
If you would like to learn my simplified method for a detailed e-file manicure using Stalek’s implements, check out my efile manicure course.

If you would like to continue learning with me, please subscribe, and also stick around for the next topic.
Thank you for joining me, and I’ll see you in the next one.

Paola Ponce is a licensed nail tech of 10+ years and a certified Japanese gel educator. Learn more about her journey as a specialized gel nail artist and her gel nail application course inside her free masterclass here.
These blogs are copyrighted material, and any use of this blog is not permitted without written consent first. Some of these blogs contain affiliate links that give us a small commission when qualifying purchases are made. Thank you for your support, which helps us to continue creating valuable resources and content like this.