
Velvet nails, what?
Velvet nails are the newest recurring fall trend. Until something else changes, you can add Velvet nails to the list of evergreen fall designs. Right there, with Tortoise nails.
Today I was inspired by our friends over at Kokoist USA, who just released a full step-by-step on Velvet Nails using a couple of their new releases. The Botanical Glass Series and the Dragon’s Eye Premium Series.
And speaking of Kokoist! Have you heard the news?? I’m hosting my annual Kokoist Certification again this year! If you want to get all the deets, including the link to be the first one to enroll. Stop this video and head to the description box below to put your name down for the waitlist. This is one of the funnest online learning experiences, and if you want to learn and master this brand, I highly encourage you to stay informed via the waitlist.
And even if you can’t join us at this time, at least you’ll know the time and financial investment for the next one!
Alright, enough chatting.
Let’s get into today’s post.
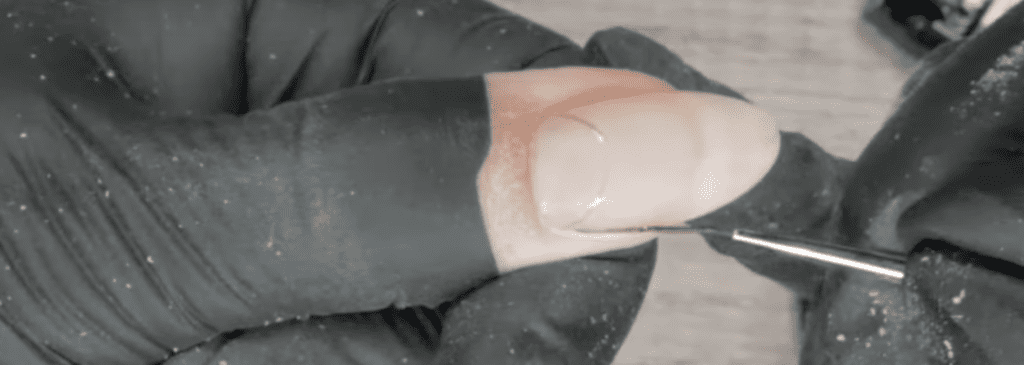
1.First, I will remove the old product with a medium ceramic bit; once I’ve done that, I will prep the cuticle area.
2. Now that I’ve removed the old product and taken care of my cuticle prep, I’m going to use a 180g sponge buffer to smooth out any roughness and flush the gel to the natural nail.
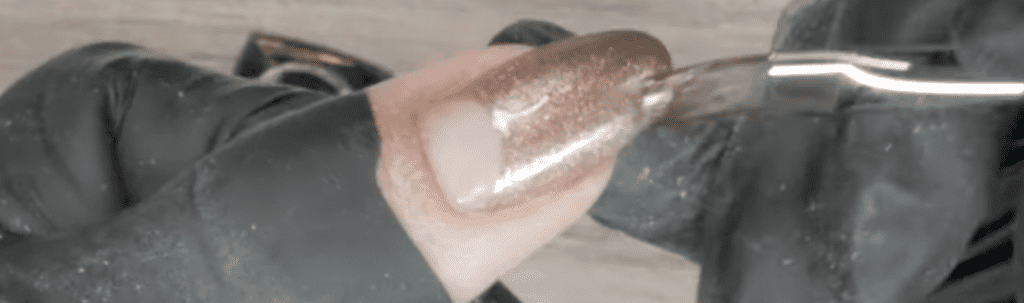
3. Now, it is time to apply our foundation gel. Today, I will be using Platinum Bond Duo as it will allow me to get adhesion and structure in one step, as it is base and builder. This one feels applies, wears, and feels like a hard gel, but it is a soak-off gel much lighter than hard gel.
4. Find your apex and cure for 30 secs.
Today’s key players will be #4 Space Mountain from the Down Under Planet Series and #289 Leaf Soil Glass from the just-released Botanical Garden Series. Also, don’t forget to use code PPN10 at checkout for a 10% discount!
The Down Under Planet Series is a magnetic gel, so you will need a magnet, also.
5.I will remove the tacky, sticky layer to prevent the outline I’m about to create from feathering. Meaning these lines will begin to widen.
6.I’m using the Long Liner from Kokoist to create this outline.
7.Now you can use an Angular or square brush to fill in your color.

8.I’m just going to do one coat of this since I don’t want these nails to be too vampy.
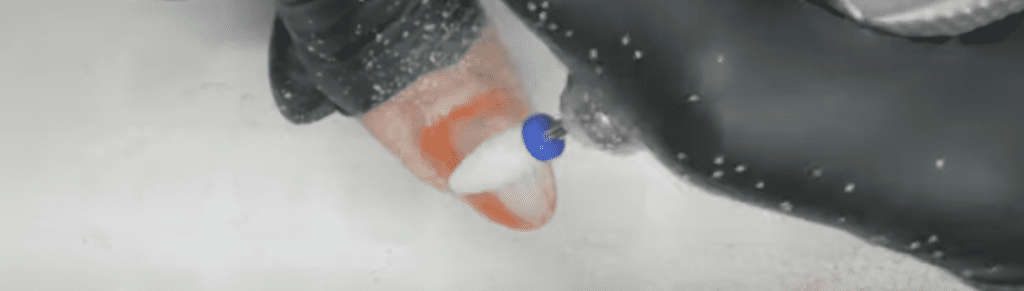
9.I will follow with two thin coats of #4 Space Mountain. You don’t have to magnetize the first layer, only the second.
10.I will do this on all ten fingers and apply a topcoat. I’ll bring you back once I am done with this hand. And I’ll also share some tips for a strong magnet velvet effect.
Alright, so here we are. As you can see, my velvet effect is much more subtle than what is currently trending.
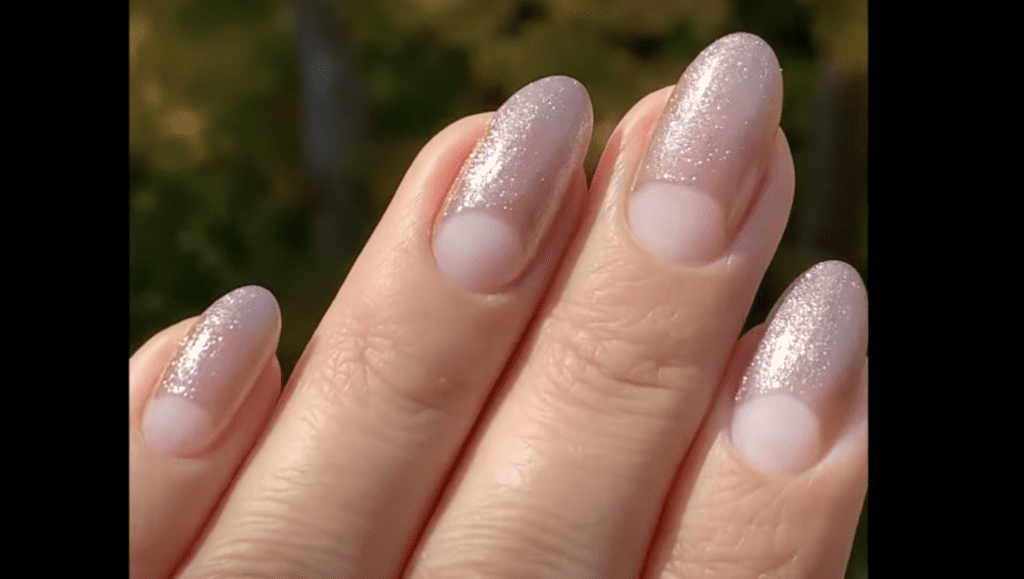
If you want a more substantial magnet velvet effect, here are some pointers:
Tip #1 Stir your magnet gel with an emphasis on bringing the metallic particles to the top.
Tip #2 Apply your second layer of magnet gel more generous.
Tip #3 Apply a dark color underneath.
I hope you enjoyed this video on velvet nails, the new fall evergreen trend, using Kokoist Japanese Gel.

Loved this blog? Then I think you’ll love learning more about my journey as a specialized gel nail solopreneur in the nail industry. Click here to get instant access. These blogs are copyrighted material, and any use of this blog is not permitted without written concern first. Some of these blogs contain affiliate links that give us a small commission when qualifying purchases are made. Thank you for your support that helps us to continue creating valuable resources and content like this.


