I often do this. Start off strong with my nail game, and then a week later… I am over my nails!
Today I will show you how to shorten artificial nails with an efile.
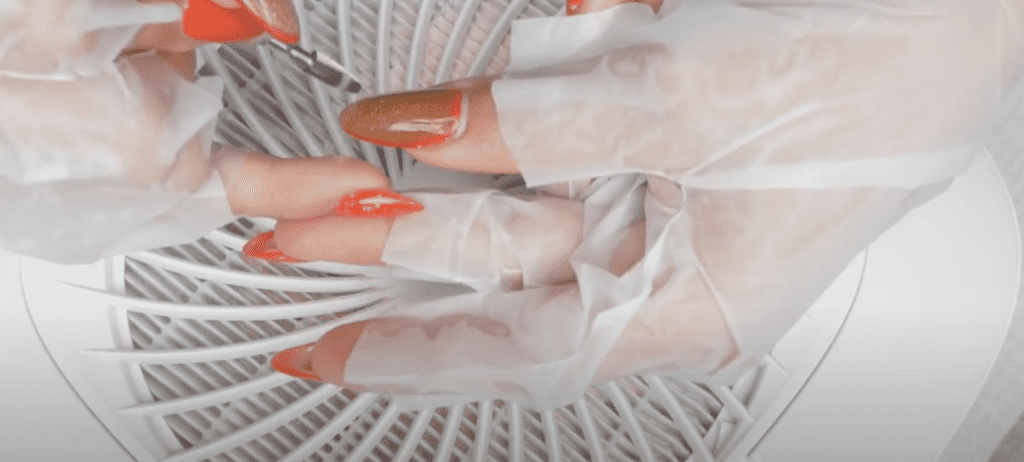
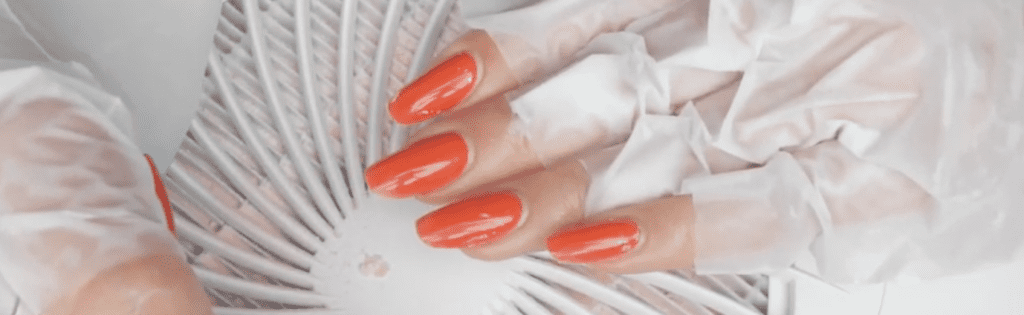
Now because I never like to miss an opportunity to multitask, I will be treating myself to a hand mask while I shorten these nails.
This will provide a fantastic moisturizing session and keep most dust off my skin. My hands have been so dry from painting a wall in my home, and so they are really going to like this.
These Keratin gloves were compliments of Bodipure. If you haven’t heard of them, Bodipure creates luxurious spa hand and foot masks that are ultra-moisturizing. They instantly eliminate dead skin cells with the combination of plant keratin, urea, and vitamin E. A total treat, visit them at Bodipure.com to grab yourself a pair or 2!

Now I’m cutting the fingertips off of mine because I want to multitask. Still, as a salon or home service, you do not want to cut them off as the keratin in this mask is also beneficial for your nails to absorb. By the way, there is no need to wash off the excess left on the skin; it is perfectly OK to massage and let the skin absorb it. I will take mine off as it is a little contaminated with nail dust.
OK, now, as far as our tools today. We’ll definitely need an efile and a dust collector… this is always a non-negotiable at the nail table, a carbide bit, and a couple of hand files.
I got a little lazy and just worked with the efile handpiece on my Melodysusie dust collector. It was fine, but the torque was a little lower for this job; I should have used my professional Nail Labo. I find the Melodysusie brand a bit DIY, entry-level quality, but it’s a good start… again it did the job.
Next, you’ll need a carbide bit. For shortening length, you don’t want it too fine, so try a medium or even a coarse if you’re comfortable. My favorite source for efile bits is Nashlynails.com and do’t forget to use code PPN10 for a 10% discount ;).
So, a dust collector, efile, and carbide bit, the last item we need is a hand file or 2. I will use a 180 grit and a 150 grit because I’ll need that coarse grit on my dominant hand. I know I will be scrappy with my efile while shortening the length of my dominant hand. But if I was super ambidextrous, 180 would be sufficient.
Step 1
Turn your dust collector to high. Gel dust can be very fine, so you want to power at its highest. You’ll also want to crank up your efile to at least half the way. Do not be timid, or you will catch/bump the nail, which does not feel nice.
And if you’re a total efile newbie and wonder which way the efile bit should spin? The bit should spin away from you, and you’re swiping your handpiece towards you. When I work with my left hand for the bit to still rotate towards me, I flip the switch on my machine to reverse and again file towards me.
Press your efile bit into the nail and push it where you want to.
Also, pay special attention to the areas you use to support yourself. Notice how my wrists are not floating in the air. If you were working on a client, that is fine, but when efiling on yourself, always anchor your wrists or arms, and don’t forget about your pinky!
I always assume people know what efiling is. No, it’s different from what you do when tax season comes; it is short for electric file manicuring.
So your efile is at nothing lower than 15,000 RPM.
If you need to check if you are working at the proper revolutions per minute, and this does not feel strong enough for you, go ahead and increase the speed.
A few things to note when using an efile for removal. Because you can actually learn so much about your efile during this type of procedure.
If you feel like you’re doing most of the work, and you’ll know if your hands feel sore or you find your grip way too tight, 2 things… you’re working at a low RPM, or your efile does not have high torque.

I’ve discussed this in a previous paragraph about what to look for when buying an efile machine; it is super informative, so make sure you check it out after this video. You’ll learn a lot!
Low-quality efiles may rave about high RPM but do not have high torque. Torque is challenging to describe and easier to experience. So it is a resistance force. So when you put your handpiece to the nail and that bit touches the nail, if your efile feels like it slows down, your initial feeling is to immediately crank the speed. Before you know it, you’re at max speed, and your machine is sounding mean, but it doesn’t feel as mean once it touches the nail, which is an efile with low torque. But if you’re at 20,000 RPM, for example, and once you set your efile to the nail and everything as far as power continues, you have a quality efile with strong torque.
If you’re used to a professional grade efile and then down-grade, you should immediately feel the difference. As soon as I started with this shortening service and kept cranking the speed, I realized I should have switched efiles… but I thought also. Let’s put this Melodysusie under pressure literally, an it was fine.
However, can you imagine if you’re working with 4-8 clients per day with a machine under this type of stress? You shouldn’t be surprised if it needs fixing within the year.
I’m sorry I’m going into this topic in detail; I often get asked what efiles I recommend, so I thought it would be worth taking you through this talk while I shorten these nails. But I also created a comparison guide guiding you through all of efile, bits, and implement recommendations. It is entirely free, and you can download it HERE.
Step 2
Alright, the last step after shortening these artificial nails to more of a natural nail length is to finish the free edge smooth. To do so, I will use my Stalek’s disposable peel-and-stick file with a 180 grit. Again, I’ll use a coarser file for my dominant hand in a little bit, as I could have done a better job with my efile using my non-dominant hand.

Lastly, I’ll remove the debris, strip the Bodipure keratin gloves off, massage the excess cream and rinse with water, no soap. I want to leave my hands moisturized.
And there you have it, the way I shorten my artificial nails with an efile at home.
I recently also launched my electric filing manicure course, detailing my signature dry manicure prep, full gel removal with a bit, and rebalancing soft gel natural nail overlays. All step by step in 9 video lessons.
Thank you so much for spending your time with me today. I post videos weekly on Japanese soft potted gel, natural nail care tips, and electric filing, so make sure you subscribe and hit the bell notification button below. To stay in the know. See you soon, bye for now.

Content written by Paola Ponce
Loved this blog? Then I think you’ll love learning more about my journey as a specialized gel nail solopreneur in the nail industry. Click here to get instant access to my free training. These blogs are copyrighted material, and any use of this blog is not permitted without written concern first. Some of these blogs contain affiliate links that give us a small commission when qualifying purchases are made. Thank you for your support that helps us to continue creating valuable resources and content like this.