
Claw nails, I know!
Some of us have two, and others have 10 (or pay to have 10!).
The most common offender is the index pointer finger… and if you’re lucky, on both hands! Am I right??
Wait… but maybe I’m getting ahead of myself. Maybe you’re like claw nails? Uhm… what?
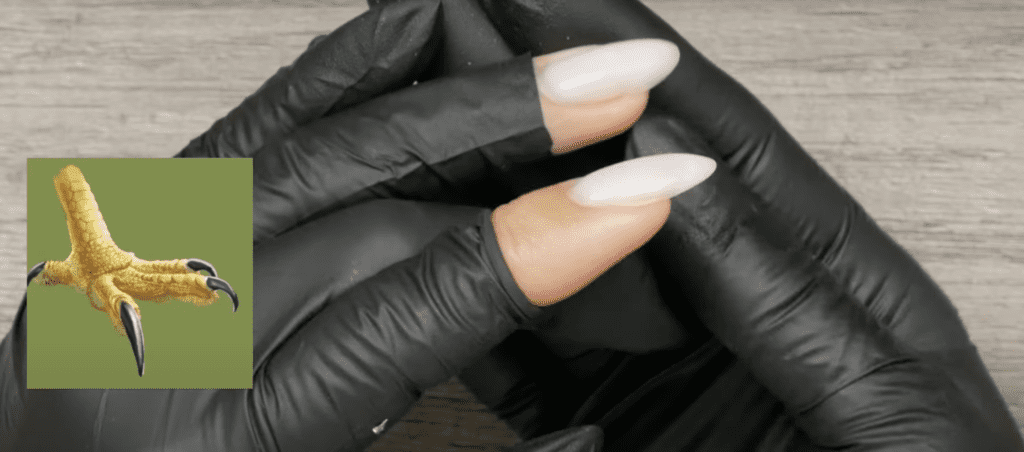
A claw nail (whether natural or artificial, is a nail that tips downward, if you will give your fingers a side look, if the nail does not align as an extension to your finger bone, it most likely classifies as a “claw nail”.
In nail competitions, when forming extensions, gel nail or acrylic… the claw look, although popular in the ’90s did not make it to international approval in nail competitions. The nail must follow out as an extension of the particular finger’s bone. (… but hey! Your fingers, your rules!)
Either way, today I want to take you step by step on how to correct a natural nail that tips downward, AKA a claw nail by creating a gel nail extension.
Before we dive in let’s list the items you will need for this procedure, and as we go I’ll tell you what I’m using:
- Efile and removal bits
- Emery board
- Dust brush
- Alcohol and towelettes
- Paper forms for extensions
- Base gel
- Extension gel
- Brush for each
- Color of choice
Ok, now, let’s begin.
Step 1:
You want to shorten the natural nail as much as possible. Shortening the natural nail obviously, immediately removes the problem of having a claw nail at all… but we want long nails right? Then stay with me, I’ll get you there. Because I am wearing an enhancement, I am shortening with an efile and removal bits.
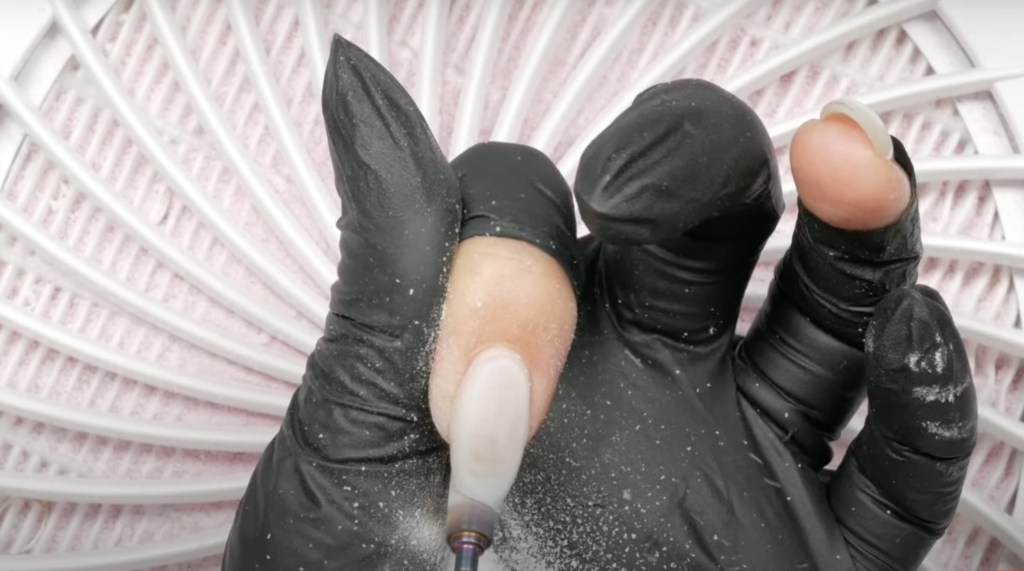
For portable ease, I use the Nail Labo Portable Efile, and I like to remove it with a medium grit carbide or ceramic bit, before switching to a fine grit ceramic (in case I come in contact with the natural nail).
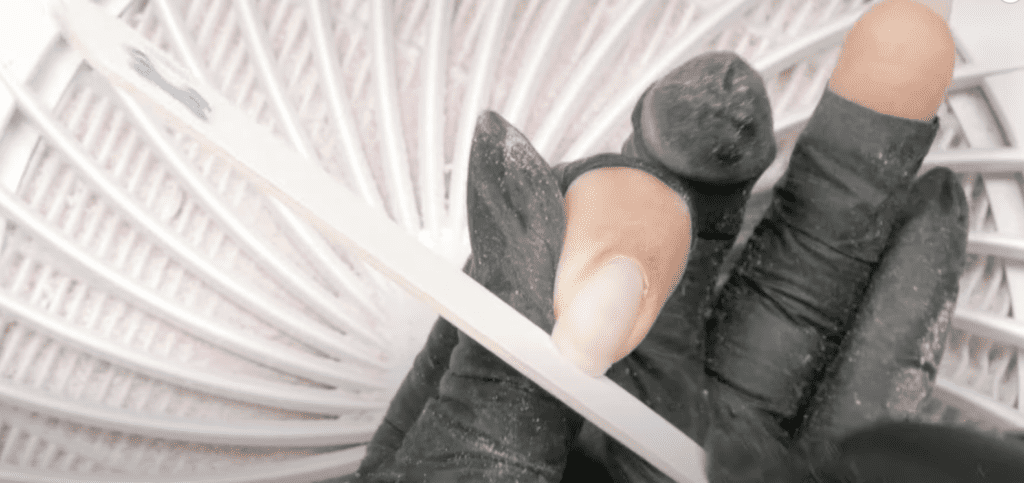
Step 2:
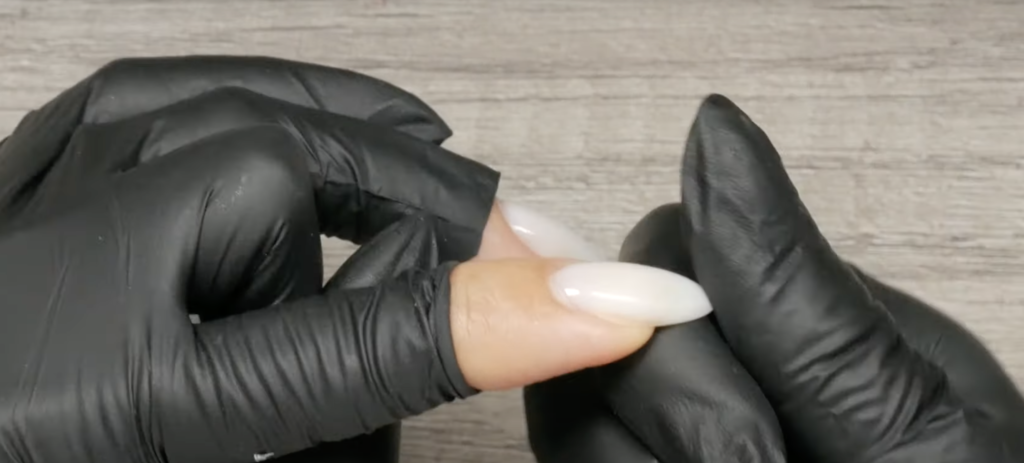
With a gentle file (I like to use an emery board) shape the natural nail round. Why round? This ensures that the corners do not inhibit the free-form from fitting how you want it to fit. I saw back and forth to shorten, but typically when working on a natural nail you want to file in one direction, and so my final passes I really make sure to keep it in one direction.
Step 3:
Prep the nail. This includes removing the shine with a sponge buffer, using a cuticle bit to remove the dry skin from off of the nail plate, dusting it off, and cleansing it with a lint-free wipe
Step 4:
Apply your gel base. Remember, no need to add primer, bonder, or a separate pH balancer when using Japanese Gel. But of course, cure after applying!
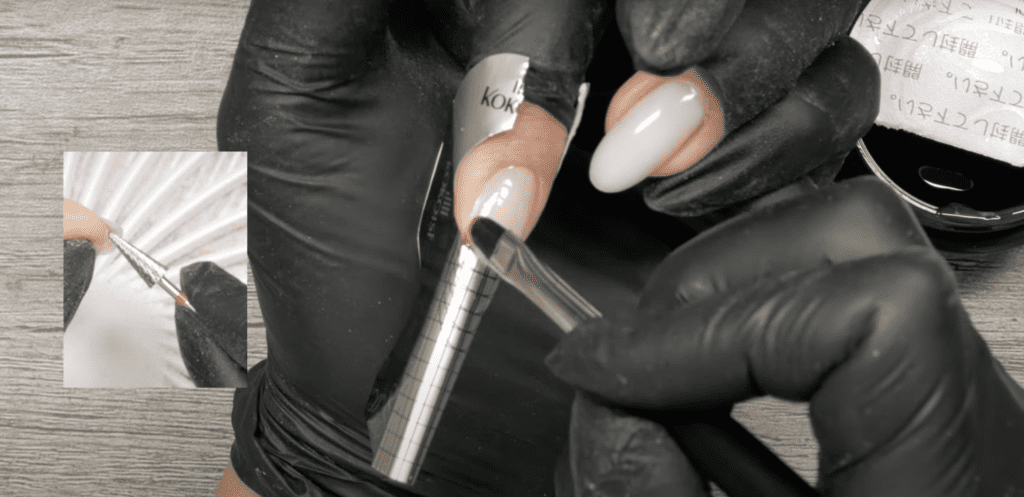
Step 5:
Ok, now time to focus. We need to apply the nail form very meticulously (I do really enjoy using the Kokoist Free-Forms, easy and to the point). And don’t worry! We are not going to cut it (I hate cutting forms, I feel like they never forgive you for it, lol!). If you are part of my Master Gel Nails Course, I do a tiny trim… and that’s it. Leave that form alone, or it will go temperamental!

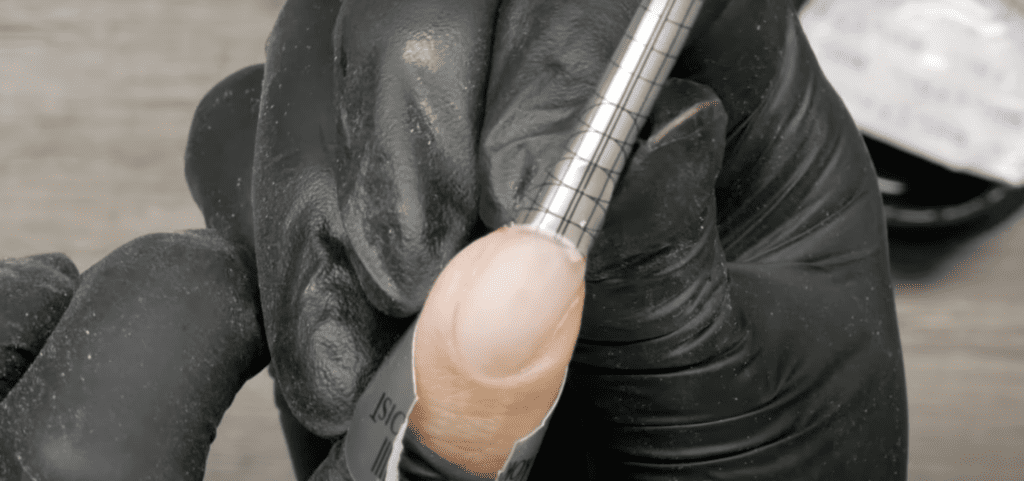
Step 6:
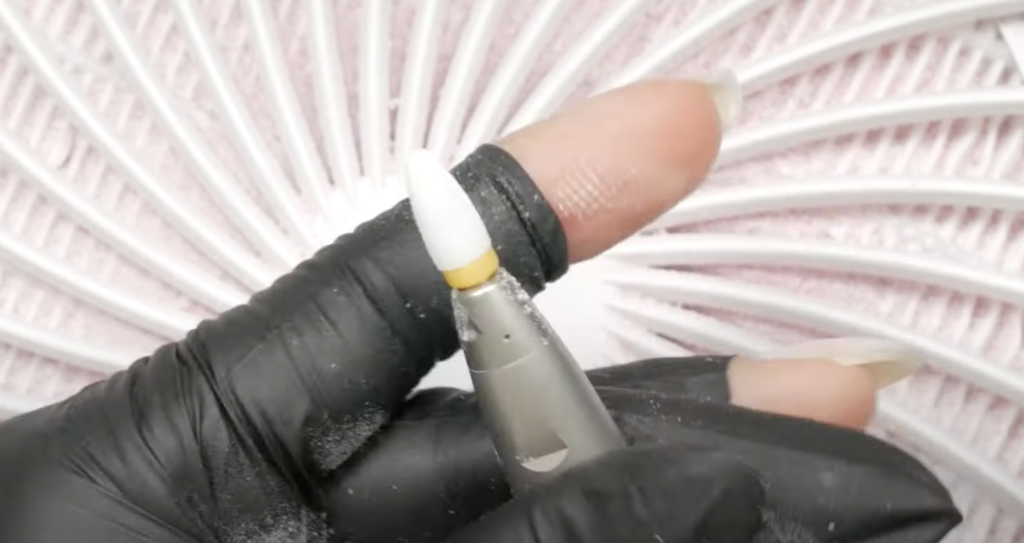
Build out your free edge. Decide on the length, place your gel dollop there, and work yourself up to the free edge. Getting product underneath the nail IS NO big deal. I promise! We can always use a cone bit to remove the excess and flush the extension to the natural nail.
Step 7:
Ok, now we have a lot to do in this step…
Cure your new extension for 2 seconds, pinch and put it back into the lamp for a full cure.
Step 8:
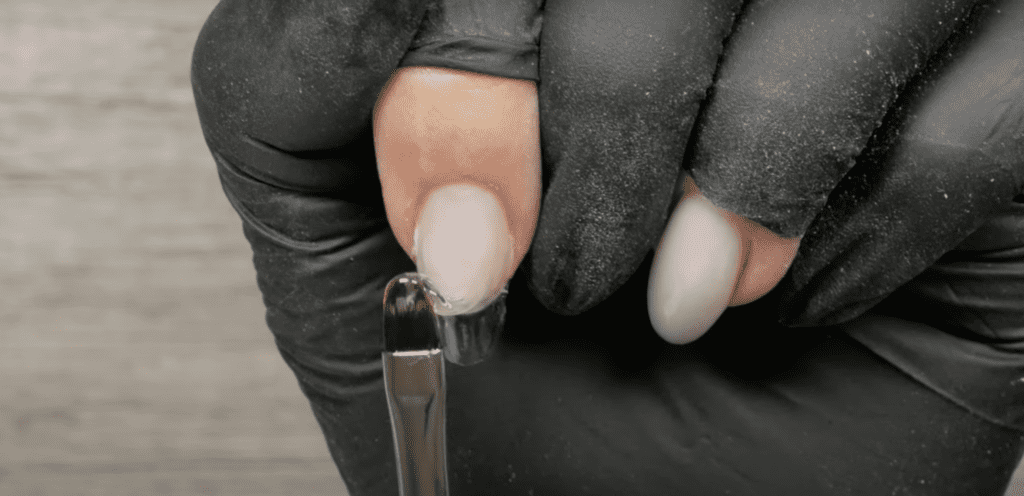
Overlay it.
To do so, Drop a dollop to cover the entire nail, including the new extension! (You can use Vetro Extension Clear, Leafgel Premium Sculpting Gel, or Kokoist Excel Builder Gel). Don’t cure it, and apply a bead at least twice the amount to overlay and build an apex on the new extension. Flash cure and full cure.
Step 9:
Admire it!
Step 10: File it into shape.

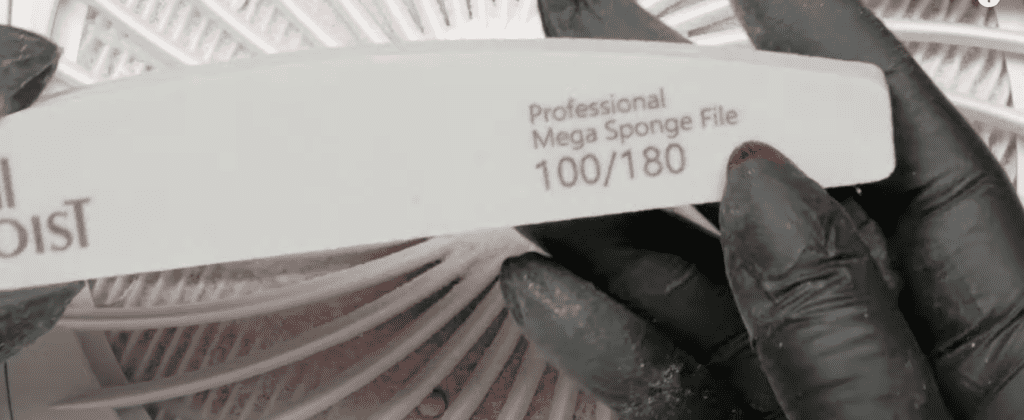
At this point, the body of the nail should be practically perfect. Simply use your 180g Board file to whip it into shape, and blend the entire nail with a 180g Sponge Buffer. You also want to bring up the sidewalls of the new free edge up a bit to really ensure they are not tipping downward even a tad, or our efforts would have been in vain right?
Step 11:
Dust & Clean.
Step 12:
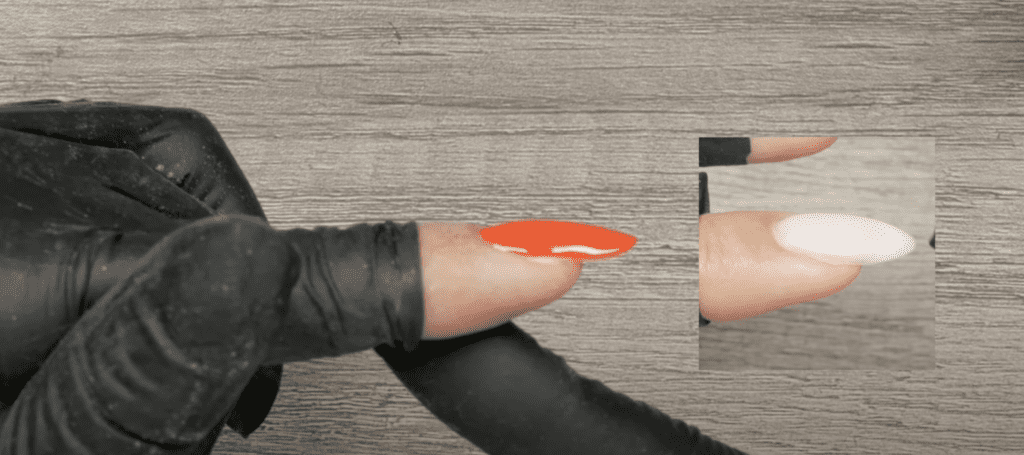
Proof your application with your color of choice!
And ta-da! A normal nail!
I hope you enjoyed this step-by-step on how to correct a claw nail using the gel extension method. Give it a go, and let me know how it goes!
Thank you for watching and I’ll see you next week!
These blogs are copyrighted material and any use of this blog is not permitted without written concern first. Some of these blogs contain affiliate links that provide us with a small commission when qualifying purchases are made. Thank you for your support that helps us to continue creating valuable resources and content like this.


