
Are short nails even a thing nowadays? Of course, they are.
Think about it… You break a nail, and all must-go now, or you have an anxiety attack and you bite your nails, or even worse bite your fake nails off, or you’re a nurse or you have a clerical position that requires short nails. etc, etc.
My point is… short natural nails will always be a thing. In fact, I question whether or not LONG nails (not short nails) will always be a thing. Don’t you agree?
Short gel nails are here to stay, even more than regular nail polish short nails. The reason being is that very few people can grow their nails without the help of gel and for that reason, I wanted to bring you this video topic today: How to apply gel on short natural nails.
Let’s get into this.
Short nails, I am talking about really short, like I bit off the free edge of the nail kind of short nails. The main concern, in that case, would be: How can I cap the free-edge?
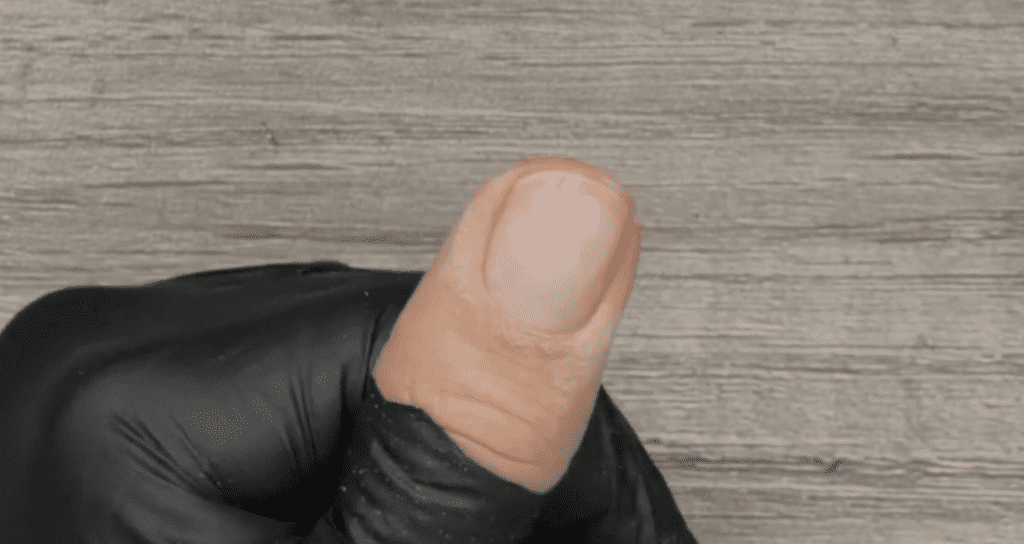
First, let’s talk about if it is even necessary to “cap the free-edge”? What does capping the free edge even mean? It means that you seal the edge of the nail by taking your gel brush over the edge; but think about it, with short nails or short bitten nails, you can imagine how complicated that can become, right?
So, do we play it safe and sort of stop right at the edge of the tip of the nail without even passing the brush over and almost underneath the nail?
No… Repeat after me… We will not be afraid!
Ok. Let’s talk about what I call the “spill method”; this method is where you grab a nail form and allow all the gel layers to overflow about 2 mm to the free-form.
This is cool, and I’m for it, but here is a word of caution.
Don’t do this technique with a gel polish or a soft gel texture soak-off gel. Why? Well, because, the couple of times I have filed my soft gel after completely finishing the application (I’m talking top coat and all) it sort of oxidizes at the tip, in other words, they turn brown.
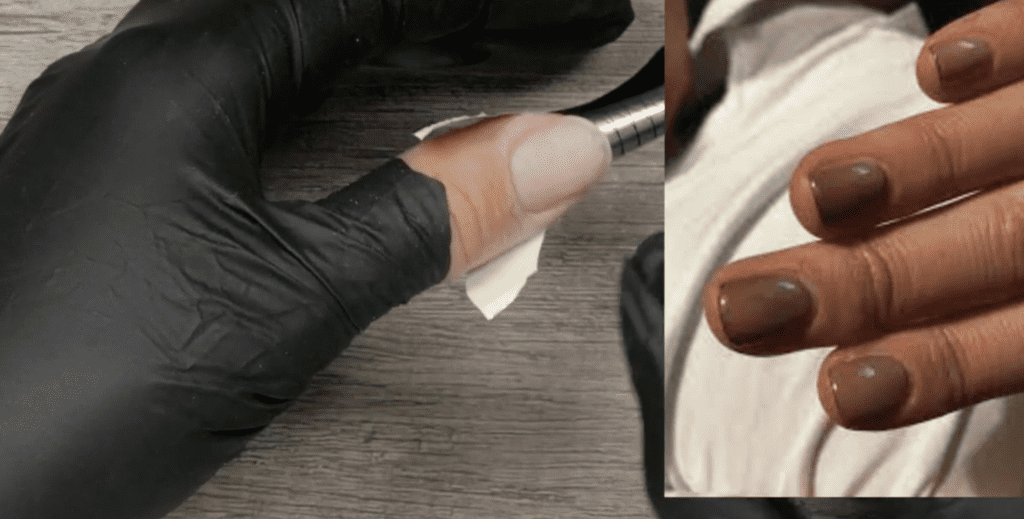
Imagine if you took your nails and scratched a new set of black pants with them, or imagine you’re a hairdresser and all of a sudden the tips of your nails turn into a smoky brown color. Yes! That’s what I’m talking about! Eeek! Now, imagine it happened not on you, but rather on your paying client… yeah, double eek!
While I find this method super creative, I’m all for always staying out of trouble with paying clients. SO, try it, definitely try and see if your gel changes colors. If it doesn’t, you’re good to go.
Now, changing color at the tip after having filed the nails is again, more likely to happen with a soft gel than a hard gel… but… Hold up! Wait a minute! What about when using a semi-hard texture gel? Can tarnishing at the tips happen?
Enter Kokoist semi-hard gels! (to be more specific) 2-in-1 Bonding Duo in a bottle! This semi-hard gel is super convenient to apply right from a bottle and its 2-in-1 capabilities mean that it has a base gel adhesion component and builder, and this gel is completely soak-off. Just file down thin, and soak the remainder in acetone.
This hard gel-like finish should allow you to do the “spill-method” and finish-filing the nails as the last step.
Now, although I’ve spent a little bit of time talking about the “spill method”. I actually want to talk about a different method.
The “Cap in Reverse” method. O-K… Here’s how the Cap-in-Reverse Method works:
Grab your favorite base gel. It can be soft gel or semi-hard. It can also be in a bottle or in a potted form where you use a separate brush to apply the gel.
I want you to dunk your brush in the gel product and wipe off just about all of the product, BUT WITHOUT using much pressure to do so. You’re using just whatever gel stays within the bristles for this next step. Apply your gel base upside down… Wait, what? I know what you’re thinking. (Ok use this image below for a visual.)
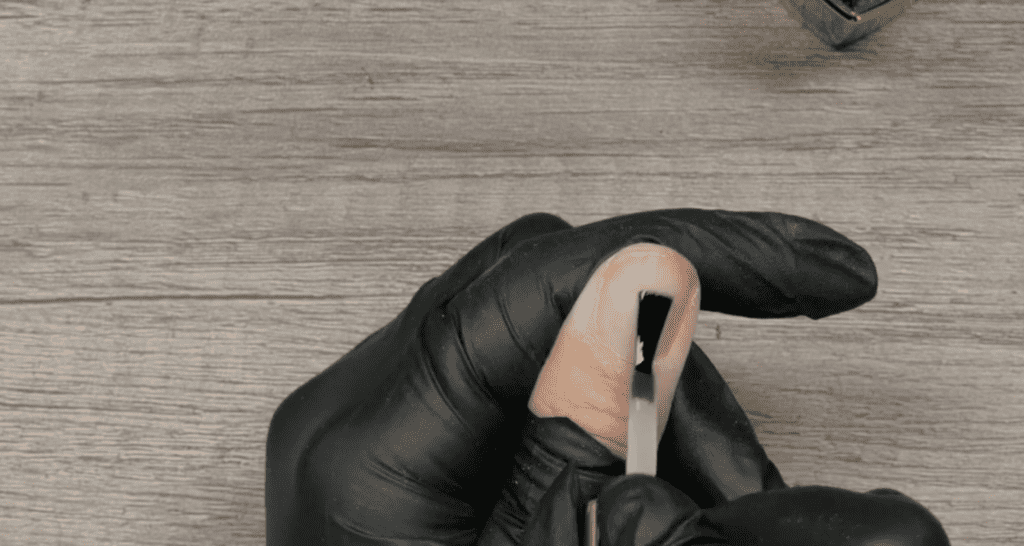
The goal here is to get the gel to seep over the edge just enough to cap it, and because you barely have product on your brush, flooding the skin with gel should not be an issue.
Now, that brings me to mention something about the Spill Method using the free-form. You must know the ingredients in your gel if you are allergic or sensitive to any. You do not want to use any method that involves touching gel with skin if you know you are allergic.
And perhaps then, you are probably wondering like, wait. Are we not always supposed to avoid skin contact with the gel?? Absolutely! Yes, please do.
But hypothetically speaking this is a technique that you would do ever so often on a client who you know is not allergic to your products. You may want to avoid the Spill Method on New clients and try the Cap In Reverse Method instead.
Ok. SO now what, you’ve applied in reverse. Cure or no cure?
Actually, that is totally up to you, if you’re in a pinch don’t worry about it, but if you are working on a problem lifter or damaged nails, please do cure and continue on your application. For me, I do a dollop of gel over a thin wet layer because I always like to give my application a little bit of structure and recommend you do the same.
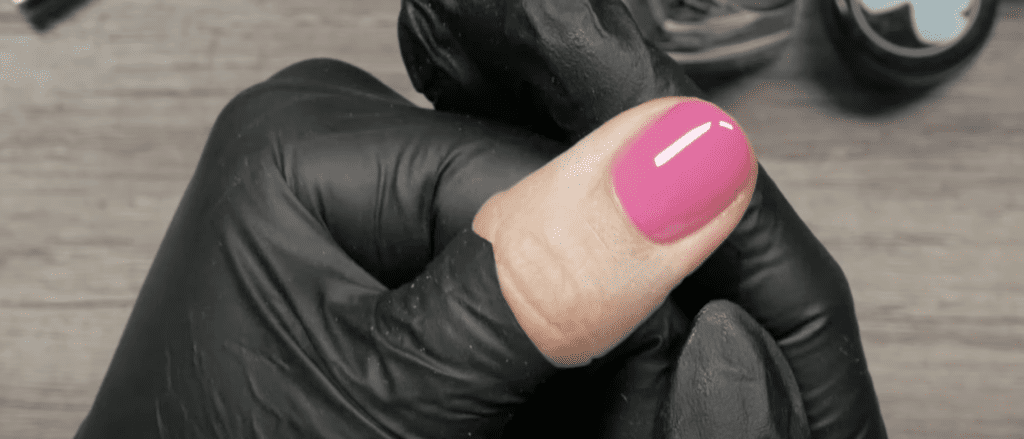
Proceed on to 2 layers of your preferred color (or if you are doing nail art, do that), apply top gel, and… that is it for The Cap in Reverse Method. Rather straightforward but most importantly highly effective when applying gel on short natural nails.
I hope you get the opportunity to execute this method and let me know how it goes down in the comments section below.
Thanks for joining me today. If you would like to learn more about my step-by-step methods, start by watching my free training to learn how we can work together further inside my program, the Master Gel Nails Course.
I’ll see you next week, bye for now!
These blogs are copyrighted material and any use of this blog is not permitted without written concern first. Some of these blogs contain affiliate links that provide us with a small commission when qualifying purchases are made. Thank you for your support that helps us to continue creating valuable resources and content like this.


