How to Shape Gel Nails Almond, Oval, Round
For a very long time prior to doing nails, I knew I had found The shape for my nails… or so I thought.
I liked the almond shape, or wait is it oval? Or was it round? See? That was the problem. I didn’t know what the shape was! All I knew was that they were not square.
So today, let’s learn how to shape gel nails in almond, oval, and round.
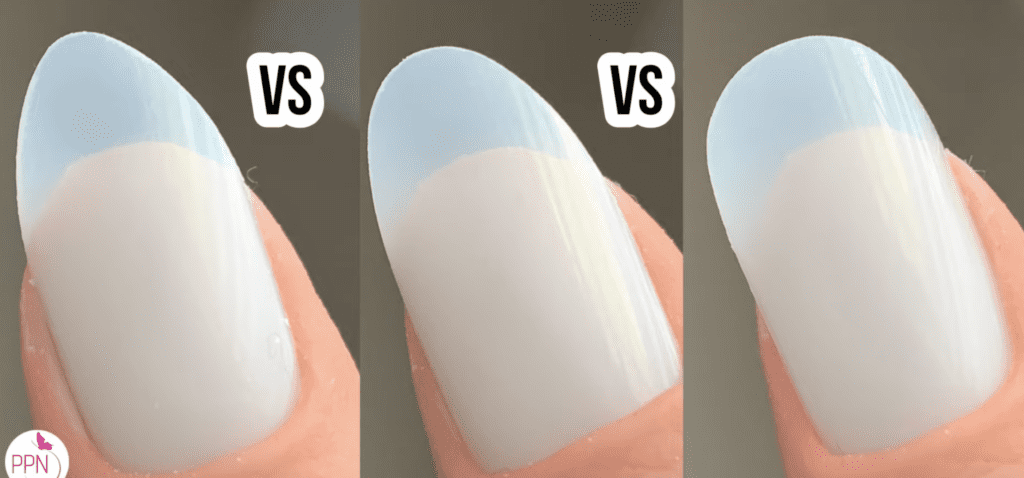
Let’s start with 1) Almond shape.
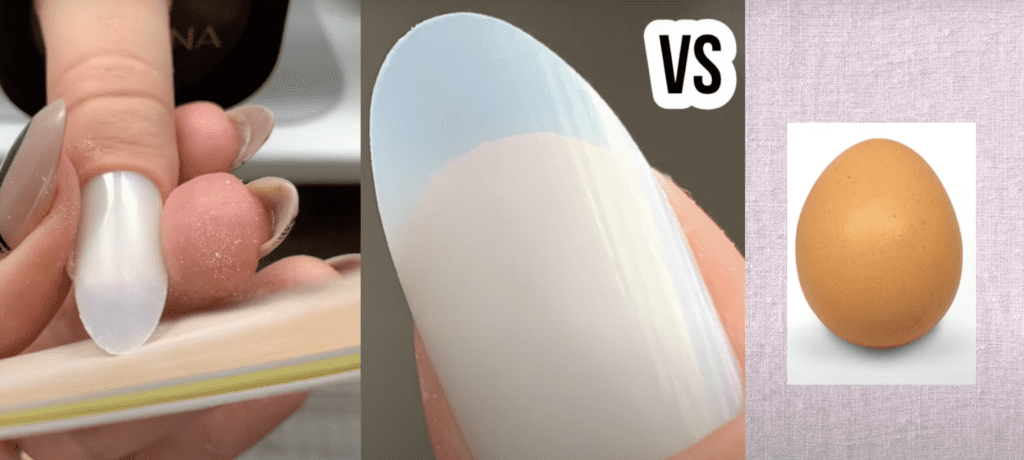
For this shape, please look at an almond! What do you see? Pointy at the free edge, yes. A little chubby on the body, yes! A little jagged at the edges, yes! … but, personally, I like to leave this trait outside the picture.
So where do you start shaping?
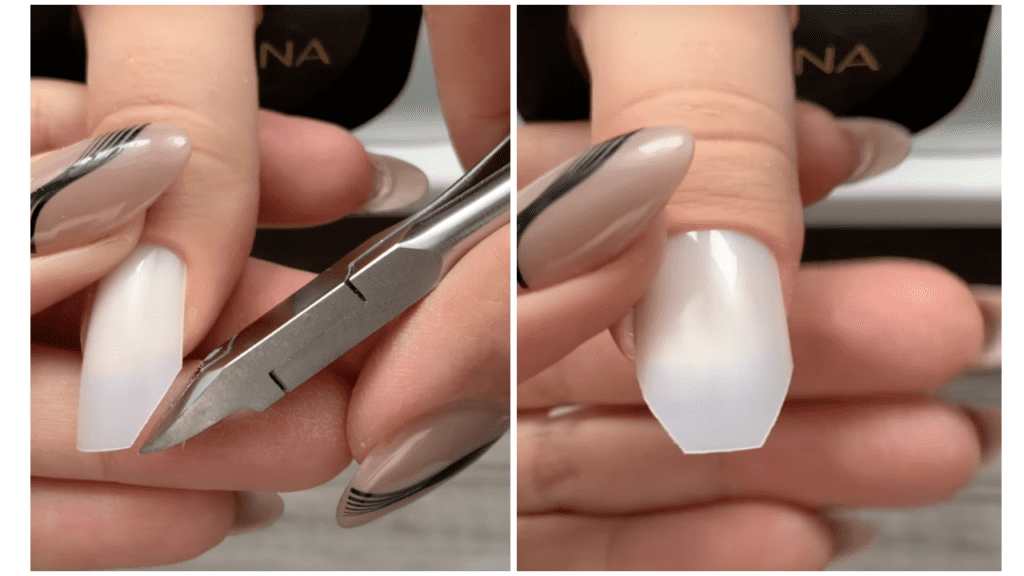
Let’s slow down, and instead grab a pair of straight clippers, and cut the free edge into a triangle. Yes! A literal triangle.

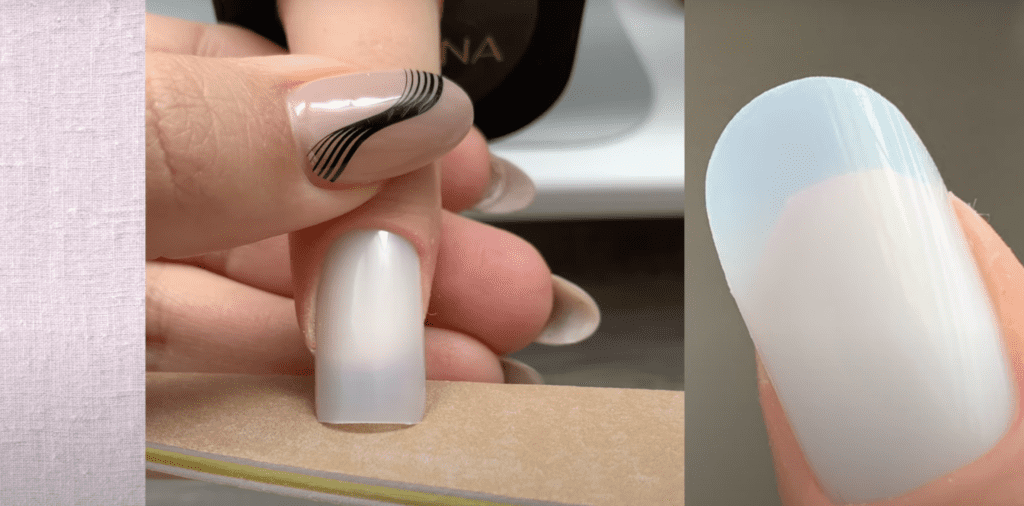
NOW, grab a 180 grit file. If you are working on natural nails, grab an emery board. If the nails are gel overlays you’ll need something a bit more sturdy like a board file.
Very gently and just a little bit, file the point straight.

Next, in one direction file each side curbing your file into the point of the nail.
Regardless of whether or not these are natural nails or enhancements, your pressure should be very minimal. Let the grit of the file do the work for you.
and that is it! I wish I could tell you that making this almond shape is harder, but it literally is not!
Next Up! Let’s learn how to shape 2) Oval nails.
Again, if working on natural nails grab an emery board, if they are enhancements grab a board file. The difference is that the board file is more sturdy but can be a bit more aggressive when used by the nail folds. An emery board is thinner allowing you to get into those nail folds of the walls.
Ok! We’ll need our straight-edged clippers, and also somewhat cutting the free edge as a triangle, but much, much less pronounced. In fact, all we are essentially doing is cutting the corners of a square nail, or bringing in the side walls to the center of the free edge.
Still keep your eyes on that center of the free edge. The difference here is that you are not bringing in the sides to a point, but rather to an oval, like let’s actually look at an oval.
Gently, swing your file in one direction on each side and you’re done.
This nail shape here is an in-between shape of the almond and round shapes.
Final shape 3) Round shape.
Let’s learn how to shape-round nails, believe me, I think this one is the hardest one out of the three. I say this because at some point with almond-shaped nails and oval-shaped nails, we ended up rounding up the free edge a bit. Let us now see how it truly differs.
First things first, you will want to start off with a straight free edge; otherwise, you will end up with a really uneven free edge. If you are not working with a straight free edge, make it straight first before moving on.
Now, what I want you to do is to tilt your file into a slight angle, and in one direction (or back and forth if you’re working on enhancements) file the nail in.
If you’re doing this right, the free edge should be smiling back at ya!
Now, if we would just stop there, we would end up with a “squoval” nail. It’s pretty but not what we’re doing right now.
The next big important step is to round off the corners. This is where things can get uneven but I promise you, and if you promise me that you will use mild pressure letting your file do the work for you, you’ll end up with a softly rounded nail.
Once everything is married together, you should have a beautiful round nail.
Now, I want to know which shape is your favorite! I think that I’m truly an almond shape girl but I am gradually making the switch to oval as I am finding it to be more comfortable in my day-to-day.
Before you go, make sure to check out the description box below for any free resources or current promo codes we may have, but especially my free masterclass to help you master gel nails!
Thank you and I’ll see you next week!
These blogs are copyrighted material and any use of this blog is not permitted without written concern first. Some of these blogs contain affiliate links that provide us with a small commission when qualifying purchases are made. Thank you for your support that helps us to continue creating valuable resources and content like this.