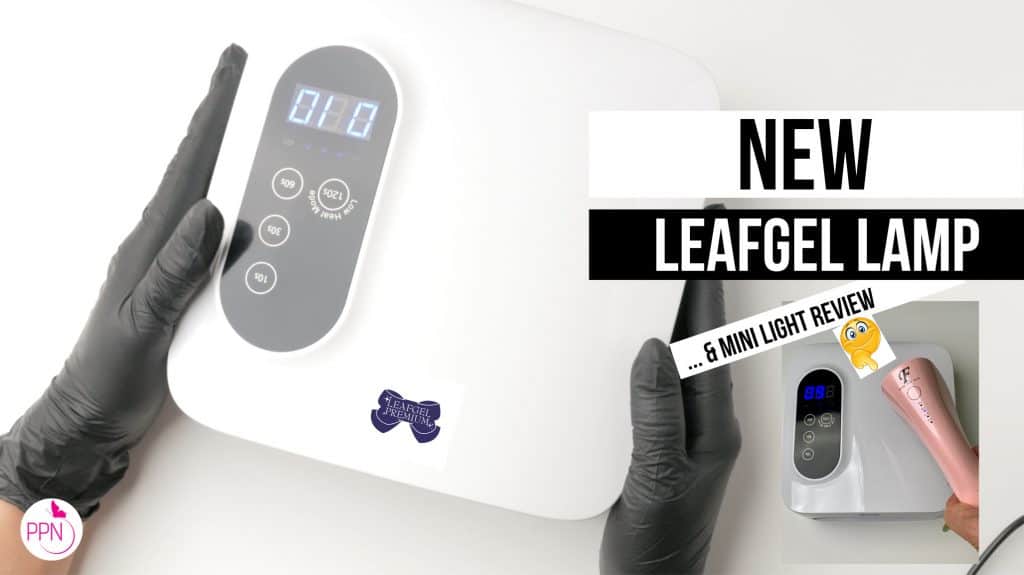
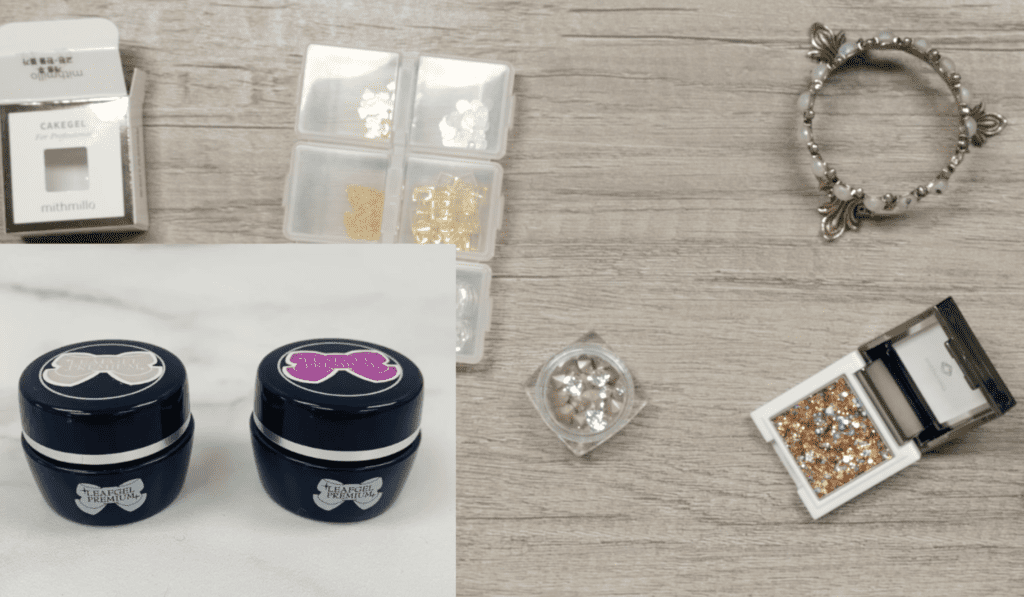
Hey there, today we’re going to have a nail session using “cake gel” and I will be doing my nails to demonstrate how to use these new types of gels.
Before I go ahead and do my nails with it, let’s go over some questions. I think we’re all kind of in the same state of as far as like, what is this? What is this new concept? So when it is in a box or a little cartridge like this, people or companies are calling these types of gels “cakegel”.
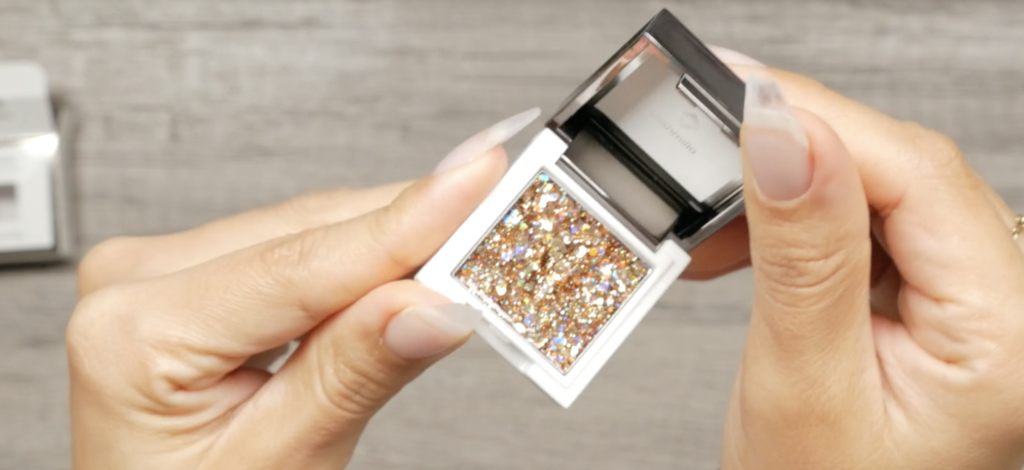
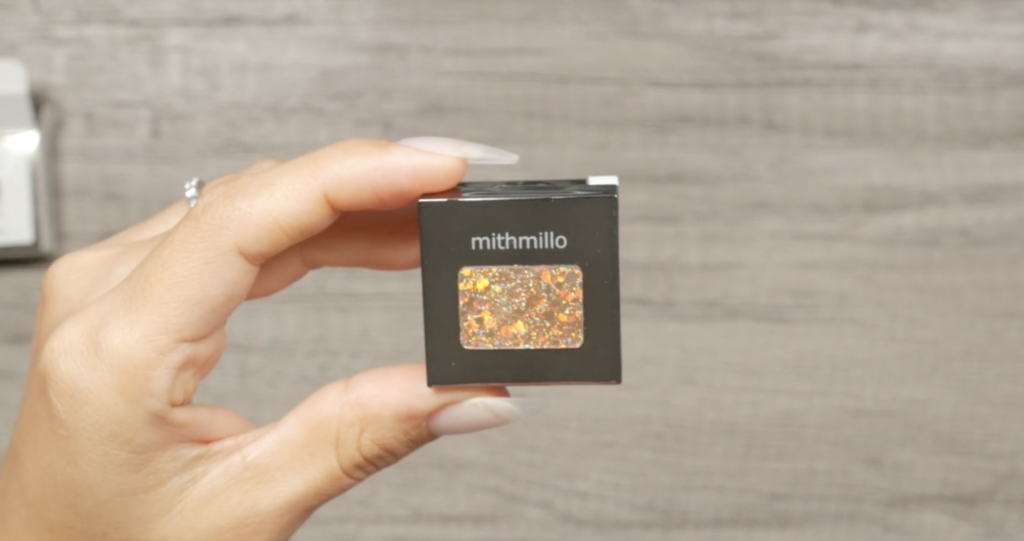
As far as I know, the first company to carry or make this gel is Mithmillo and it is carried by the distributor Zillabeu, (I’ll link it down below if you’re interested). Then Leafgel started to debut theirs, then another company Madame Glam, etc. All these launches have me like: What is this like? I got very curious so let’s try it!
Apparently, it’s going to get kind of popular and it’s definitely going to intrigue people; therefore, I got myself a little cartridge or case of this super shiny cakegel.
One of my friends on Instagram shared her thoughts about cakegel, she was using the solid color from another brand for linework and she is not a fan of it for line work.
Since our company is bringing it up, I read a little more on it, and it seems like it’s great for gradation; you can use it as solid color for an entire nail, but this is probably, the next generation, the next step in making ómbre and gradation designs super easy, due to Cakegel’s thick viscosity while keeping its buttery firmness.
I know. Try to wrap your mind around that right? That allows the color to suspend and self-level. Every bit of gel that you grab with your brush has the correct product to color ratio. There is no need for any steering. With pots or bottles, if you haven’t used them in a while, they may separate, but it’s kind of rare with Japanese and Korean gels.
Sometimes there’s a little bit of steering that has to occur. For example, glitters. Glitters settle down on the bottom of your pots or bottles. So the value proposition here is: Hey, you know what? Every little piece of gel that you work with will be equally as pigmented, equally as sparkly, the color suspension will be there and it will not run into the cuticle. That’s another property.
What else? Gradation ombre we got you. I think that’s their value proposition.
It’s not that I hate trends, but I’m sure you feel like me, like: How is this going to help my business? Is it going to make me faster? Is it going to make something technical super easy? Is it something that my clients won’t resist adding to their service? Those are three questions that really increase our interest.
That is why you want to try trends. Why I want to try trends for you so that we can see if this is worth the investment. At the end of the video, I’ll add more of my two cents on this.
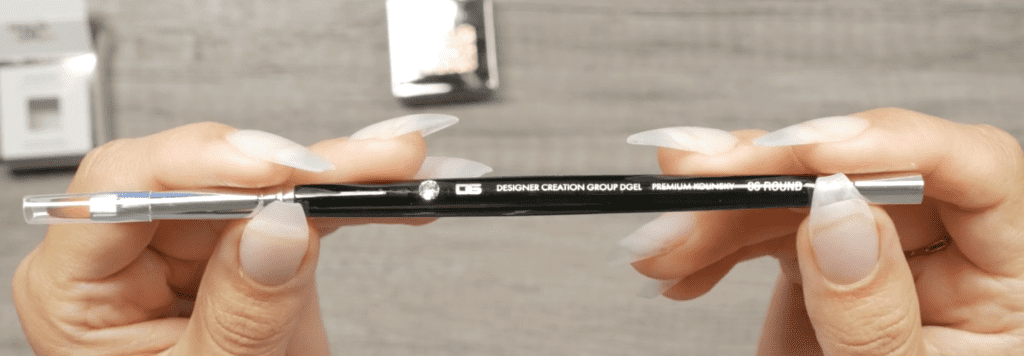
By the way, this Mithmillo Cakegel is #CA042 “Gold at Sunset” (save 10% on anything on the Zillabeau site with my affiliate code PPN10)

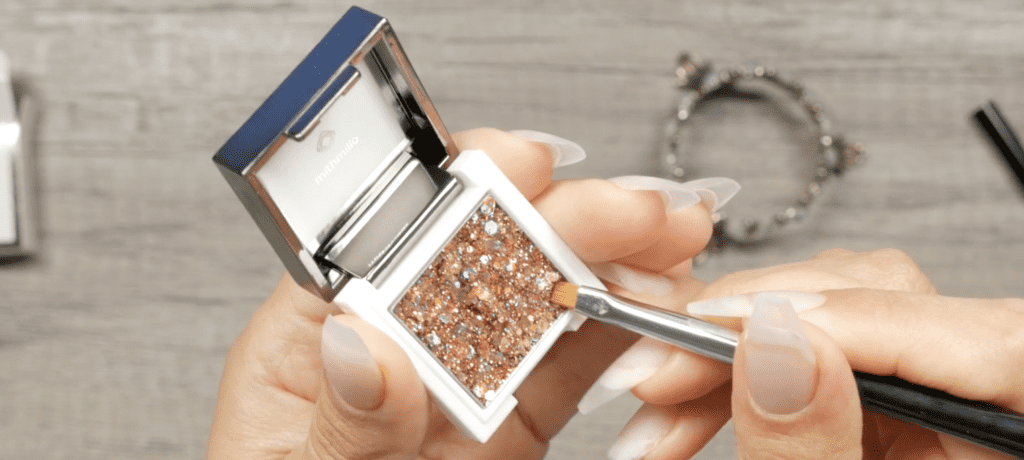
Now, you saw me scoop up a little bit of this product on my brush. I used a firm brush from DGel, but the Mithmillo does also have their own brushes. I do recommend that you start with a little bit of gel so that you’re able to self-level and apply it nicely and smoothly. The gel wants to self-level, that is what it’s meant to do.
You are supposed to just guide it using the pressure of your brush. The pressure is basically what is going to make or break your application. If you add pressure, it’s going to remove the product. If you just sort of float your brush right on top of that first layer, it will move the product where you want it to.

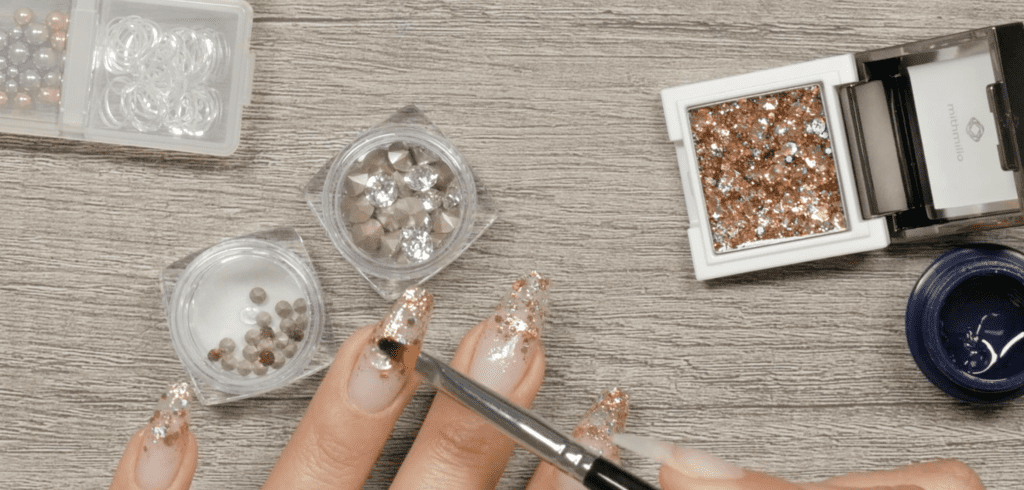
This is a longer nail. I do see myself doing two coats for this because it’s better to apply in thin layers. I can grab more but these glitters are kind of chunky and they could obstruct the light from curing. So, I want the first layer to be see-through, to have clear areas so that the light goes in there and cures it.
This gel spreads so nicely that it’s not going to take me very long. I’ve always said that Japanese gels spread in a buttery consistency and these cakegels are even more so.
Think of it this way: I leave my butter on the counter. Okay? (Maybe that’s TMI) when that happens it stays solid and it just applies so smoothly versus me picking it up from the fridge and then trying to press and apply it.
This is butter left on your counter, that is how this applies and there is no other way I can explain it. No joke. Ok, I’m going to do a thin coat on all five fingers, and then give that a full cure.
Full care is still 30 seconds the standard, but if you are not sure, just cure for 60 seconds, over-curing will not hurt it. After that, I’m going to come in with another layer.
The first layer you want to bring up as high as you want, I know clients especially, want it close to the cuticle so that they can go a little longer with their manicure but you leave it at two-thirds of the nail. The next coat goes one-third of that and so on and so forth. If you want to make it denser, then do so.
Remember, the first coat should go at least two-thirds of the nail. Next, we are going to apply another coat. The gel doesn’t really leave any pieces sticking up if you just press them on there, they apply very smooth. I’m just going to continue doing this and cure it for 30 seconds.
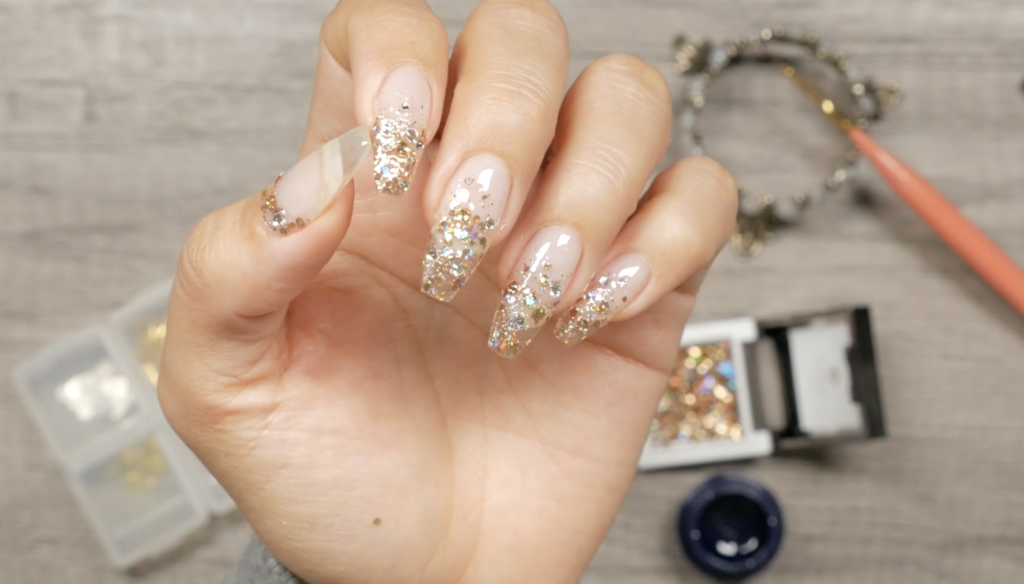
Now, while this is a very easy design to create or recreate, I did have some inspiration for it. I was on my Instagram when something very sparkly popped up that looked like this, and I was like: Oh my! Wow. I want these like, I want to recreate this.
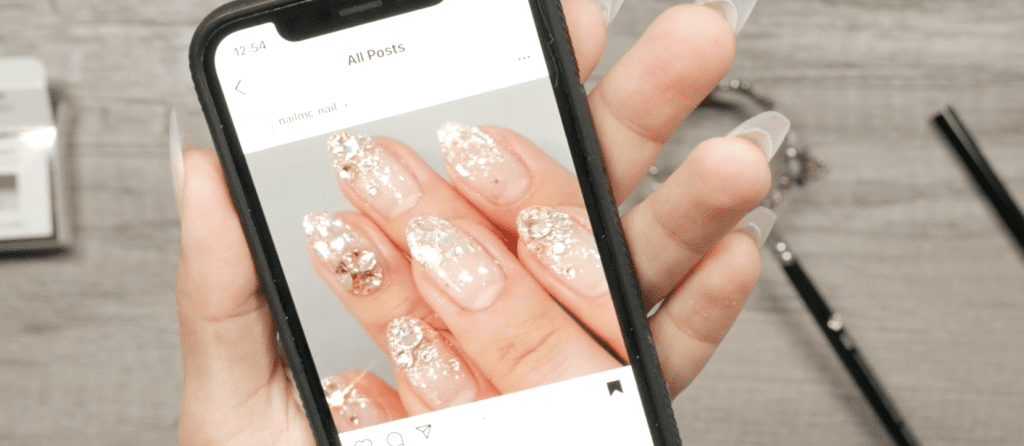
I believe this is from a Korean nail artist, and I figured, I’m going to check out my Korean distributor, Zillabeu, and see what they got. I remember Mithmillo and I thought I saw something like that.
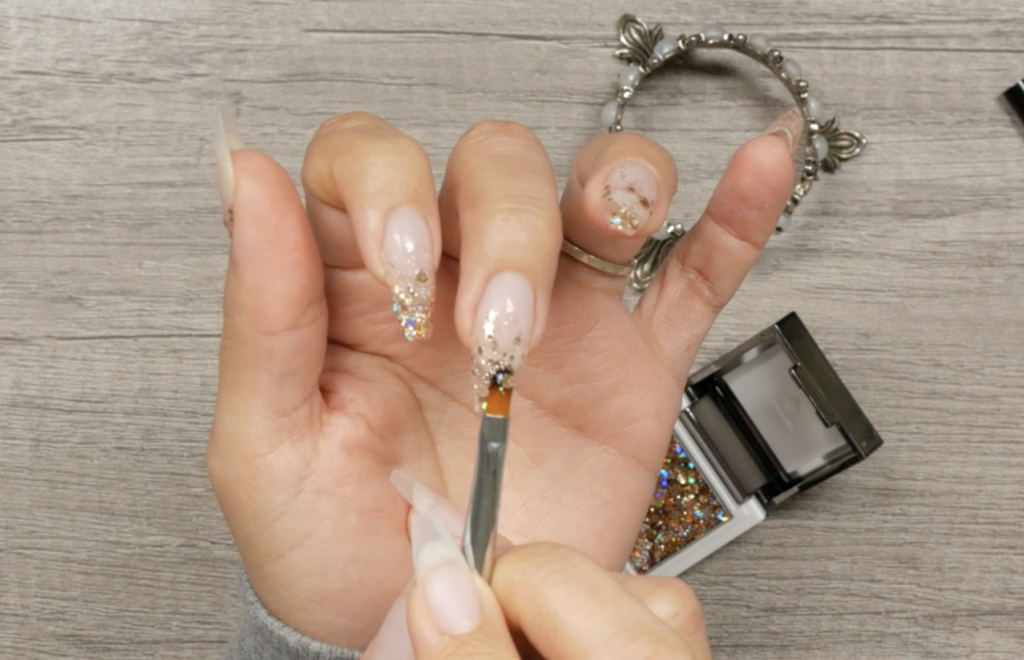
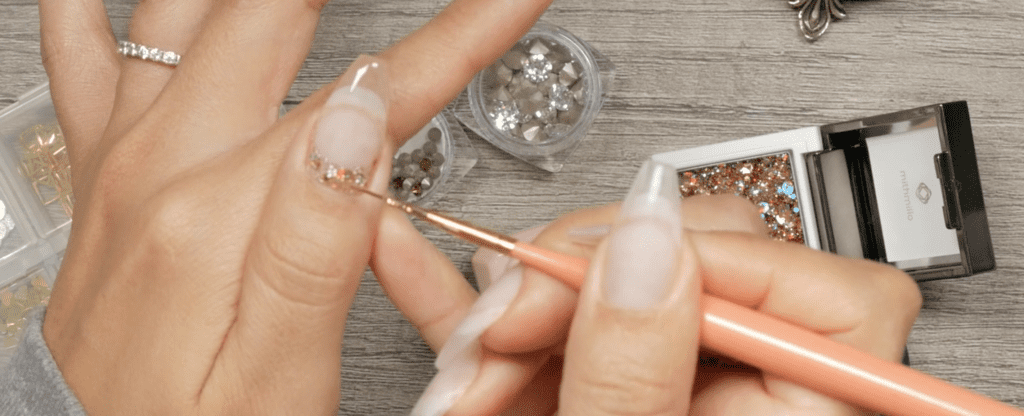
I went with this one, the 42, and I’m going to try to recreate this with the steps and everything. Okay. I’m going to grab fixing gel from Leafgel to apply some studs, crystals and make this ultra blingy. I know I’m ahead of myself, like New Year’s kind of nail vibes, right? But it’s fine. We’re going to own it for the fall.
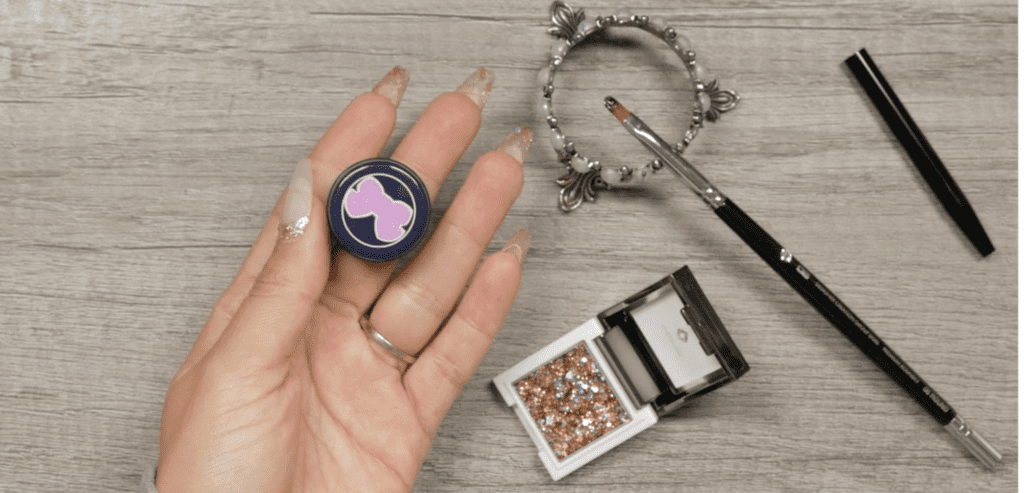
You must know that Leafgel has two consistencies of fixing gel. You can differentiate them by the light and dark purple bows on the lid. Neither one will run on you (as in seep into the cuticle).
The light purple bow is a medium viscosity, and the dark purple is hard viscosity. (These gels are also available at Zillabeau, use the same code PPN10 for 10% off)
So the light purple bow is for flat back smaller crystals, or other embellishments that are not too 3D. For any charm or 3D embellishment use the hard texture option with the dark bow.
I’m just going to press a little bit there. If you just have one, then use that. I would prefer that you have the hard consistency one because it’s just going to hold all of your stones.
Make sure that when using big dollops, where you are digging your brush in the gel to pick up big dollops, that you use a firm liner. I’m using the Nail Thoughts Liner. This one is probably the firmest one that I own, and that’s why I’m using that because I do need to scoop, roll and turn my brush and drop this dollop.
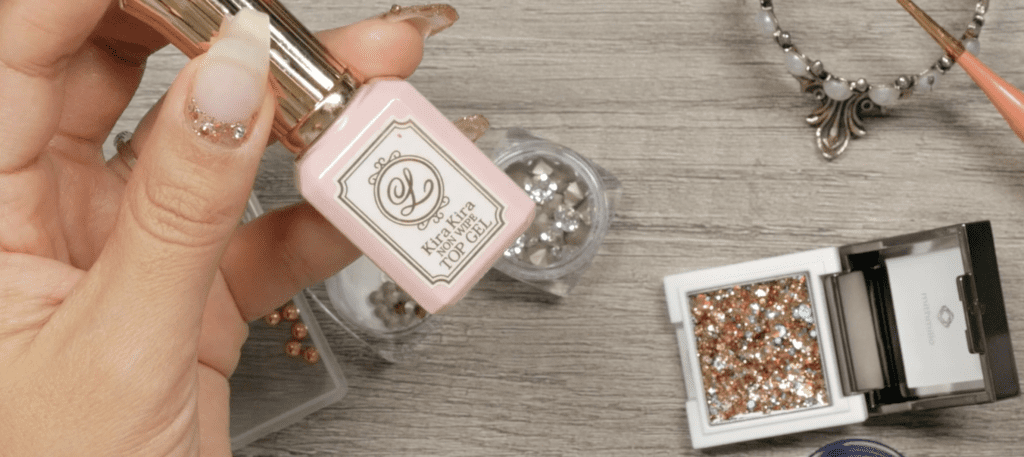
It is important to know that most fixed gels nowadays are non-wipe. Once you apply these, you can just apply them over the gel and not apply top coat. I haven’t applied top coat yet, I am going to do so now and it is no crime to apply a little bit of it around your crystals.
One thing you must know is that you cannot put clear coats over crystals that are high quality, like Swarovski or any other because they are dimensional and they shine. Once you put a clear coat on the crystals you make them one-dimensional, so you need to go around them.
For that, I recommend taking your liner to do that.
Okay, so that is it. This design is super easy, don’t you think? The pasty gel, the Mithmillo gel makes it super easy to make the gradation. When applied, it is nice and flat.
You could use a thin layer of base gel to self-level the nail to give it more smoothness, but I didn’t find that necessary, especially if your top coat is a little bit thicker. I find that the Kira Kira Lily Gel Top Coat is good for that and also the Ultra Glossy Top Coat. They both have good thickness if you need to clear out any imperfections for the final look.
I’m going over these crystals with my liner just so that everything shines in one piece and that I don’t get the clear gel over the crystals.
This top coat is super shiny, so I am very excited. I think they came out fabulous and it’s super easy not only for your time but also a quick way to upgrade clients. Let me know what you think in the comment section. I am linking as many products as I remember here. but otherwise, Zillabeau is where I bought most of these, if not all, except the Nail Thoughts brush.
I hope you enjoy this session with me and you also learned a little bit about cake gel. I think it has a place in our industry, although I don’t see it taking over like traditional gels. I even asked.
I think one of my colleagues online was like: “Okay, now that you have used it because I had not used it at the time. What do you think? Do you think it’s going to replace gels in the pod?” She answered: “No, I liked it (She was the one that said, I didn’t like it for line work), but I like it for Gradations”.
After doing just the glitter gradation, I think this is where these compact gels find their home. If other brands, especially within our niche of Japanese and Korean gels, come out with more of these gels, then I will be interested in buying some for quick gradation ómbre looks. I hope you had fun, enjoyed hanging out with me, and learned about cakegels.
See you next week, bye for now.
These blogs are copyrighted material and any use of this blog is not permitted without written concern first. Some of these blogs contain affiliate links that provide us with a small commission when qualifying purchases are made. Thank you for your support that helps us to continue creating valuable resources and content like this.
![5 Must-Buy Efile Bits for Soft Gel Nails [Japanese Gel]](https://paolaponcenails.com/wp-content/uploads/2020/05/bitsthumb-1024x575.jpg)