
We’ve all been there to a certain degree, whether you just want a little length in your nails for uniformity or you want to achieve natural nail goals. Achieving length in our natural nails is a milestone, but just when we’re about to celebrate our millimeter or few of growth… the almost inevitable happens… and we break a nail! Then we are faced with the very tough decision of… Should I cut it off and start over or should I glue and patch it somehow. How do you do that anyway? In today’s lesson, I’ll be taking you step-by-step into just that. Patching a nail tear using silk!
So! I actually didn’t break a nail while I was on vacation but it happened before we left. I wanted to get my nails done so I did my nails before leaving. I kind of rushed the process and I was like: “You know what? I do see a tear but I’m just going to leave it alone and it’ll be fine right?
Well no, take it from my experience and expertise in this area that whenever you see a tear on the nail, no matter how much gel you put on top of it, you will encounter some problems like lifting or breaking. Basically, it weakens your structure and the gel it’s not supposed to bond the nail where there is a tear.
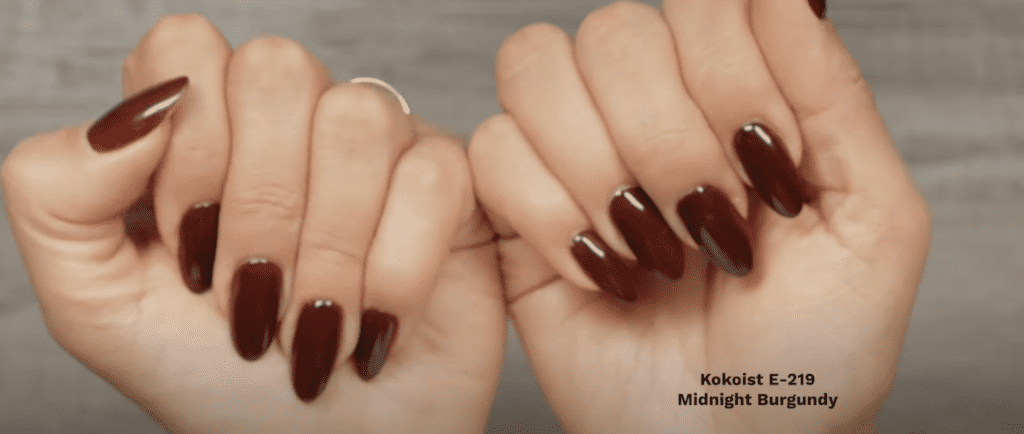
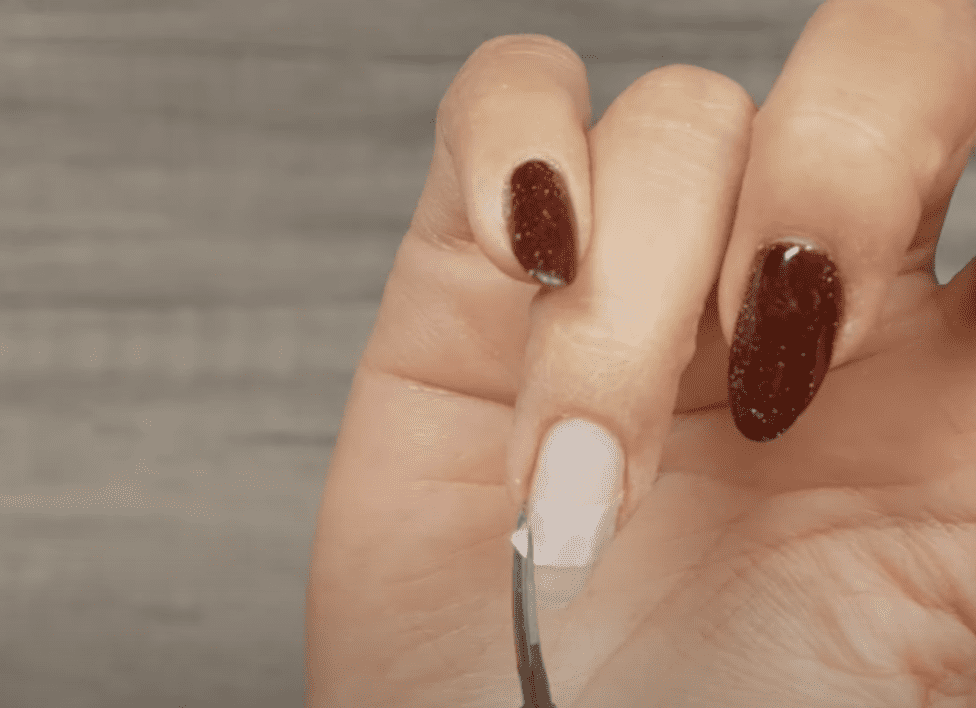
When you have a tear that is this deep (isn’t this color beautiful by the way?) Everything is beautiful and the nails held up wonderfully. I am really happy with these nails but here is today’s topic: This tear right here, kind of grew out about a millimeter while I was on vacation.

But, what do you do? This is so common, a client comes and they’ll put a bandage on it or they’ll text you and say like: “Oh my gosh, one of my nails broke” and maybe they’re not even ready for a fill or a rebalance, right? They looked like this and this was an error that was common, at least to me, when clients were wearing their natural nails and getting used to the length, in addition possibly being a little reckless and whatnot.
What do you do? You have two options: 1) cut the entire free edge right where the tear is (I know that’s kind of sad) or 2) you can repair this with a silk patch.
Depending on where the tear is, it’s going to rely on what you use if you’re going to use a silk wrap or a free form to extend it.
The tear is way up here on the nail bed it barely comes out so, in this case, you want to soak-wrap it. Sometimes it is quicker and faster to just cut it and then extend it with a free form/paper form but in this case, again because it’s still close to the nail bed then you want to give it a silk patch and by silk patch, I do mean a little piece of silk, okay?
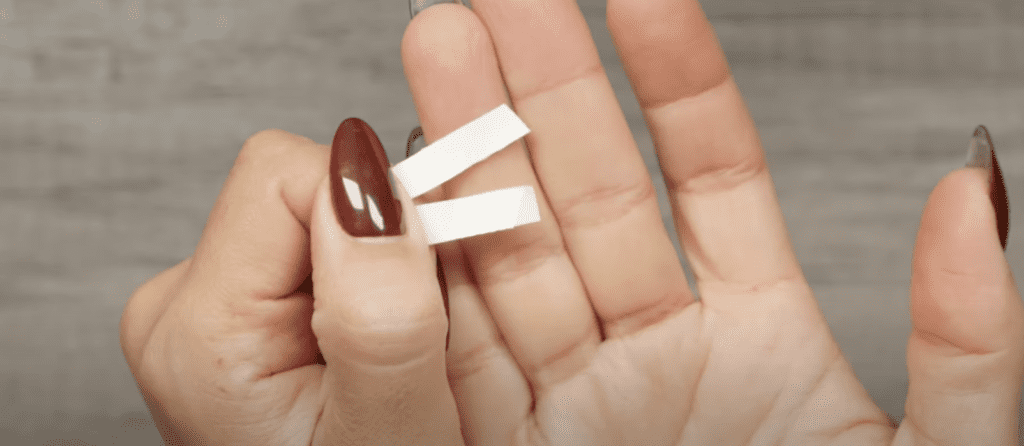
Back in the day, people used to use things like tea bags and whatnot, now you can either get a silk patch or fiberglass. Either one will work and it literally is like cloth-like material that you put on there.
Now, what do you do? Do you take your e-file or your board file and then start filing this off? Absolutely not because you can accidentally tear off the rest of that nail.
What you want to do, before anything, if a client comes in and says: “Bad news, I have a tear” and you’re like: “Okay, no worries” You don’t immediately go to work on this, you do this:
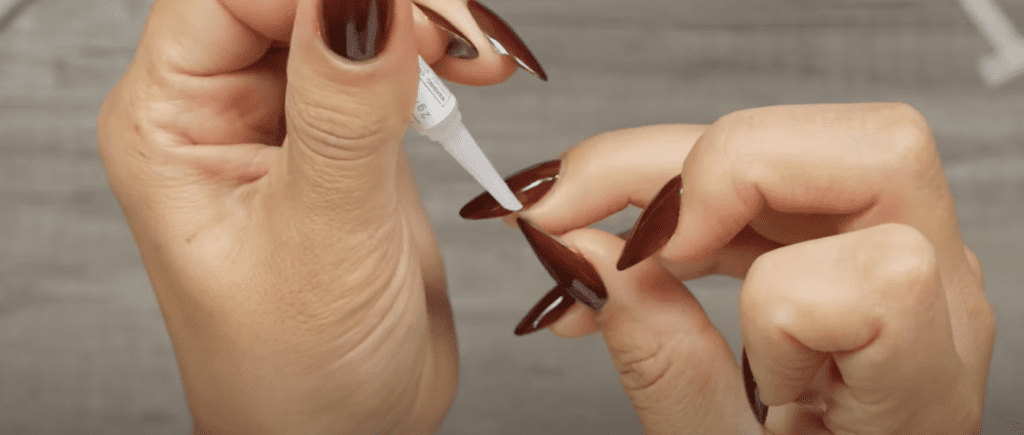
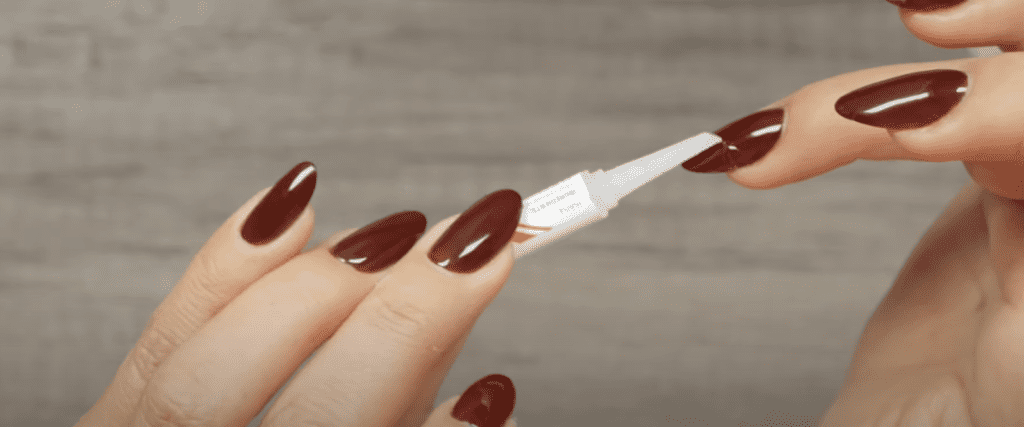
- You grab your nail glue and dab a little bit of nail glue on that tear, just a little dollop, just enough to hold that little tear in place. I’m going to drag it out.
- If your client had nail glue and you gave her a little bit of training on how to use nail glue and temporarily repairs, she could do this while she waits to see you. This is only going to last max three days so you don’t want your client to keep collecting glue there, it’s just gonna get really gross and it’s not going to work at that point.
- If she didn’t have glue or she did the glue and she has to go a little longer with that I would say to put a bandage on until she can get in to see you.
Assuming the client is coming in to take care of this, this is what you’re going to do.
2) You notice the tear, put the glue on the tear and now you’re going to work on both hands as if you were rebalancing the nails (if the client is coming in for a rebalance). You are not going to worry about this tear again until we get to filing the gel down to the natural nail. We’re almost gonna forget that there was a tear.
3) I’m trying to just get rid of the excess here, I’m just gonna tap it a little bit, it doesn’t matter how it looks at the top. You want this to be completely dry so use a little bit, just enough to hold tight. The glue is pretty strong, at least for that first day, so don’t worry about breaking this tear or anything like that, okay?
4) Let it air dry and then once it’s fully dry, now you are taking your e-file, board file or whatever you are used to and file these down thin and remove the product.
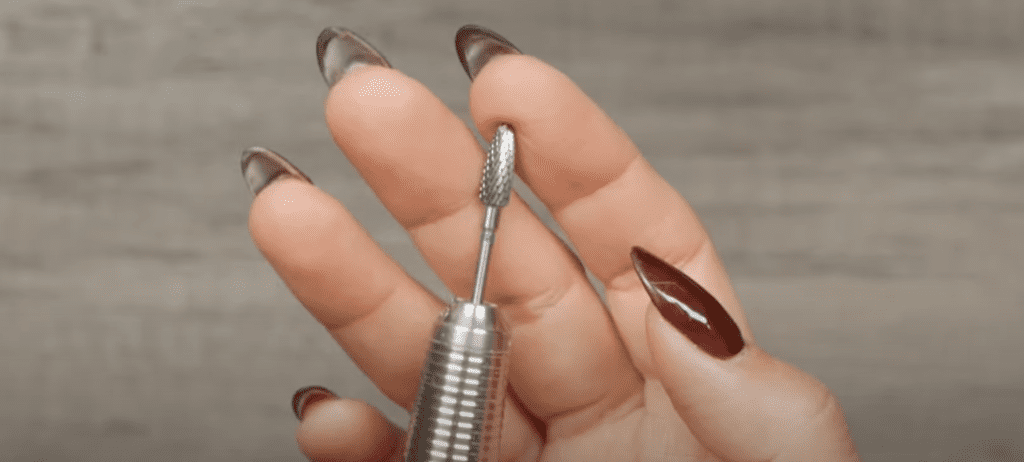
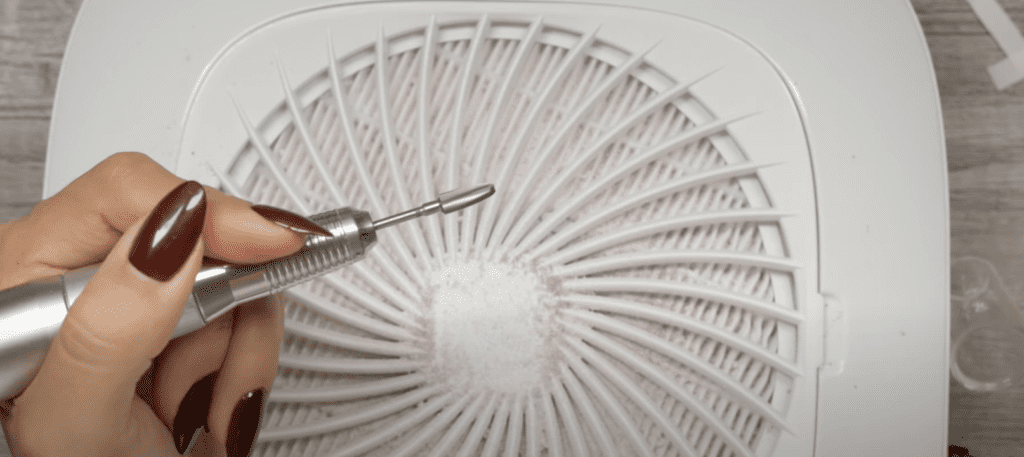
5) I’m using a carbide bit, I don’t have a favorite bit to be honest, this one is from Nashly Nails where I get my carbide bits but it can be ceramic, it can be anything, I always start with carbide first. I’m going to file this down thin and you’ll see you can’t even tell it’s broken. I’m using my MelodySusie dust collector and I have the e-file on reverse since I am working on my opposite hand.
6) Notice that because I glued the tear I’m able to file on the nail as if it wasn’t broken so you want to make sure: Do not forget to glue before you start filing off the product.
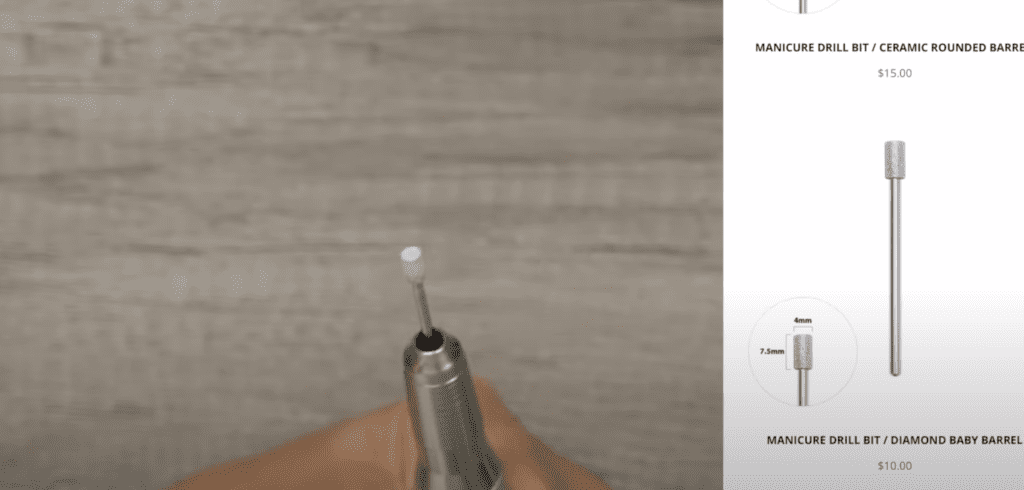
7) Now I’m going to taper with my favorite baby barrel bit. You can find this at Nail Labo but Daily Charme has now started carrying my favorite prep bits so i’m super excited!
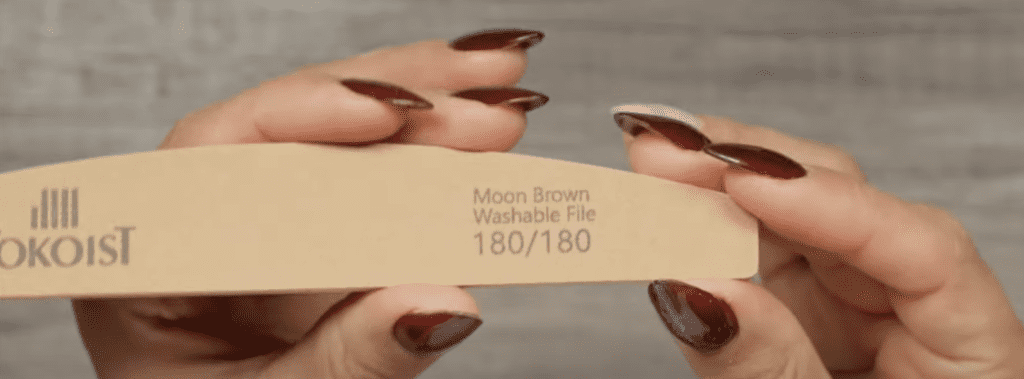
8) I’m just tapering things up a little bit more so that my self leveling is flawless. Next, I’m taking a board file 180 grid and follow that up with a sponge buffer.
I know you’re super tempted to just put some gel on this and move on, right? But no,no. We covered this in the beginning, we cannot do that because we’re going to be in the same place we started, with a broken torn nail. We are doing things right, we are going to put on our silk patch.
9) Notice my silk piece, I do want it to cover more than the tear. You want to do it from side to side and make sure that the edges are clear. See here, this sticks up and it actually extends over the side wall so, I want to take my little sharp curved cuticle scissors (really helpful right now because they have curvature to them) and you are going to trim the excess as close as possible. It is better to cut it on the shorter side because sometimes it doesn’t lay down nicely so you either want it exact or just a little short. Now you want to use your nails or maybe a tool to press it down but try to avoid your fingers, otherwise, you are going to leave oils there.
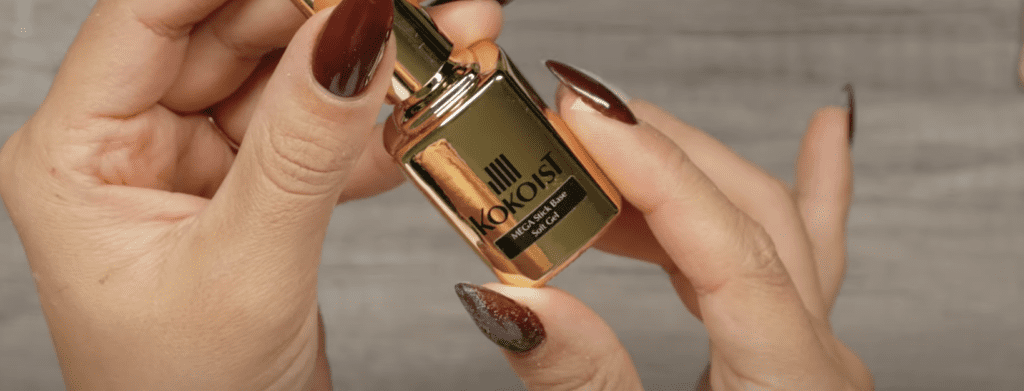
10) I’m going to be using Kokoist’s Mega Stick Base, you can use any soft builder base. Some people call “soft builder base” “rubber base” so if you’ve ever heard the term just know that Japanese gel is technically rubber base. Kokoist is this Mega Stick Base, Vetro is Fuji Base and if you are using Leafgel it is Extreme Clear.
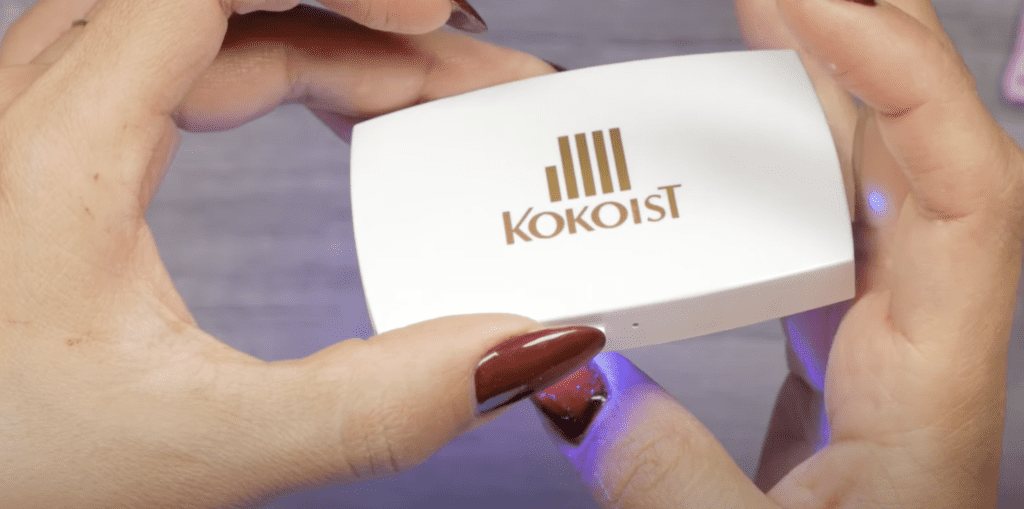
11) You do want to have a flash curing unit, I’m going to be using the Milk Cake flash curing unit by Kokoist. This lamp is super handy, easy and portable. It fits anywhere.
You can do this one of two ways: You can do what I’m doing now which is:
- Applying a little bit of gel, barely anything, and notice the amount of pressure I’m putting on it because it barely has any product, I want to saturate this. I don’t want it to linger, instead I want to flash it immediately, even though I have not sealed the entire patch yet. I don’t want the gel to steep under and then start lifting that silk patch because then I’m going to have a real issue if the silk patch does not make contact with the tear.
- The other way you can do this is to lay down the gel first. I took Mega Stick Base and while it was wet I placed the silk patch and then cured it.
Either way will work. Here I want to make sure that it makes contact with this tear because it is kind of big and almost halfway of the nail bed. Intuitively felt like a good decision, I don’t think either one would have been wrong.
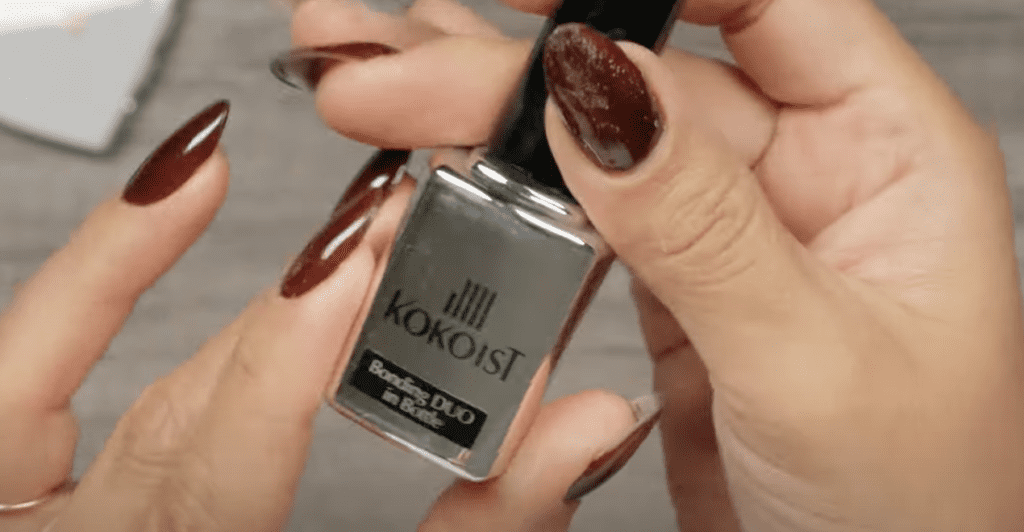
- Okay, now I want to reinforce this. You can use another layer of Mega Stick Base, yes, but it’s rubbery and soft, and I have a long nail here so I want to give it more strength. I’m going to use Kokoist’s Bonding Duo in a Bottle, which is a little bit of a semi-hard texture gel. It has more strength and it will not bend as much.
- If you want to take it up a step higher you can also do Excel Builder but I do appreciate the convenience of this being in a bottle and maybe the client just came in for a quick repair. I do recommend that you have this on hand both Mega Stick Base and a bottle and Bonding Duo in a bottle, because you can quickly put that patch on, add base gel on then add the reinforcement gel, cure it, put some color on it and your client is out.
You want to keep your repairs within 20 minutes the most, that way you can fit them in. I really want you to aim for 15 minutes so that client just sneaks into your schedule.
I’m just gonna allow this to self-level and then fine-tune it just a little bit because there’s a little piece of silk patch sticking up; this just happened on this tutorial but it may not have happened to you so you could have just self-leveled this beauty and applied your color right on. Again, there is a little speck there that I want to take care of and smooth out so it doesn’t come through. After I fix that I’m going to apply my color and we are done!

Thank you so much for joining me! I hope that now you know what you are going to do next time you or your client come in with a torn nail. Now you know that if the tear is close to the nail bed you may want to go for the silk patch and if it is past the free edge you may want to cut it and extend it with a free form, or if you feel comfortable you can also do a tip.
I like silk patch repair because, I mean, you can’t tell anything happened here and your client feels like she has not lost a limb aka a piece of her nail all. All right I’ll see you next week, same time, same place, bye for now…
These blogs are copyrighted material and any use of this blog is not permitted without written concern first. Some of these blogs contain affiliate links that provide us with a small commission when qualifying purchases are made. Thank you for your support that helps us to continue creating valuable resources and content like this.


