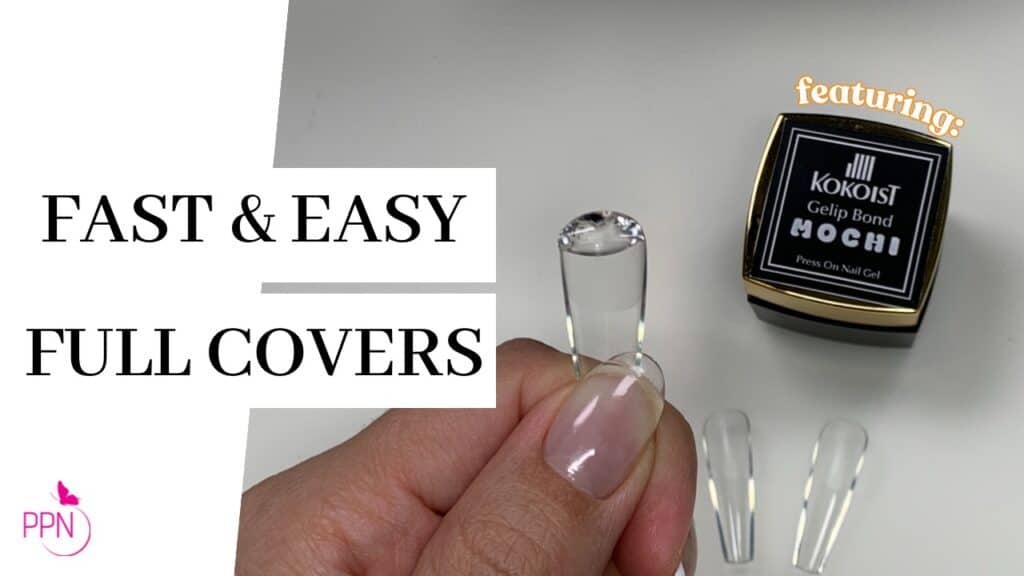
Full coverage tips or full covers (most often and commonly referred to as Gel-X- however, Gel-X is the brand name of a full coverage tip line by the brand Apres) are the answer any time you need a quick service to take someone from short nails to long nails fast.
And for this reason they’ve become the go-to option for celebrity clients, special events, and also when nail techs want to fit extensive nail art into their service.
There are two ways to apply full covers.
- One way is the OG way that Apres Gel-X introduced, and that is by applying the tips all the way up to the cuticle area.
- The other way is to apply the tips approximately 2mm away from the cuticle area, and then blend and overlay the new enhancement. This is the method we’ll be breaking down in this video.
Now while the concept of applying full cover tips seems easy. If you’ve ever given these a try yourself, you know they’re not as easy to apply as it seems.
In today’s topic I want to go over 5 mistakes that make this seemingly easy process a challenging one instead, so that you can get on to applying full cover tips fast and easy…
Mistake #1 Mixing too many systems
Mixing too many brands and systems together creates confusion, and often service breakdowns. To avoid all of this choose one brand of full cover tips and use the system together along with the brand’s curing unit as much as possible.
Mistake #2 Sizing incorrectly
Mistake #3 Using the incorrect amount of gel
Mistake #4 Not properly prepping the nail tips
Mistake #5 Using a low quality unit
Now once we’ve taken note of all of the nuances and mistakes that make this process a challenging one, and you’ve had a successful application of your full coverage tip, it is now time to overlay the new nail.
To do this, you want to use a gel that has a little bit of viscosity to it, and since I don’t want to introduce too many brands into my application as we’ve already covered. I’m going to choose something within the Kokoist line.
To ever so slightly overlay my application I want to use either Gelip Bond, Nail Thoughts Clear, or Filler Base. I’m going to go with Filler Base as this base matches the hardness of the full coverage tip the most!
It is important to note that when you’re overlaying the full coverage you are not necessarily overlaying this nail to give it strength, although it will gain a bit of strength. But you’re overlaying it rather than blending the nail tip to the natural nail. That is the goal, and that will mean we are merely looking to overlay the back-end part of this enhancement and not trying to create any sort of supportive apex on it.
So go ahead and fill-in this nail and your enhancement will be ready for nail art or color application.
I hope today’s video has helped you achieve a fast and easy application of your full cover tips and overlay them effortlessly with your bottled builder gel.
If you would like to learn full coverage tip application step-by-step with me as well as three other gel extension techniques check out my Soft Gel Extensions Course, Extension Petite! I’ll link it down in the description box for you!

Content written by Paola Ponce
Loved this blog? Then I think you’ll love learning more about my journey as a specialized gel nail solopreneur in the nail industry. Click here to get instant access to my free masterclass. These blogs are copyrighted material, and any use of this blog is not permitted without written concern first. Some of these blogs contain affiliate links that give us a small commission when qualifying purchases are made. Thank you for being so supportive, which helps us to continue creating valuable resources and content like this.