
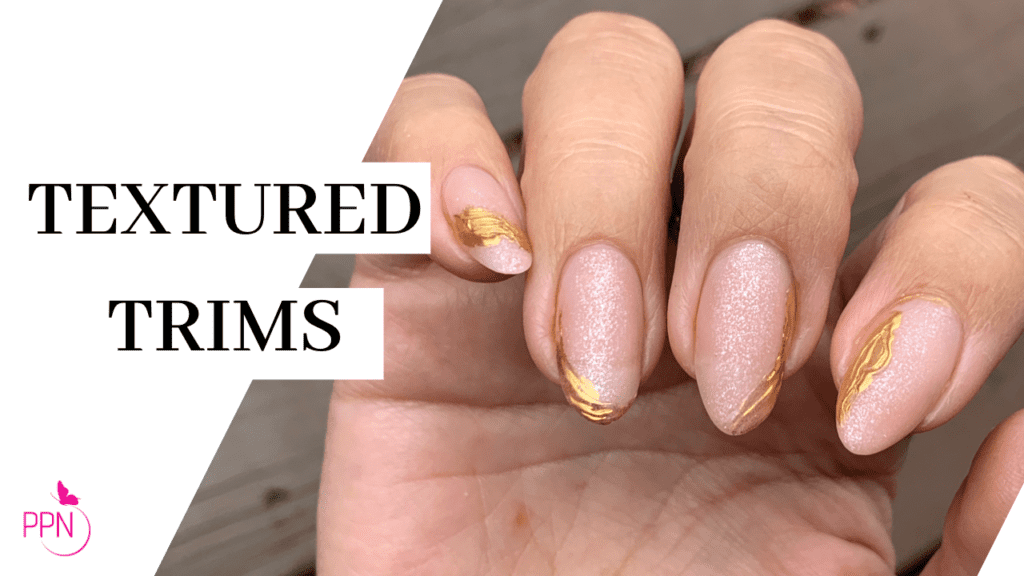
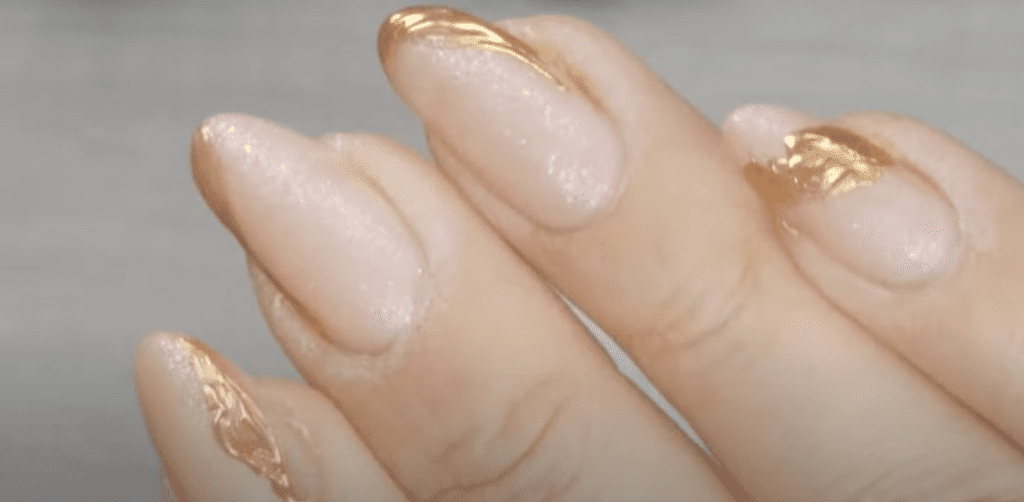
Gilded Brush Stroke Art is a beautifully raised textured art style created by simply swiping your brush and using a non-wipe textured gel. You want to make this textured look with a non-wipe top gel to be able to burnish the top of that gel with a chrome pigment of your choice.
Gilded raised textured art is a beautiful accent on nails and is most notably popularized by nail stylists in Japan. There are endless combinations of possibilities. You can change your nail base color or try different chrome pigments to find the one that best compliments your design. Or you can make those strokes as small or as noticeable as possible.
If you have not tried this famous Japanese Nail Art Style, this is your sign of giving gilded brush stroke art a try.
Here are all the materials you will need:
- Kokoist E-301S Pink Sheer Eggshell.
- Ultra Glossy Non-Wipe Top Coat.
- Matte Top Gel.
- Thin base gel.
- Three brushes. A color brush, a mini round brush, and a liner brush.
- Non-wipe accessory gel.
- Chrome powder or pen.
All the products I’m using today are from Kokoist. If you want to try them, don’t forget to use code PPN10 for a 10% discount on your purchase :).
FIY, we have a Kokoist Japanese soft gel certification coming up. If you are interested, you can head over and sign up for the waitlist to receive all the deets.
Here is the step-by-step:
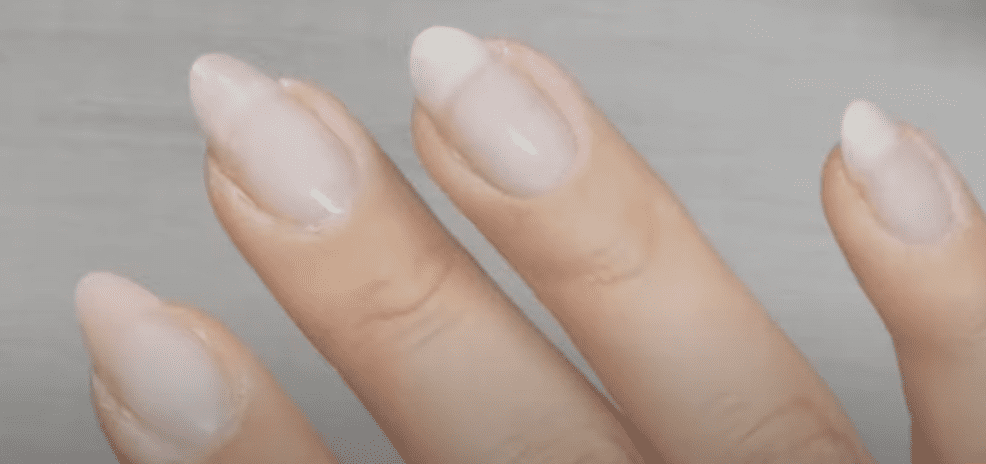
Step 1 : My nails already have a gel overlay. I did this using the structure overlay technique or a self-leveled gel manicure application. I will teach both techniques in the upcoming Japanese soft gel certification for Kokoist. If you are not interested in Kokoist but you just want to learn how to do it with any potted soft gel system, then you want to check out the free masterclass HERE.
Step 2: Take the pink eggshell color and apply two thin coats on all five nails. Then take them to the lamp for a 30-second cure. Repeat, on the other hand.
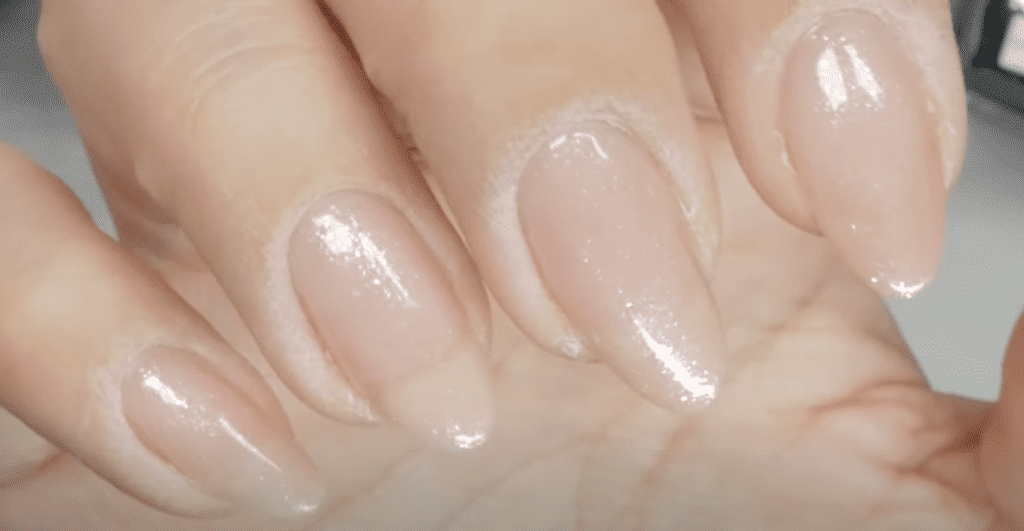
Step 3: Apply a layer of your matte top gel; I am using a velvet matte top coat. This will allow us to apply the accessory gel and create the dainty gold accents. Apply in all ten fingers a cure for 60 seconds.
Step 4: Now is time to use the nonwipe accessory bond from Kokoist. This gel is great for securing charms and crystals, but it’s also perfect for chrome texture on the nails because there’s no need to apply an extra layer of gel to apply the chrome powder; it’s already non-wipe, so it will allow you to burnish the chrome powder after curing.
Before you begin, decide what your texture piece will look like. You can find inspiration online; for me, I will apply in areas I want to fill in or cover. Pretty simple.
Use the mini round/oval brush; depending on how raised you want a particular area, that’s how much gel you will need to grab out of the pot. In no particular order, start smooshing the fixing gel on the nail. Now you can use the liner brush and apply more fixing gel; using different brushes will give different textures, so play around with that. You can always start with a few brush strokes, cure for 5 seconds and add a couple more with a different brush. Just don’t overwork it. Create something and move on.

Cure the raised gel for no longer than 30 seconds so the chrome pigment can glide nicely.
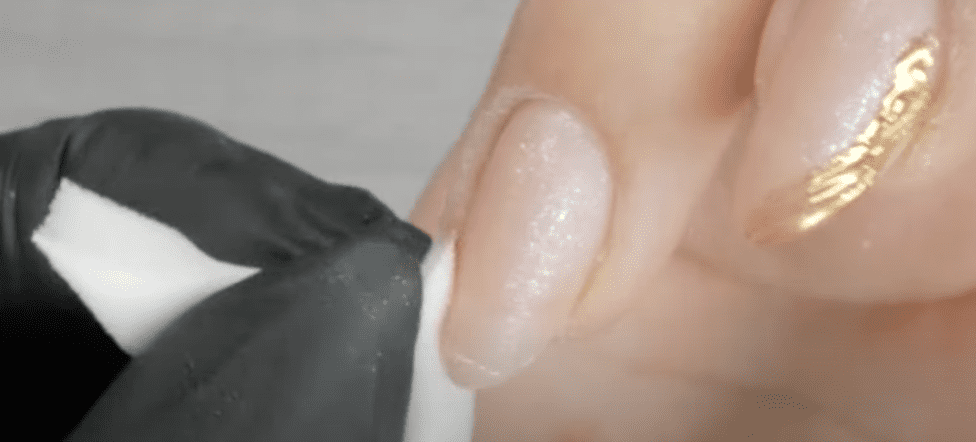
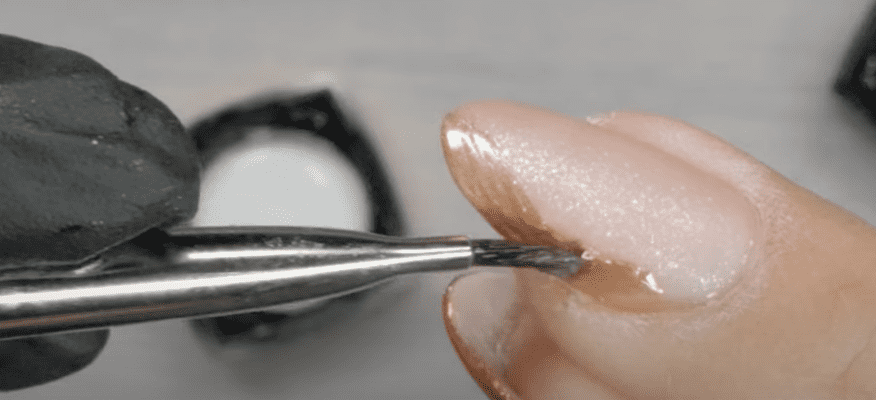
Step 5: Time to chrome the edges. I am using Kokoist chrome pen, and I don’t like to work with the pen sponge; then I find that the gritty eyeshadow sponges kind of remove too much pigment. I grab a soft make-up sponge, which gives me much more control; these are all about control, right? The reason why I don’t use the pen sponge is that it can get too abrasive, and using too much pigment can lead to chipping or breaking the chrome, so you just want to work with minimal product.

Now glide down over the nonwipe gel areas. Look how beautiful! as soon as you start gliding the chrome, the design comes to life. I’m not using too much pressure, and we don’t have to worry about that because there’s not a lot of pigment. These Kokoist pens will be revamped into double-sided pens, so stay tuned for that.
Step 6: Once you are done applying the chrome powder, use the clean side of your brush to dust off those areas and clean anything loose. This will prevent the next clear gels from becoming contaminated.
Pro Tip: If you get chipping with your chrome powders, you can do this. I am using Mega stick base, a great thin base with excellent adhesion components. I will grab some of this gel on a clean brush and paint over the chrome areas. Again, you are not adding bulk; you are just sealing the chrome, and making sure the free edge is fully coated after that, take the nails to the lamp for a full 30-second cure.
Step 7: Grab your top coat and place a small amount on a palette. I know, a lot of steps, but I promise, this way you will be able to create super dainty and crisp designs when you take these extra steps. Use a clean brush to grab a small amount of top gel and paint the chrome areas; I’m using the thin round brush, you can use a liner brush, but this is thin. The round brush is super thin and sharp, so it worked great. Take them to the lamp and cure them for 60 seconds.
You might be thinking, really? Do we HAVE to double-coat? If you are DIY and have a lot of time to do your nails and fix them, no. But if you’re a Pro charging top dollar for this, yes!
Step 8: Lastly, we will wipe the nails off. Just to ensure we get everything off the nail, after finishing the manicure, I like to wait at least 60 seconds before wiping anything down with alcohol, just to let the top gel cool down and set perfectly.

What to do while you wait those 60 seconds? Start cleaning up! 😉
Apply your favorite cuticle oil and massage it into the nails. If you are taking pictures of your manicure, grab a separate towelette and wipe the nails and the skin so they don’t look super oily.
Thank you for hanging out with me today! I can’t wait to see you try this look on yourself or your clients. A few steps are required, but it’s very easy and quick to achieve. Have a great rest of your day, and I’ll see you at the next one. Bye for now…

Loved this blog? Then I think you’ll love learning more about my journey as a specialized gel nail solopreneur in the nail industry. Click here to get instant access to my free masterclass. These blogs are copyrighted material, and any use of this blog is not permitted without written concern first. Some of these blogs contain affiliate links that give us a small commission when qualifying purchases are made. Thank you for being so supportive, which helps us to continue creating valuable resources and content like this.


