
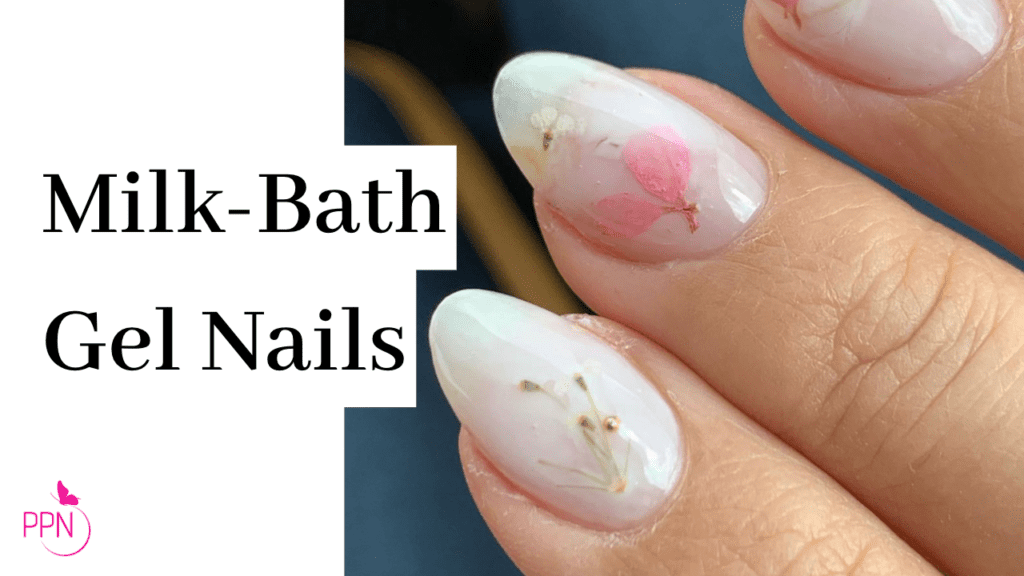
Hey, hey! Today we are doing mil bath florals.
This is actually a past live class I hosted on how to create milk bath nails. I now fully teach this lesson with a few tips and tricks in my mini-course The 10 Instagram Evergreen Designs.
Alright, enjoy today’s class!
These are the materials you will need:
- Dry flowers
- A couple of white colors. I recommend an off-white color, not a true white.
- Sanding-free base or a thin-watery base gel.
- Sculpting gel
- Application brush, oval or flat.
- Tweezers
- Crystal Katana or crystal tool
- Scissors.
- Portable LED light
If you want to try any of these porducts you can use my code PPN10 at Kokoist and Zillabeau for a 10% discount on your purchase.
Step-by-step
Step 1: Start with an off-white base color. I will be using Leafgel’s color #K08 which is a translucent white (The K series from Leafgel are the translucent/jelly colors), you could also use color #005. I am using Vetro’s oval brush, seriously the best brush for color application; it’s made of synthetic hair bristles so it doesn’t soak off the bristles. This off-white color #K08 is a great buy, if you have it swatched you will have a hard time keeping it stocked because clients just love it. Apply one coat and cure for 10 seconds. When you’re doing art you can flash cure for 10 seconds instead of 30 seconds because you will be adding layers over layers.
Step 2: Not let’s pick the flowers we will use. I recommend picking smaller flowers with smaller petals for this technique. The bigger flowers with the center attached are harder to encapsulate with gels; these work best with acrylic so just keep that in mind. To start prepping the flowers, use tweezers and the metal stick on a crystal tool, not the wax end.
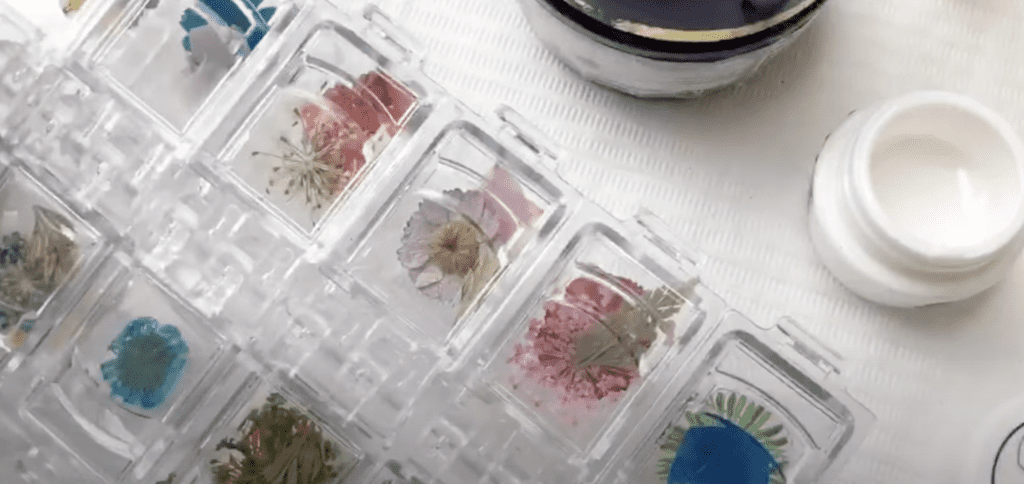
Use your scissors to cut off a few petals and tiny flowers with part of the stem attached. I’m cutting petals from different flowers of different colors. I got this floral art case from Daily Charme, it comes with a nice variety of flowers and colors, and I really like the case it comes in, very sturdy.
Step 3: Now we will use the thin/watery base gel. I am using Leafgel’s Sanding-free base; you can use Vetro’s Base Max or Kokoist Mega Stick Base. I recommend you have a separate brush for this base because it’s very thin and watery, actually, Vetro makes their brush for this base; they are the same synthetic bristles but a little finer. Apply a wet layer, which means you are not going to cure this.
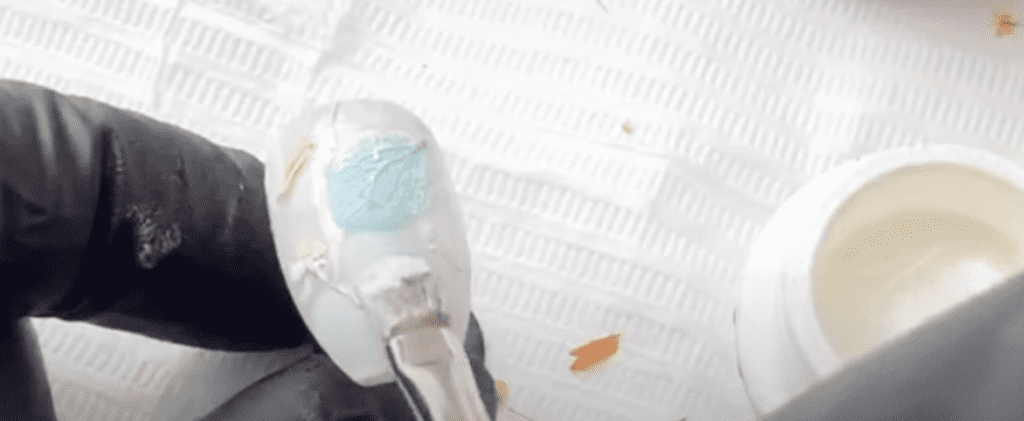
Step 4: If you have a portable LED light, not is the time to take it out, have it ready. Use tweezers to start setting the florals on the nail and place them in whichever manner you would like, there’s no right way to place them so just have fun. You don’t have to place them all yet, just place a few.
Step 5: Use the crystal katana metal side to hold the petal pieces down to flash cure them; otherwise, some sides caustic up, and then it is really annoying to have to encapsulate them individually. Use the flash curing unit on one hand and the toll on the other hand, hold down each floral for about three seconds, and move to the next one after that take the entire nail to the full-size lamp for about five seconds.

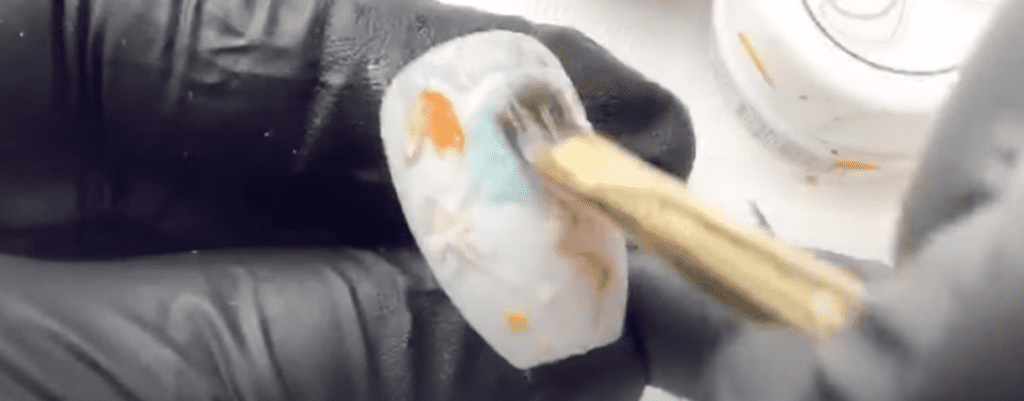
Step 6: Now I will use color #005, which is an ivory-white color. If you don’t have this color you could work with a straight white but dilute it because it’s too white and it doesn’t look too natural. You want this design to look soft and natural. Use a different brush, work the color into the bristles of the brush, flatten the brush out and you will cover little bits of the petals with this color as much as you want with a very minimal product on your brush. Cure it for five seconds.
Step 7: Apply another layer of Sanding-free base. Don’t worry about the nail getting super thick, that is one of the great benefits of Japanese gels, everything stays nice and thin even when doing encapsulations. Use your tweezers or crystal tool to apply more petals in open space areas or even overlay a few, again have fun. These petals will not be covered when we come back with the next layer because we want the colors to show.
When we use a sanding-free base, it is basically a thin glue layer. I don’t like the word glue because it’s more than that, but you know, hehe. Once you are happy with the number of petals and the placement, use the handheld curing unit to flash cure and then to the lamp for five seconds.
Step 8: Grab ivory-white again, flatten the brush on the cap of the pot to work the color into the brush, and paint s few spaces wherever you want. Just do not cover the entire petals so the color shows up. Cure for 20 seconds.
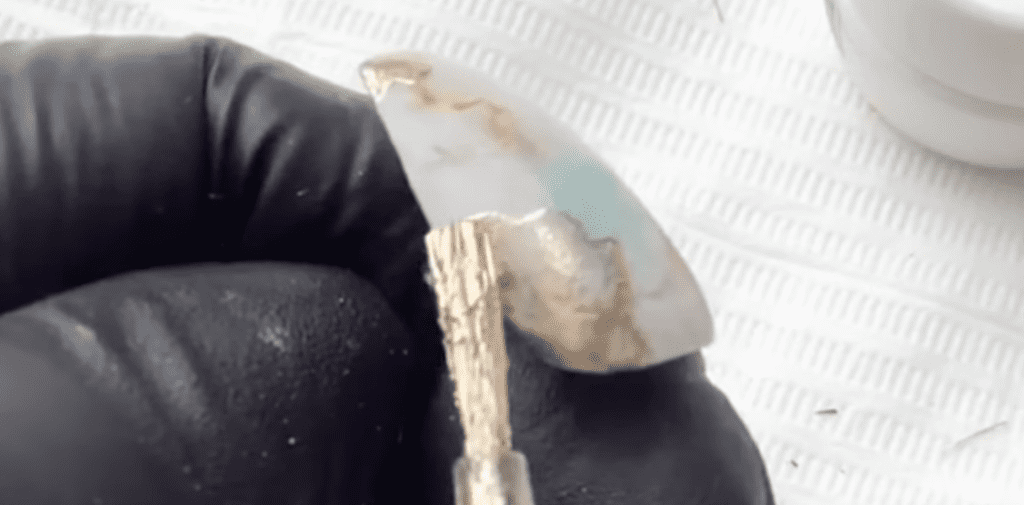
Step 9: To even out the surface we will use sculpting gel. I am using my potted sculpting gel from Leafgel. Have a separate brush for sculpting gel, grab a little bit, just enough to self-level. You will use this amount to cover all the petals, make sure to cover everything and really get in there, don’t worry about making it smooth yet; that’s the next step.
Step 10: Now come back with a bigger bead of gel, place it 2mm away from the cuticle area, and start guiding it down towards the free edge. Concentrate on making the center smooth; the rest will follow. Let it self-level. If it’s not moving fast enough or it looks like you need more gel, use the tip of the brush to grab a tiny bit more gel and come back to that specific area to drop it.
Use your brush to comb the gel vertically to smooth out the top. Turn the client’s hand upside down to let it self-level until you get a nice healthy apex with no break in the light. When the surface is smooth, take it to the lamp and cure it in the low heat setting or advise your client to take the hand out every five seconds to avoid heat spikes.

Step 11: After fully curing I strongly recommend you buff this a little bit and tighten up the shape and smooth it out even more, especially for the next step. If you are on a pinch you could apply a thicker topcoat and you’re done. But we are perfectionists and I will give it a quick little buff. Just the tip and the sides, not too much because the work is pretty much done.
Step 12 (optional): I am using an alcohol-based metallic ink. This product does all the work by itself, you just have to touch the nail with the brush and it will start spreading; you can keep touching it to move the placement and adjust it as much as you need to. This is great too, if you need to cover up any imperfections. Let it air dry, and apply a layer of topcoat. I am using Leafgel’s Glossy, this one is ultra shiny after it’s fully cured. I like this one because it’s a bit thicker and it can cover the grooves of the metallic ink. Float the gel and clean the brush before going back into the bottle to avoid contaminating your top gel. Take it to the lamp for a full cure.
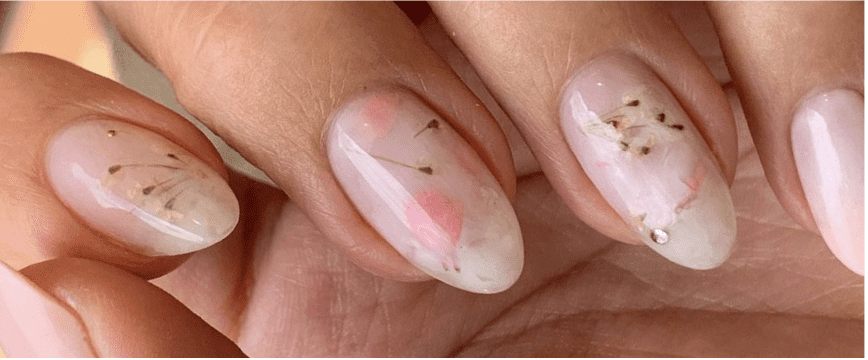
And you are done! I love how delicate and elegant this design is. It does involve a few layers, but it’s relatively easy to achieve. I hope you enjoyed today’s class and if you recreate this look don’t forget to tag me on Instagram @paolaponcenails, I love seeing all of your creations! Thank you for joining me and I’ll see you on the next one, bye for now…

Content written by Paola Ponce & Fabiola Saucedo
Loved this blog? Then I think you’ll love learning more about my journey as a specialized gel nail solopreneur in the nail industry. Click here to get instant access to my free masterclass. These blogs are copyrighted material, and any use of this blog is not permitted without written concern first. Some of these blogs contain affiliate links that give us a small commission when qualifying purchases are made. Thank you for being so supportive, which helps us to continue creating valuable resources and content like this.


