
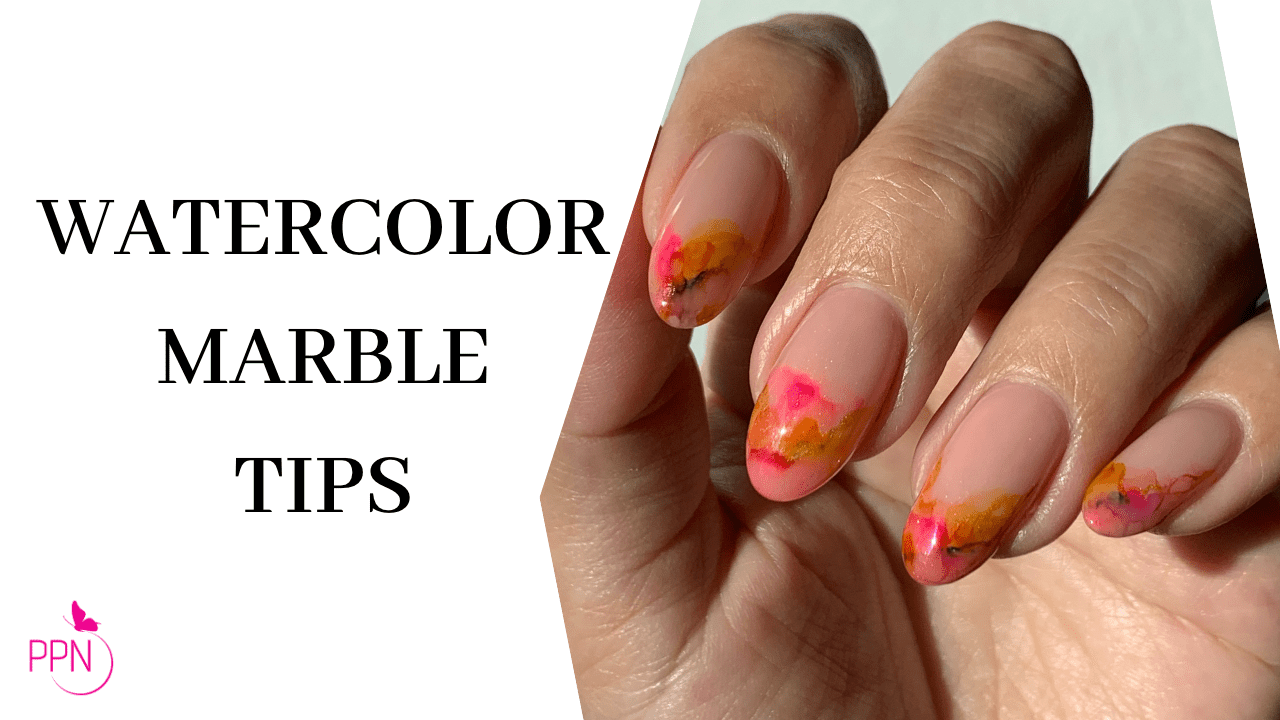
Watercolor is a for-sure evergreen design! In other words, a nail art design may go away for a while, but it will return. Today we will be doing a springy-marble effect, a relatively easy technique with alcohol-based inks.
As an artist, that is so helpful because it means buying the supplies once, and you’ll use them all the time. In this case that would mean the alcohol inks!
We’ll use all Kokoist Japanese Gel Nail products and these inks.
You can find all the materials here and save 10% using code PPN10.
Here’s The Recipe For This Look
Here are all the materials you will need:
- Mega Stick Base.
- Ultraglossy non-wipe topcoat.
- Sheer/nude color base. I used Beige Pebble #101S.
- Bleeding Inks/alcohol inks. I used Kokoists color pink, red. yellow, purple, blue and gold.
- Pointy brush.
- Application brush (oval or flat).
- Art palette
- 90% alcohol
- Lint-free towlettes
- Dappen Dish
Here is the step-by-step:
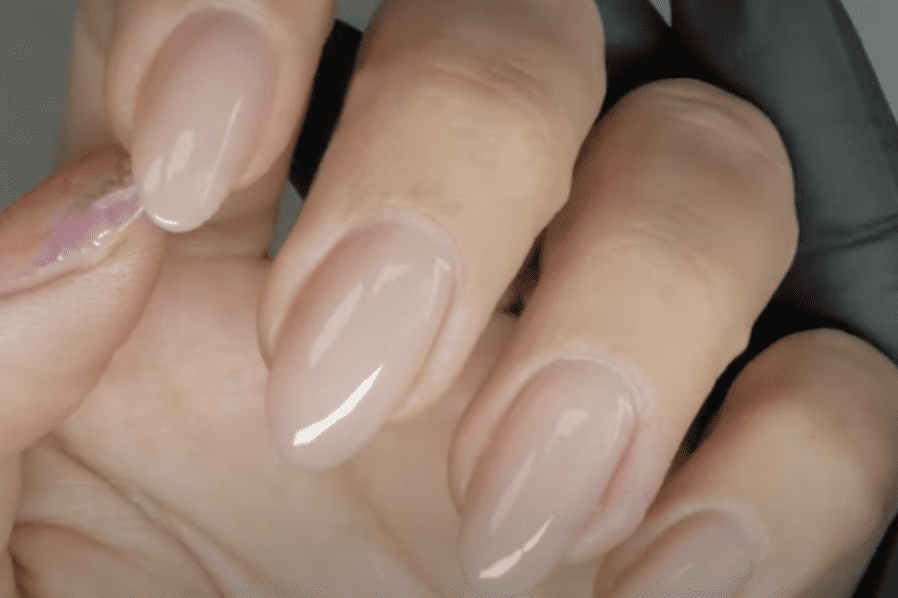
Step 1: Start with two coats of a nude or translucent/sheer color. I am using Kokoist Beige Pebble #101S. Apply two coats to each nail and cure for 30 seconds.
Step 2: Now apply one coat of matte topcoat. A mate topcoat is going to allow the pigment to self-level or disburse a little better, it’s going to be more gentle, and it’s just going to help that alcohol ink to really do its beautiful job. You can leave the sticky layer and try the inks like that but you won’t get the crip disbursing effect that a marble pattern has. Use a non-wipe mate top coat; if you have a wipe-required mate top coat, just remove the inhibition layer with an alcohol-soaked wipe before you go in with the inks.
Very quick…
If you are wondering what’s under these nails so far, we did a gel overlay on our MGN Crash course last week, where we taught you what Japanese Soft Gel is and how to create a structured gel overlay with it. So we added the two coats of sheer nude color separately and a structured, clear gel overlay using Potted Soft Gel Systems. We used potted soft base gel and potted soft gel builder. To me, products like that, especially builder gel, have the strength of a hard gel but with the flexibility of soft gel, which you want because natural nails have flexibility. We also did an extension, which was done with Soft Potted Gel.
If you are interested in the potted soft gel so you can get started with the free class HERE; I’ll tell you my journey using this product for over nine years, just potted soft gel systems in general.
If you are mainly a fan of my YouTube Channel or have been following along for the last four years or so and you’re interested in Kokoist, there is a certification coming up on April 23rd & 24th, and enrollment for that class is open! If you enrolled on our waitlist, you would get an email; otherwise, you should be able to go to our website and find the class. If you are still having issues, no worries. Just send us an email, and we will take care of you.
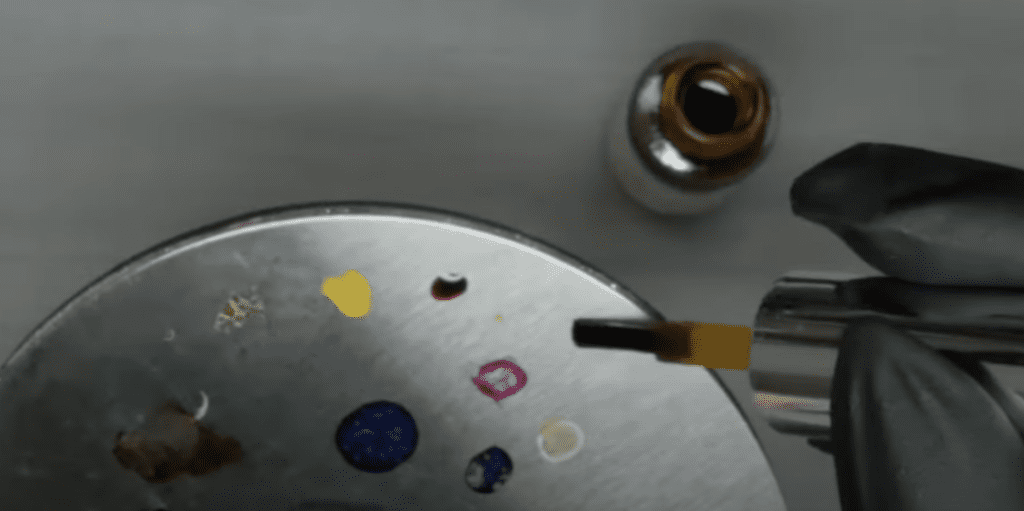
Step 3: We are moving on to our watercolors; I will use Kokoist’s alcohol inks, but you can use whatever you have available. One thing to remember is that, most likely, they will be very pigmented, so I like to use an art palette and add your colors there instead of directly to the nail. This way, I can control the pigmentation of my design. Also, every time you use one color, close the bottle immediately because these will spill to everyone if you are not careful.
I will gravitate more to pink/yellow/orange/gold and just a tiny amount of purple.
For the inks, I am using a watercolor brush, the pointed brush by Kokoist, and I Will also spray a little alcohol on my palette to dilute the inks with it. Be really careful from here forward because these inks move super fast, ok?
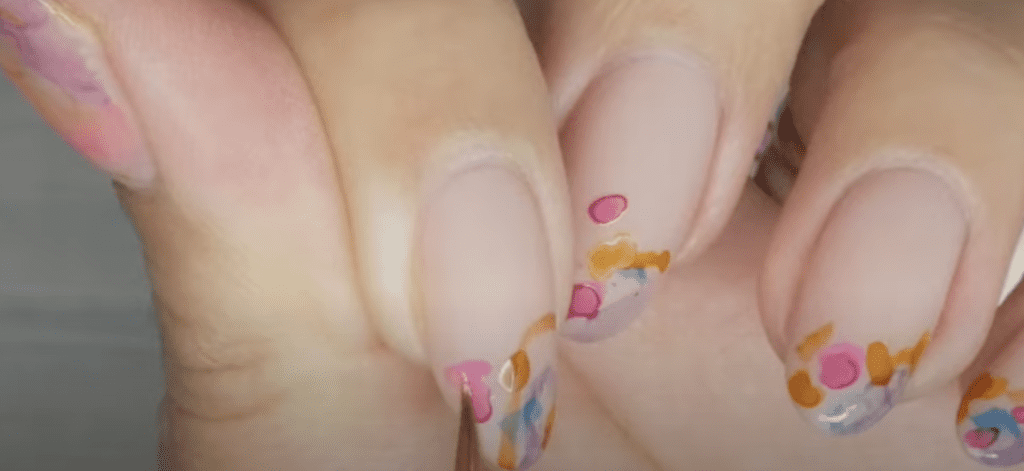
Wet the pointy brush with alcohol and grab some color from your palette. Bring the brush to the nail you want to start working on and place it wherever you want to start creating your design.
Step 4: I recommend working on several nails so the ink can air dry completely. To help you decide where to place your design, consider the pose you use the most to take your pictures/nailfies. If you close your hand, maybe the design is concentrated on the outer part and like that. Think about that when you are painting on yourself or your client.
Step 5: Now, I am randomly placing a few pink dots and doing the same with the yellow ink. Mapping out the design will help you better understand what you want your design to look like.
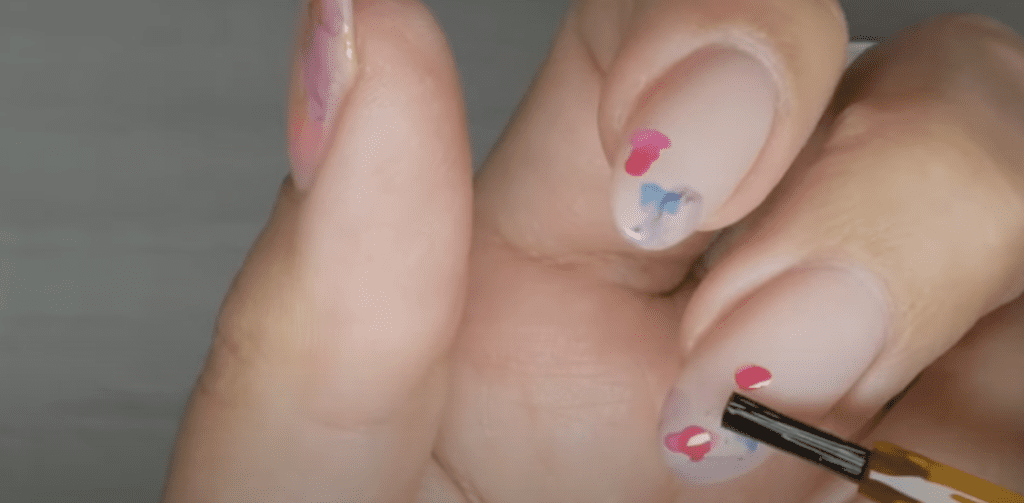
Step 6: Grab a dapping dish to add more alcohol to clean your brush first, wipe it on a towelette, and now you can start playing with the ink spots on the nails. Always come from underneath the dollop, remove the excess on the towelette, and keep breaking up the colors with the alcohol on your brush. As you can see, the base of the nail will start coming through, so you don’t have to fill in any areas. And that’s it! Decide how much you want to work your color inks. Don’t overwork it because it can start looking messy if you take it too far.
Step 7: I want to add a tiny gold accent, so I am using the gold metallic ink from Kokoist too.
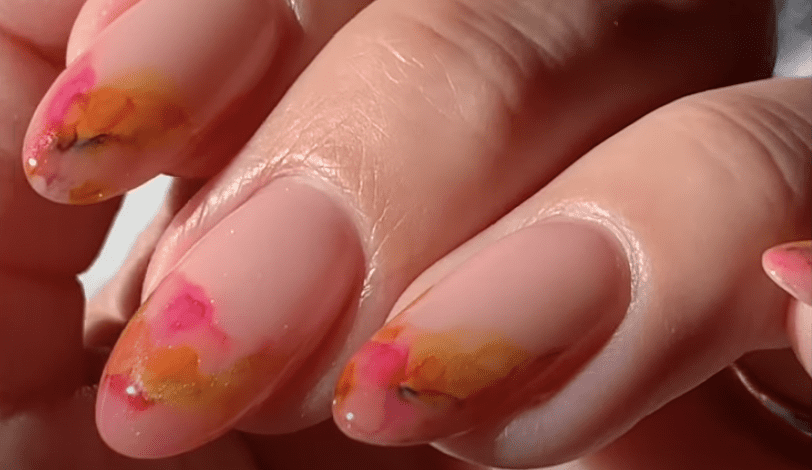
Step 8: Time to seal the design. I like doing that with a thin base coat and a top gel. Try to float the brush in there so you don’t disturb the pigment, ok? I am using Mega Stick base, one coat, and cure for 30 seconds, followed by a coat of Ultra Glossy Top Coat and cure for 60 seconds.
Final Thoughts Tips & Tricks:
I love how this design came out! This is a very easy and fun design you can achieve with a couple of alcohol-based inks or with as many colors as you want—the trick here is to let the design be for an organic flowy look.
My tips:
- Applying a matte top coat before using bleeding inks.
- Place inks on a palette to work from there.
- Not overworking the ink design on the nails. Paint it and move on.
- Always come from underneath the ink dollop to break it apart.
- Double sealing with a thin base coat and a topcoat.
Thank you for joining me today, and I hope to see you at the next one. Bye for now…

Content written by Paola Ponce & Fabiola Saucedo
Loved this blog? Then I think you’ll love learning more about my journey as a specialized gel nail solopreneur in the nail industry. Click here to get instant access to my free masterclass. These blogs are copyrighted material, and any use of this blog is not permitted without written concern first. Some of these blogs contain affiliate links that give us a small commission when qualifying purchases are made. Thank you for being so supportive, which helps us to continue creating valuable resources and content like this.


