
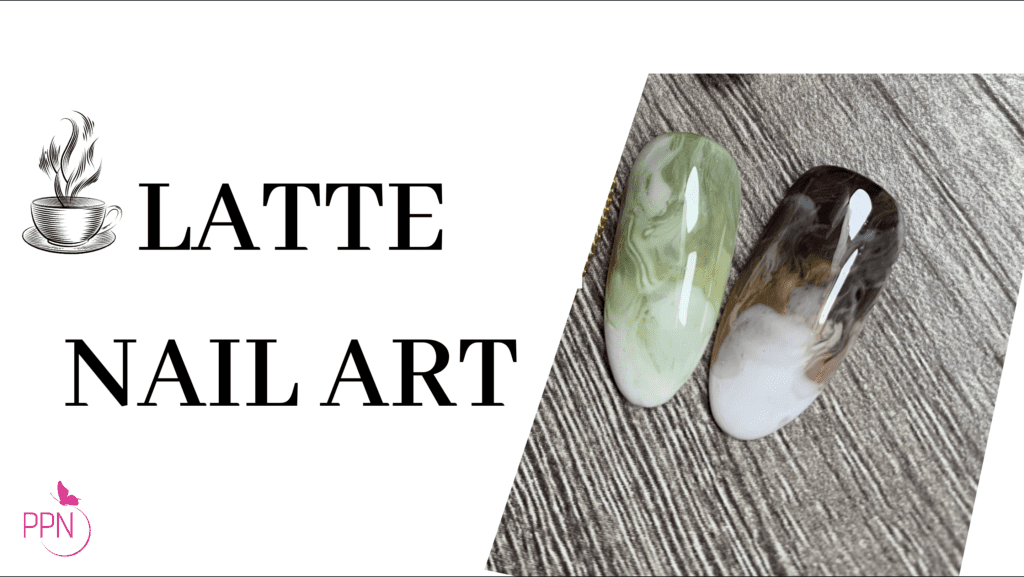
Milky with a touch of caffeine, please! We’re going for that in today’s latte nail art tutorial.
I thought it would be easy-peasy but wait until I get into the coffee one if you want to see me struggle. The key with this latte nail art is to use products that disperse quickly, which is why Kokoist’s Hazy Gel will be the protagonist of today’s action.
If you don’t know, Hazy gel is a blooming gel that creates dispersion, and Kokoist offers a clear and white hazy gel. I created today’s designs using all Kokoist products, so if you want to try them, you can use code PPN10 for a 10% discount on your purchase.
And I managed to create all of this using all Kokoist Japanese Gel Nail Products, and I’ll drop a link to their site here.
Let’s dive in.
Here are the products and step-by-step for the Matcha Latte:
Products:
- Mega Stick Base
- Hazy Gel white & clear
- Pistachio Bread Pudding 243S
- Round brush
- Mini round brush
- Liner brush
- Ultra Glossy Topcoat
Step-by-step:
- Start with a coat of mega stick base and cure for 30 seconds.
- Cover the nail plate with the hazy white gel. At this point, you can cure or just proceed to your color.
- Apply the color on one half of the nail without making a harsh line.
- Cure.
- Apply a new layer of the white lazy gel in the same area, and do not cure at this point.
- Drop the color on the nail and drag it in swirling movement with your mini round to create a smokey appearance. This will disperse into the uncured white hazy gel.
- Go between the color and the white uncured gels to drop them between one another with your liner brush.
- Use a visual aid of what a matcha latte looks like to help you recreate the dispersing effect as the matcha portion mixes with the milk and ice.
- Cure when you are happy with the appearance of your art before top coating and curing once more.
Let me ask you, are you a passionate DIY’er in the niche of soft gel nails considering leaping over to becoming a Pro, or are you doing nails as a creative outlet, or maybe you’re coming back to the industry after a break? Well, I have very good news for you! If you are in any of these positions, the doors to my coaching program, Master Gel Nails PRO, are opening up very soon.
MGN PRO is the roadmap to a successful career in nails. It includes all my signature courses, like the master gel nails course, which teaches you how to apply all your gel nail services with only Japanese soft gel. The efficient gel nail masterclass is dedicated explicitly to soft gel specialists. The Client Booster Camp to help you get booked out even if you’re just starting out, and lastly, The Nail Affiliate, to learn all my tips and tricks to make income as an affiliate for your favorite nail brands. I truly believe this is the only program you will need to book yourself out in the business of nails working with the products you love the most, offering only the services you enjoy doing, and attracting a loyal, raving, and returning clientele who want to see no one else for their nails but you.
I want to invite you to join the waitlist for MGN PRO HERE. When you join this VIP list, you receive the best perks for signing up to MGN PRO early; this program opens twice a year so take a moment now and enroll in that waitlist, aka the VIP list, to be the first to know everything.
Now to create this look, it’s going to be a bit more complicated because these colors are more pronounced, so do less. You’re going to learn to do less if you try this design.
Here are the products and step-by-step for the Caffe Latte:
Products:
- Mega Stick Base
- White Hazy gel
- Milk Chocolate Concelear #254
- Midnight Chocolate #223
- Round brush
- Liner brush
- Bonding Duo in a bottle
- Ultra Glossy topcoat
Step-by-step:
- Start with a layer of Mega Stick Base and cure for 30 seconds.
- Use the color Midnight Chocolate to paint the top half of the nail. Use little product, and don’t worry if it’s not perfectly covered. You want that.
- Use the Hazy white gel to paint the lower half portion of the nail. You can cure these or keep working.
- Apply more white Hazy gel to the lower half portion and bring it higher into the brown color.
- Start with either dark or light brown. I started incorporating the milk chocolate color more because the Midnight chocolate was a little too much. When you see that swirling around when the caffeine drops into an iced late, it’s not immediately all black to try to incorporate the swirls. If you mess up, no worries, just wipe it off with a lint-free towelette and alcohol and start again. Remember, do less.
- Grab a small amount of Milk Chocolate brown and slowly use your round brush to float it in a swirl-like motion. Let it create the ribbon of colors naturally, do not touch it, or it will start mixing too much. When you are happy with the design, take it to the lamp and cure.
- I wanted my sending a bit milkier, so I added another layer of Hazy white gel. This technique is essentially marbling, so working in layers will give your design depth.
- When you are 100% happy with your design, it looks like I just added more milk to my late hehe, cure, and overlay it. I am using Bonding Duo in a bottle to even out the surface and structure the nail; then give it a full cure. If you work with a longer nail, structure it with Excel Builder gel and cure.
- Finish the design with a topcoat. I am using our beloved Ultra Glossy topcoat.
Thank you for reading! I don’t know how you feel about the complexity of this design. Do you think it is easy or difficult?

Content written by Paola Ponce & Fabiola Saucedo
Loved this blog? Then I think you’ll love learning more about my journey as a specialized gel nail solopreneur in the nail industry. Click here to get instant access to my free masterclass. These blogs are copyrighted material, and any use of this blog is not permitted without written concern first. Some of these blogs contain affiliate links that give us a small commission when qualifying purchases are made. Thank you for being so supportive, which helps us to continue creating valuable resources and content like this.


