
How to Properly Clean Your Gel Brushes
This tutorial is overdue. I get so many questions on how to clean gel brushes, and today I will show you the proper ways to clean your gel nail brushes during and after services.
I’ve been using these methods for years on my gel nail brushes without ruining them.
Today we are getting into some straightforward but super important techniques on cleaning gel nail brushes.
Materials
To clean your gel nail brushes, whether just quickly or for deep cleaning, you literally will only need:
- 90% alcohol
- A clear gel or “brush cleaning gel”
- A lint-free wipe
- A solid lint-free surface like a nail art palette.
(You can find some of the above supplies here.)
We will be talking about 2 techniques to clean gel brushes.
The “flushing” technique and the “wiping” technique…
Wiping can be done dry or wet, as in w/ alcohol. Flushing can be done with alcohol or gel. (Kokoist recently released a gel cleaning brush! Check it out here ; use code PPN10 to save 10%)
Just a few pointers before getting started:
1. Never use acetone to clean your brushes.
Acetone will simply mess up your gel nail brushes. Minimally it will dehydrate them, but it could also melt the bristles.
If you have 100% alcohol, dilute it to a 90% alcohol solution by adding 10% water. Otherwise, the bristles may become dehydrated.
While technically, you can use any clear gel to flush your gel nail brush. A base gel is best because it has an adhesion component, in case any of the gel you use to flush the brush touch the natural nail. For example, Let’s say you use a top coat to flush that brush, and then you use that same brush to apply your base. If you would wipe that brush on the natural nail, you could get that top gel on the natural nail and cause it to lift because top gel does not have an adhesion component.
Ideally, you want to use the clear gel you have assigned that brush to flush your nail brush, to keep the formulas from being contaminated.
But… If you cannot afford to assign a brush for every clear gel type, you can simply use base gel.
Wiping technique.
To quickly clean your brush… wiping it is all you will need to do.
Here are some scenarios:
If you’re using a brush from one color to the next, all you have to do is dry wipe the brush between color changes with a lint-free wipe.
If the color is heavily pigmented or glitter, then go ahead and do a wet wipe. Add alcohol to the wipe, and then use this wipe to squeeze the gel out of the brush.
Flushing technique.
To deep clean your brush, you will have to use a clear gel, or for the deepest of cleanings, use alcohol and clear gel.
Here are some scenarios:
If you need to flush the brush because it has a color or gel on there that you want to be removed, you could just flush the brush in the clear gel until that product is released to your liking.
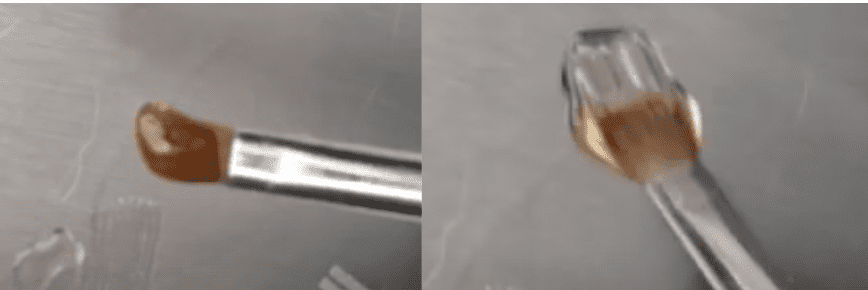
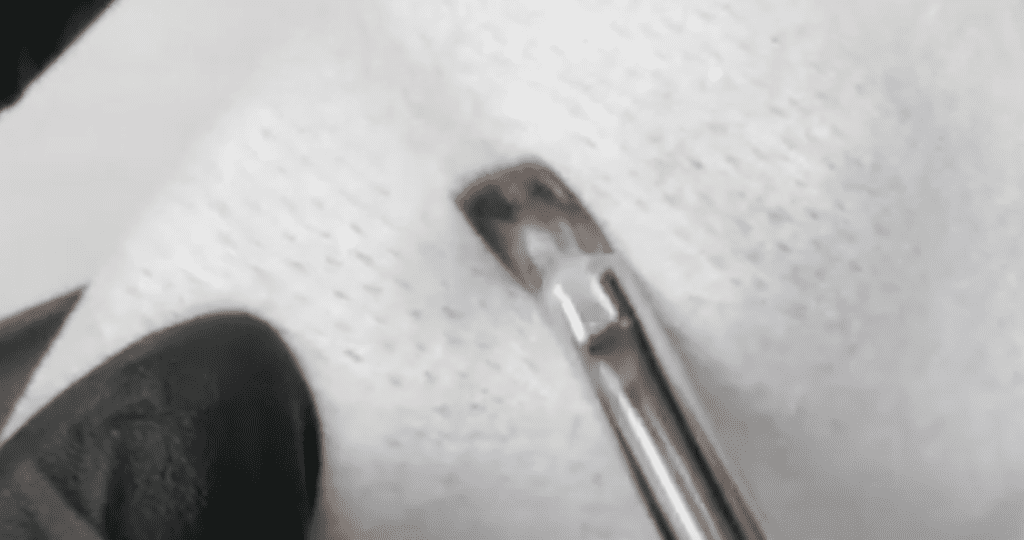
Suppose the brush you are about to use has become stiff like this one. In that case, you will have to break it up in a shallow amount of alcohol, dry wipe, then flush it in gel, dry wipe again, and keep repeating until the bristles become soft and you can part in between them.

Avoid the urge to use acetone. Again it will damage your brush, and it is not needed.
Cured gel on your brush?
If you have unfortunately cured gel on a gel nail brush, it may be officially ruined, but you can still use this method to try and save it.
To store your brushes…
To store your brushes, simply leave them in a little bit of gel of whatever sort you were using when you were using that brush. However, if you are unsure when you will use that particular brush, condition it in a bit of clear gel before storing it. Doing this will keep it from stiffening once again, or at least slow that process down significantly.
And that is pretty much it when it comes to cleaning your gel brushes during and before services.
If you want to see me cleaning my brush, check out the video at the top.
Check out my free training in the description box. If you would like to be part of our private community of Japanese Gel Nail Artists & solopreneurs, do join us using the link below.
Have a merry start to the week, and we’ll see you in the next one.
This blog may contain affiliate links, that provide minimal financial support to the channel. This allows us to continue to make FREE videos like this. Prices on these items are not inflated to supplement any commission. Thank you for your support!


Thank you for your tutorial! I have a question about it.
You mentioned that you recommend using a base coat, not a top coat as a cleaning agent:
“A base gel is best because it has an adhesion component, in case any of the gel you use to flush the brush touch the natural nail. For example, Let’s say you use a top coat to flush that brush, and then you use that same brush to apply your base. If you would wipe that brush on the natural nail, you could get that top gel on the natural nail and cause it to lift because top gel does not have an adhesion component.”
Yet you recommended Kokoist brush cleaner:
“This brush cleaner is 100% gel, yet it doesn’t contain a curing agent (photoinitiator). [This product is] designed specifically to clean gel brushes.” -From Kokoist link to website
But if the Kokoist product doesn’t cure, then it wouldn’t have a photoinitiator either, right? If some of the Kokoist product got on the nail of your next manicure, wouldn’t potential lifting occur since there is no curing agent, therefore no adhesion agent either?
Thanks,
Donna
Such a great & learned question!
I made this suggestion with the majority of the audoence in mind that will not have Kokoist Cleaning Gel. And so just to use what gels they have, my recommendation would be a base gel for the reason of adhesion issues. All brushes should be “warmed up” or prepped with the gel they intend to use, prior to apply on the nail plate.
Hi! I use the kokoist gel cleaner on my brushes, and I’ve noticed that if I don’t use a liner brush for a while (after wiping and flooding with gel and cleaning) I’ll open the cap and it’ll be like, curled up? Am I using too much brush cleaner? Am I not wiping it off? Is it drying? HALP! 😂
Wipe it clean. Heat some water (or grab it from the water cooler), and pour it over the brush. The hot water will straighten out the brush.