
You know how it goes… You get your nails done, and shortly after, you’re not into that shape anymore, or even worse, the design or color. Well, today, I will help you reshape your natural nail manicure into the one you really want. Press play to watch me switch out my fresh gel manicures square shape into an oval one (the shape I should never really deviate from!).
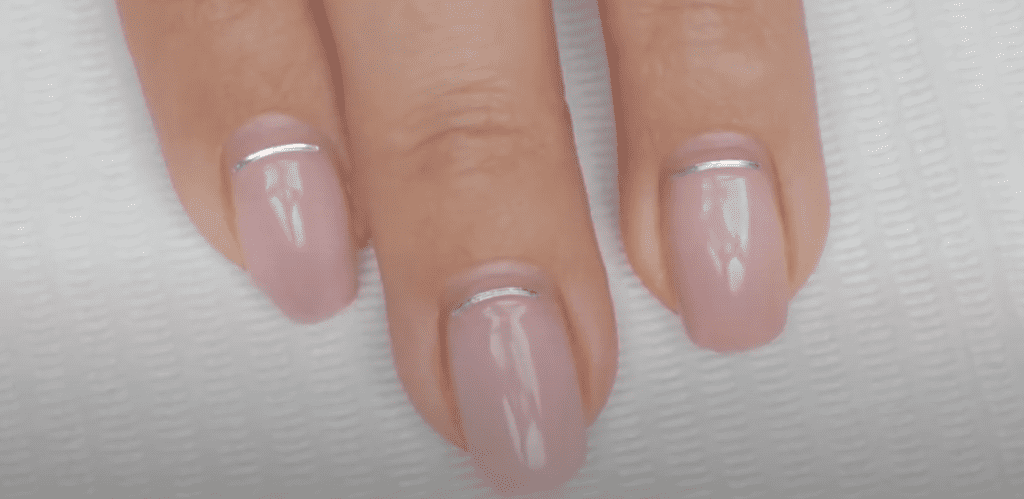
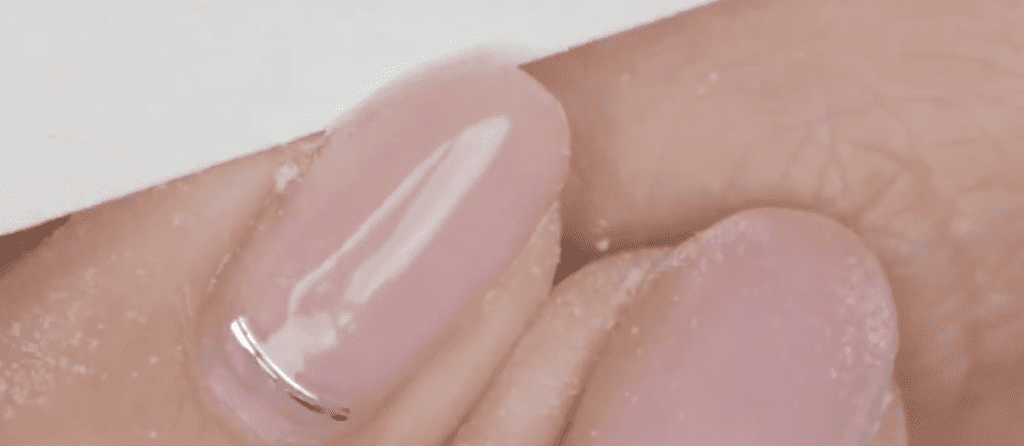
This is my current manicure situation.
I have a bit of grow-out, and these nails are relatively new. Spending a lot of time at home and caring for family, I need a more comfortable manicure. The square shape feels a bit more on the way of me getting things done, a type of annoyance, if you will. So, I will turn these into an almond shape.
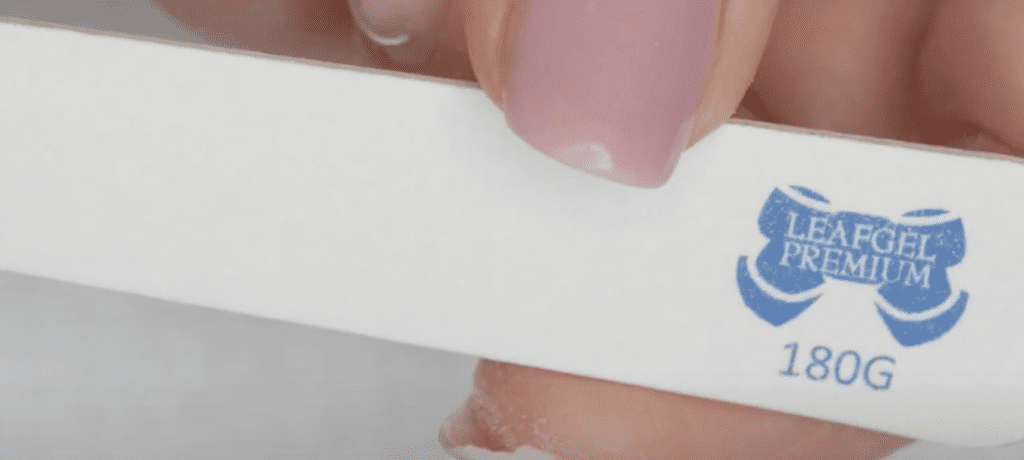
When you go from square to almond shape, I typically recommend using a medium grit file, 180 or 150 grit file. In this case, I am doing something bolder; I will clip the corners. When you use a nail clipper or nipper, you have to be careful not to bend the nail too much because it can cause the nail to slit, and now you have to deal with that.
Ok, so here’s what we’re going to do. If you notice, I already have some of the corners chipped off my nails (that one was actually with the kitchen knife). Ideally, I wouldn’t recommend clipping your nails because you will cause some sort of lifting at the free edge; but today we’re going for it, and I’ll show you how to do it safely.
1. Corners
I recommend you shape the nail with a 150 grit or 180 g board file. This nail already has a corner off, so I want to make the sides straight.
Grab the board file and place it straight against the sloping side of the nail. Then start filing in one direction.
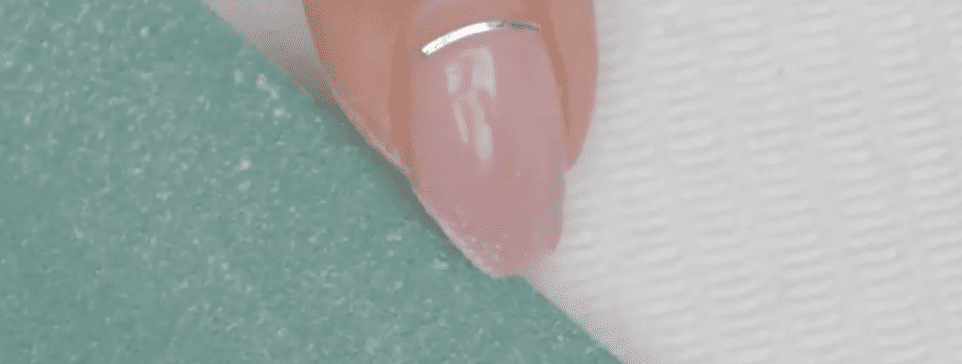
Once I curve that in, I will start getting my almond or oval nail.
2.Nail nippers.
You might be thinking, how do I do that to the rest of the nails?
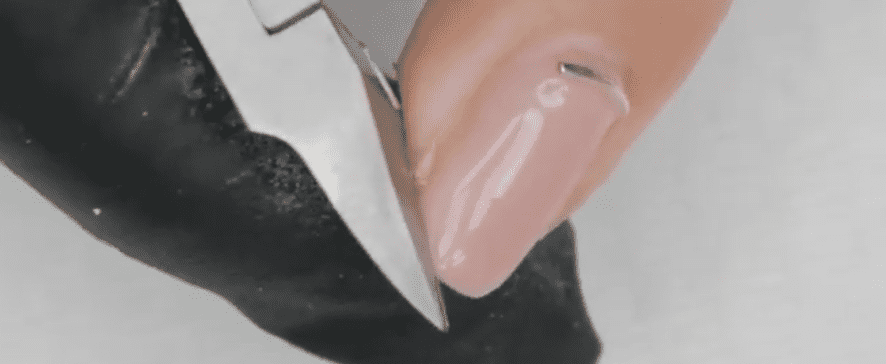
You are going to grab specifically a nail nipper. These nippers are meant to cut nails, thick nails, and anything but skin. Very important to know that. You don’t want to use your cuticle nippers to cut plastic or nails. You can use nail nippers for that.
Now, Im going to use my nail nippers to cut the corners of the nail diagonally. Don’t cut too much; I want you to cut less than you think you need. You can always file it more if you want to, but you can put it back once you cut it.
3.Filing with a hand board file.
To start filing the sides, I like to find the middle point of my cuticle and match it to the center point of the free edge. This will be my guide to file the sides towards that point. Be very gentle and file in one direction.
Remember that we’re only reshaping, not building, touching up with base gel, or anything like that.
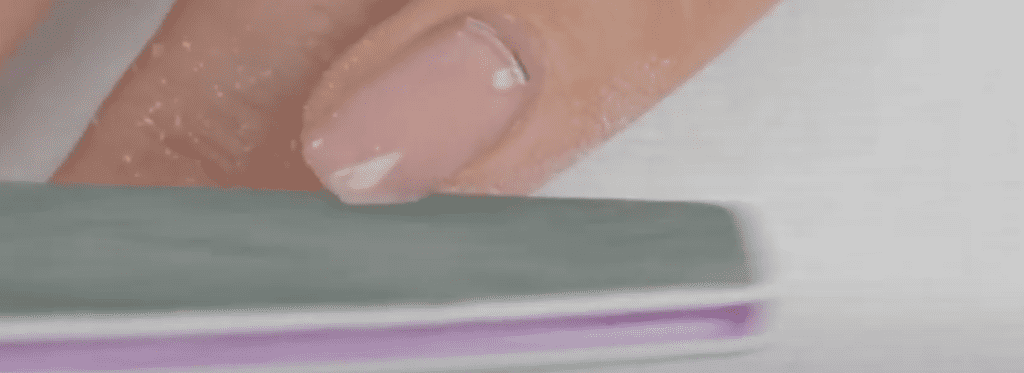
If you are doing the filing with a board hand file, that’s ok. Rather than placing the file on top of the nail, try putting it under it and bringing it in a bit. That way, you’re not filing off the top coat and know you can use a regular top coat on your gel manicure because you’re just reshaping.
If you’re just reshaping, you may want to revisit a video we have on how to file and shape your natural nails. I’ll give you a bit of the context of that video. You are aligning the middle point of the cuticle area to the center of the free edge and down in a straight line to match your finger’s bone. Also, very important to want to visualize an imaginary rectangle on the nail and marry all of that together.
4. Detailing with an emery board.
Now, grab your emery board file (if you’re a regular here, you know my fave files are from Leafgel, use code PPN10 for 10% discount ;)). Emery boards are thin and bendy. I am using it to tapper everything I have done. Again file gently and in one direction to avoid splitting or lifting caused by filing back and forth. This step is to essentially clean it up.
Be extra careful not to dig your file and move it back and forth. This can permanently damage the connection between the nail and the nail plate. Instead, gently round it up in one direction.
Sidenote: Don’t do this on French tip nails
I wouldn’t do the reshaping on a French tip nail because you will break the seal on that white tip, and it will start collecting pigment from anywhere. Like from your clothing or discoloration, if it comes close to heat or fire, it’s just not pretty.
5. Clean it up and you’re done!
Ok, once you are all shaped up and happy with your results, I like to dust off the nails with a dry brush first and then wet the brush with 90% alcohol and dust them off again, don’t forget to brush under the nails.
There you go! Square to round, without disturbing anything else in the manicure.
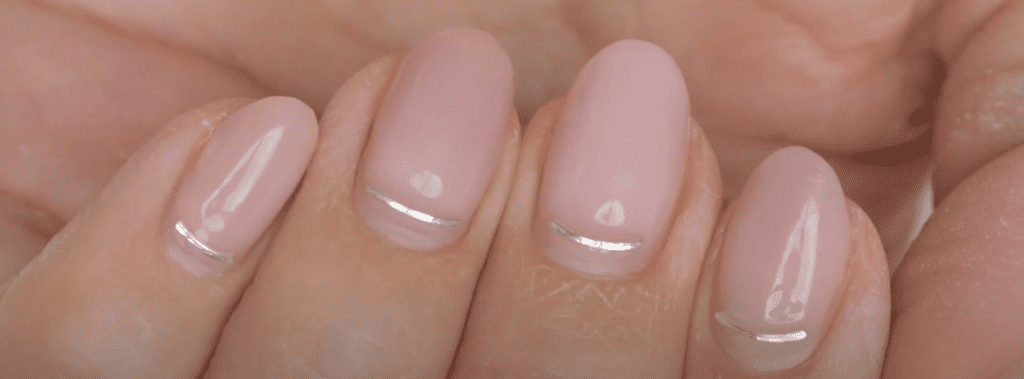
I hope that was easy and helped you reshape your square manicure to almond/oval nails because sometimes you’re just done with the corners, lol.
Thank you for joining me, and I’ll see you at the next one. Bye for now…

These blogs are copyrighted material, and any use of this blog is not permitted without written concern first. Some of these blogs contain affiliate links that give us a small commission when qualifying purchases are made. Thank you for your support that helps us to continue creating valuable resources and content like this.


