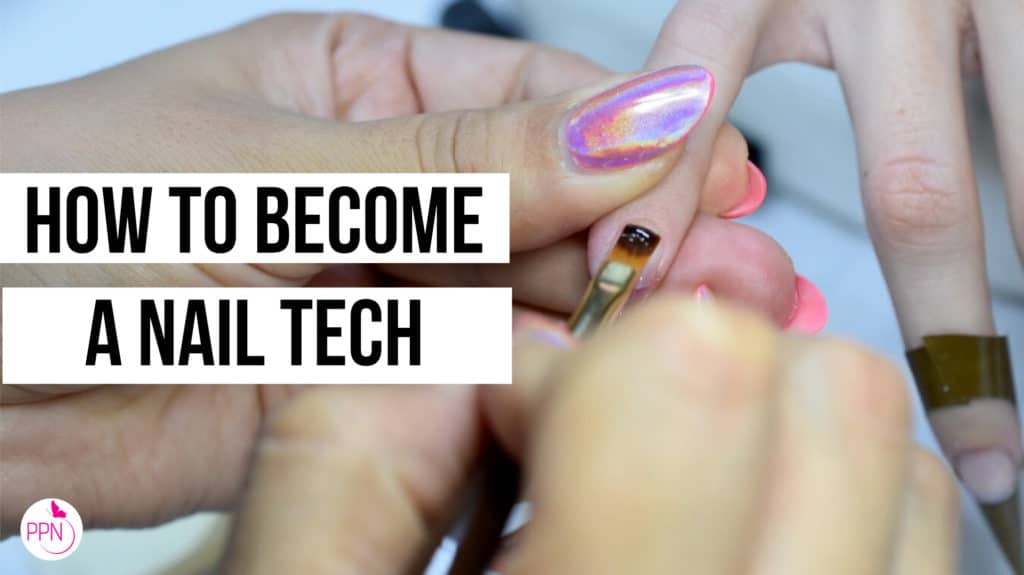
We will be individually placing striping tape pieces on this gel manicure, and ensuring they LAST! … With no lifting or peeling of any kind.
Our main products today will be from Zillabeau, I’ll link you down below.
Now before getting started, check out my 4 week-old gel manicure! (I told you it would last!)
Alright let’s begin!
I’m going to start by removing my old set. When it comes to removing gel on myself I sometimes do a few things differently than if I was doing this on another person.
For example, in the salon I did not offer soak-off gel removals, but occasionally on myself I do, . if I’m wearing a thin application. Now, because I did a structured overlay application last time, the set is a little thicker and so I will be using my efile for removal. Also, having applied my previous gel manicure thicker will allow me to leave a thin layer behind for protection.
I will be using my Saeshin efile (from Nashlynails). If you’re not familiar with this brand of efile, my sources tell me it is a must in Russia for the Russian Manicure. I’ll link you down below to it as well as to my free guide on efile, bits and manicuring implements, all down below.
Whenever using an efile removal I do recommend you crank up the speed to about 75%, and work in long even strokes. DO so now on all 10 fingers… and then come back to me.
Done? Alright!
Notice that I’ve left about 20% of the gel behind, this is a technique in my re-application that I call Re-Balancing. I teach it in full detail in either my Master gel Nails Course or the Efficient Efiling Manicurist Course which is a course I created dedicated fully to all of mysalon efiling-technique.
I am now moving on to shaping, and this time, going for an almond shape. Truth be told, any time I deviate from it, I suffer from withdrawals (lol). Before I shape with my emery board (favorite is from Leafgel USA), I will be actually using my nail nippers. Never use your cuticle nippers to cut nail, or anything other than skin, or you will dull your blades alot faster!
Now this is a total optional step, but if you’re a regular of this channel you know I like to create a little bit of humidity by misting my area. This Lily Gel Fragrance Handmist is the ultimate treat for you and your space. You can also use a sprayer bottle with water and a couple of drops of your favorite essential oil. Adding a it of humidity to your space can help attract and pull down fine durt particles away from your breathing zone.
After this, it’s time for your cuticle prep. Push back the eponychium, scrape the cuticle from off of the nail plate, and refine with your efile. The details on the particular cuticle bit I am using can be found in my free guide.
Lastly, refine the leftover gel layer with a hand file and sponge buffer.
Alright now it is time to move onto the exciting part. NAIL ART, and my philosophy on nail art if you’re a current nail tech or an aspiring one, is to wear the type of art you would want your clients to opt in for. I cannot tell you how many times my clients requested the look I was wearing on their own nails. Regardless of price.
So again, we are creating the ultimate striping tape design using some of my favorite soft gel formulas. And there will be icing on today’s cake via Satin Powder Pigment! (from Zillabeau) Yup we’re adding it for a touch of ICE Aurora Nails.
Click play above, and let’s do this!


Wow, Paola…the new design was very nice. Kind of reminds me of the 90’s. Will be trying it on my nails. ?
Yay! Glad you liked!