
So perhaps you or your clients are currently wearing hard gel on your nails. Then, you wonder…How to make a relatively seamless transition from hard gel to soft gel nails?.
Today we’ll be going over making that seamless transition step by step.
As you may already know, hard gel cannot be soaked off the nails with acetone. It must be filed down thin and then grown out. Often, many lack the patience and cannot fight the urge to pick it off the nails… and so they do.
But! What if instead of getting into that trouble, you actually just transitioned to a more natural (but sturdy) nail enhancement like a soft gel… and more specifically, Japanese soft gel.
This can be a great option, especially if you are trying to maintain the length of the natural nails.
If you don’t already know, Japanese soft gel is solid and sturdy yet natural in appearance and lightweight. It is the perfect nail system to transition out of hard gel nails into soft gel.
So here is the step-by-step.
You want to think of this process as a rebalance down to the natural nail. So we’re going to remove as much product on these nails to work on them as if they were bare natural nails, except these will have a bit of hard gel left behind.
This process consists of 7 main steps. Let’s begin.
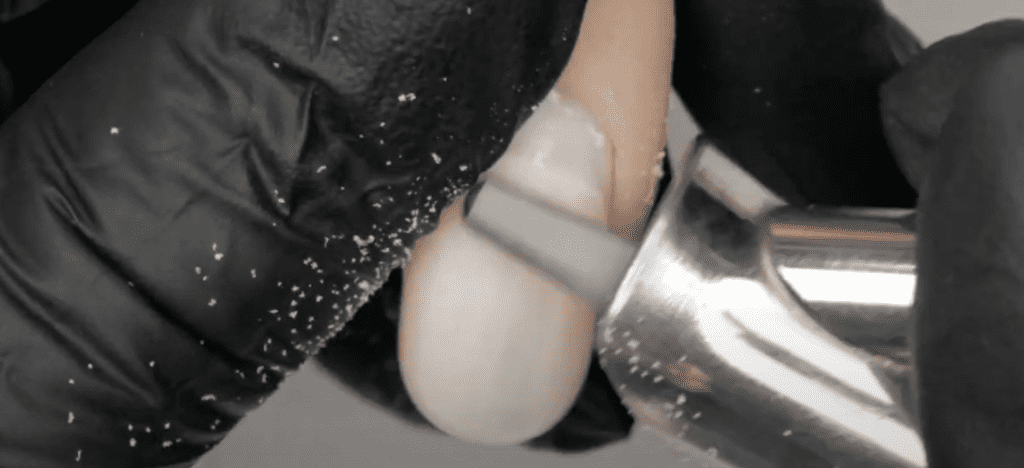
Step 1: Shorten the length.
You’ll want to shorten the length to a rough draft of your client’s final desired size. The length at this very point does not have to be nearly exact; again, this is just a rough draft. This will ensure that you don’t spend unnecessary time filing down and that you don’t wear down your drill bit.
Depending on the nail set, you can shorten the nail length with clippers, a coarse file, or your efile with a carbide bit at high speed.
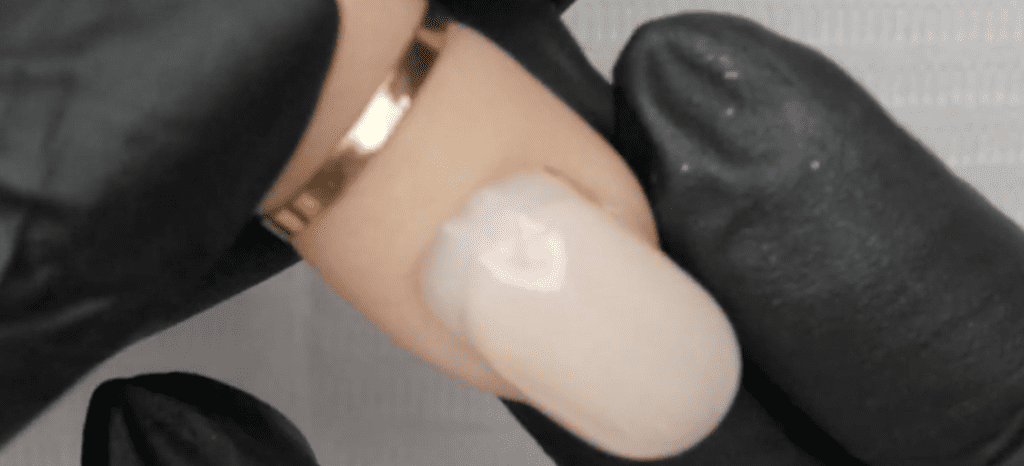
Step 2: Thin down.
Thinning down the product to almost the natural nail will allow you to rebuild this enhancement. The new soft gel product you use will allow you to restructure the nail and not the leftover hard gel.
You will want to keep an angle parallel to the nail to ensure evenness.
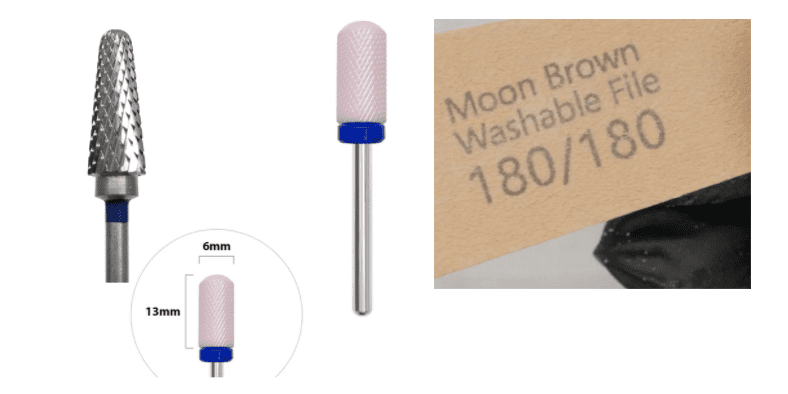
You may use a gentle carbide bit like the Carbide cone (corn) medium grit from Nashlynails. (use code PPN10 for 10% Off!). Because you may potentially touch the natural nail, I would recommend switching to a ceramic bit the closer you get to the natural nail. A ceramic bit will not shave the natural nail as much as a carbide would if it touched the nail. You can find ceramic bits here in my list of Nashlynails’ picks– you’ll also find a nice 180 grit natural nail file.
Step 3: Cuticle work.
Brush off all the dust and begin your cuticle work. You might know this already, but one of my favorite cuticle bits is the Diamond Safety Sciver (don’t for 10% off code, PPN10).
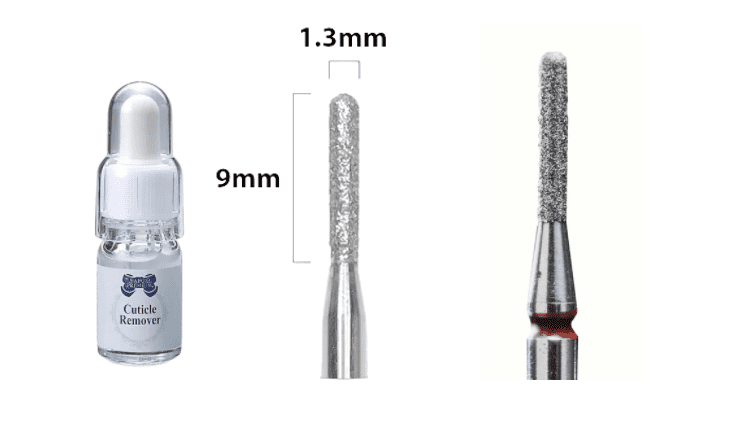
It is very gentle and nearly impossible to cut your client with it. I recommend using a cuticle softener for thick cuticles and eponychium that will not push back quickly. This Leafgel one leaves no oily residue that will cause me lifting and makes the skin supple enough to push back (you can also save 10% off with code PPN10 at checkout!).
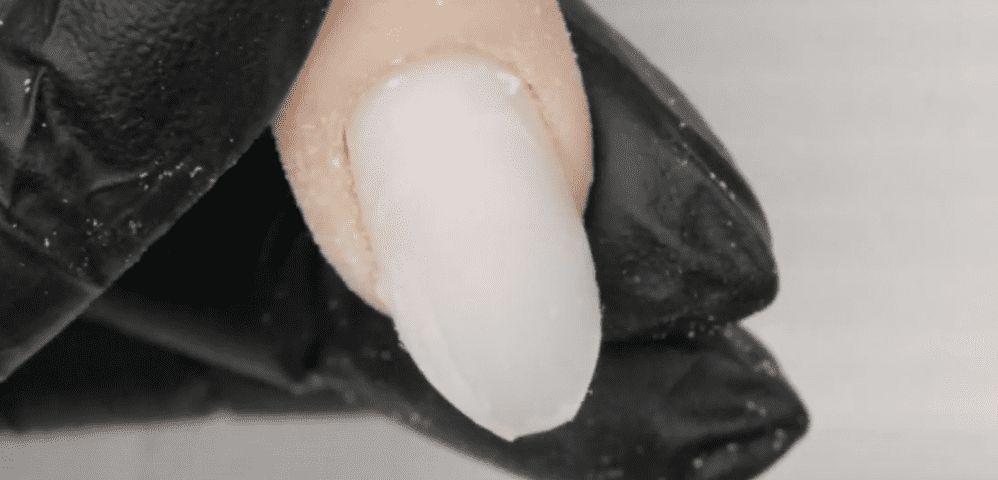
Step 4: Buff & Dehydrate.
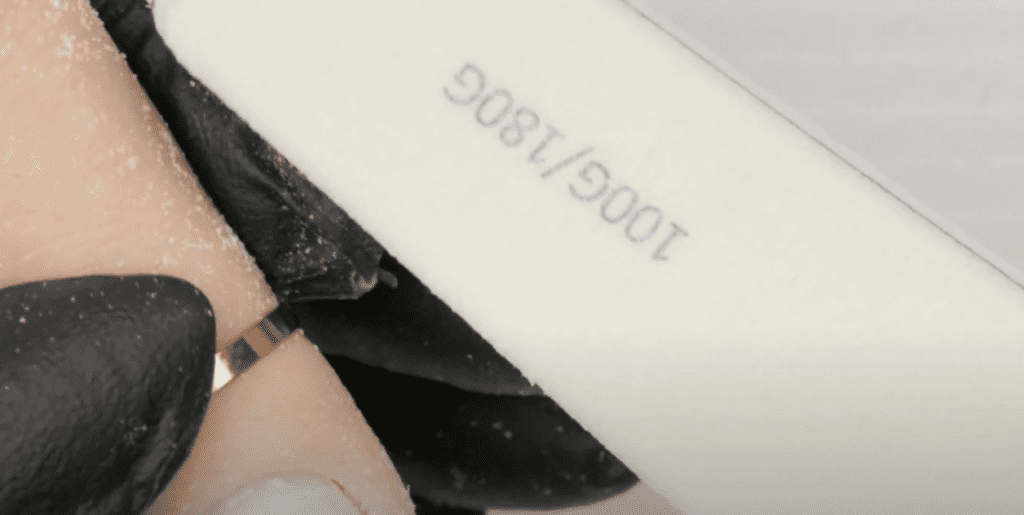
You’ll want to take a 180g sponge buffer and blend the old hard gel material unto the natural nail. You can use this same sponge buffer gently to remove the shine and cuticle from the exposed natural nail growth. Remove all the dust and dehydrate the nail with an alcohol solution.
You are working on the nails as if you were working on a set of prepped natural nails.
Step 5 (Optional): Bonder.
Suppose you were unsure of incompatibility between your hard and soft gel products. In that case, you could apply a bonder solution only over the leftover hard gel product. This step is optional and unnecessary, but if it gives you peace of mind, go for it, and remember not to apply over the exposed natural nail.

Japanese soft gel has excellent adhesion properties just on its own over the natural nail. It does not require a dehydrator prep solution or bonder.
Step 6: Base.
Applying your base a little more generously than a traditional hard gel or soft gel system when using Japanese gel. You could self-level it nicely and move on to your color or nail art. For longer nails, also apply a Japanese gel builder like Leafgel’s Sculpting Gel or Vetro’s Extension Clear.

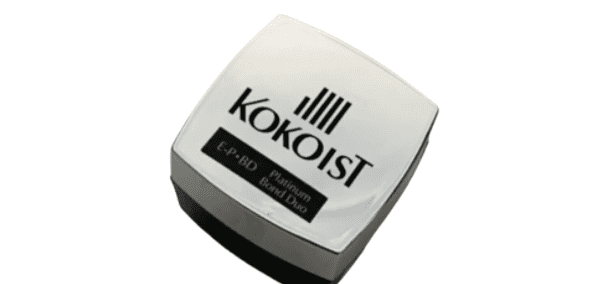
However, there is a very nifty Japanese gel product you can use from Kokoist, Platinum Bond Duo. It is both a base gel and a builder in one, and it feels like a thin but strong hard gel. So, you can do this step with just this one product, Platinum Bond Duo (yup, code PPN10 also gets you 10% off of this product at checkout!). Or simply a Japanese gel base overlaid with a builder. Either application will work. You will succeed with either one, so don’t get hung up if you don’t have Platinum Bond Duo. If you really want to try it, especially on those clients transitioning from hard gel to soft gel, click here to get it and go for it.
Step 7: Do your thing.
So now you have established a strong foundation. You’ve thoroughly prepared and overlaid the nails with a solid application. You are ready to do your thing. Finish them with your color of choice, or bedazzle them with your desired nail art.
You’ve successfully transitioned the nails from hard gel to soft gel!
Thank you so much for tuning in today. Be the first to know when I post again by subscribing to my newsletter!
Have a merry rest of the week, and I’ll see you in the next one!
Want to learn more about my journey in soft gels? Check out my free masterclass here. Please note… These blogs are copyrighted material and any use of this blog is not permitted without written concern first. Some of these blogs contain affiliate links that provide us with a small commission when qualifying purchases are made. Thank you for your support that helps us to continue creating valuable resources and content like this.


