
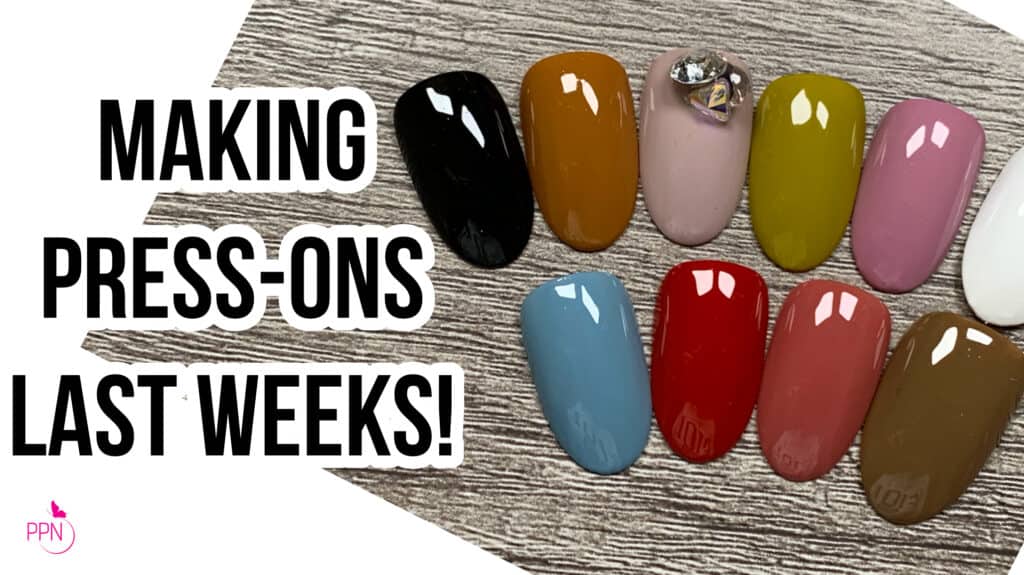
How To Make Press On Nails To Sell.
So you want to start a custom press-on nails business, right? Our last post on press-on nails guided you through the legal process of setting up for business. In today’s topic, I want to show you more of the fun stuff about setting up to make press-on nails to sell.
So today, we will be talking, “Set up for massive press on nail success.”
And in case you’re wondering if I have any supply recommendations, here they are.
And since my first video on press-on nails, I’ve found people wondering who to sell press-ons for.
In theory, because press-ons are such personalized items… you are essentially selling them to your audience, however big or small. But if you know how to create incredible nail art, like Disney characters, etc., the sky’s the limit as to who would love to buy from you. Just make sure to photograph your work the best you can.
And before we continue… If you’re loving this information and would love even more direction in your press on nail business, the POP group is where it’s at! It is a membership site exclusively for current or aspiring press-on artists! It is peer-supported and led by one of the world’s most successful press-ons entrepreneur. Learn more about POP (Press On Portal) here. (Affiliate)
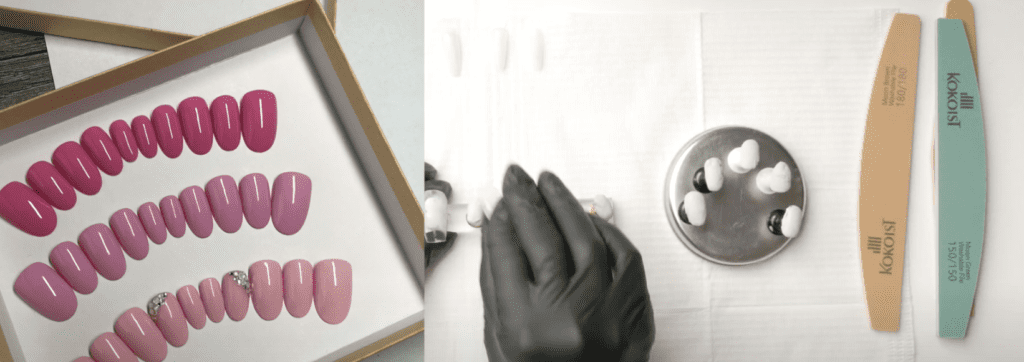
Now, you’ll need:
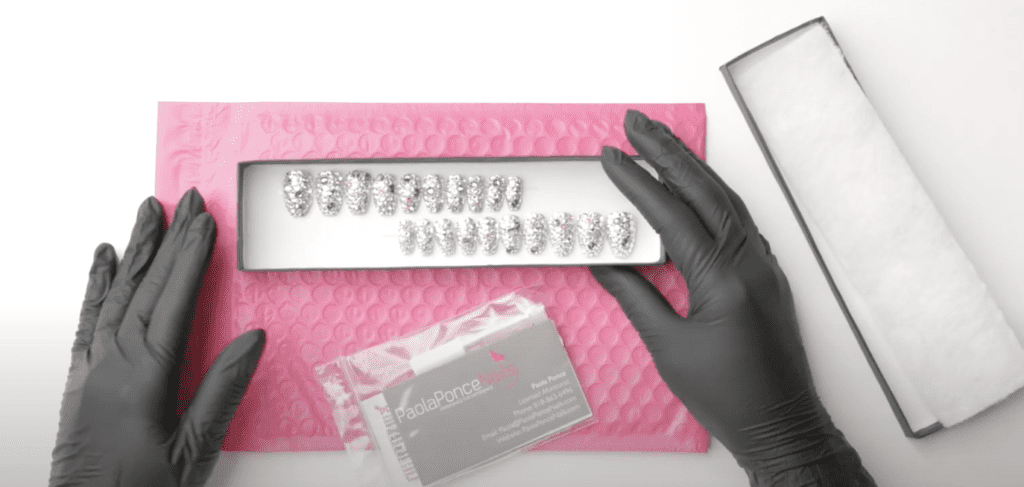
1. Clean work area.
First, clear the area you will be working on from clutter. Whether it is a little corner in your house, you want this area or a private studio to be pristine and ready to create.
Line up your table with a lint-free covering, whether that is a dental bib, a silicone mat, etc.
2. Grab a pair of gloves.
Wear gloves. I like to use nitrile gloves because they fit nicely and snugly and do not have that harsh and annoying smell of latex. Gloves help you from overexposing your skin to chemicals and help keep things tidy while working with gels.
3. Find your press-on’s supplies.
Next, gather your materials. Materials to create like your brushes, files, alcohol and acetone solutions, lint-free towelettes, napkins, and all trinkets needed for nail creation.
4. Prep your nail stands.
To create your press-on nails, you will have to get nail stands. There are so many different little ones, you’ll need at least 10, and the magnetic kind seems to be our favorite in the industry. I’ll link you below on where to buy.
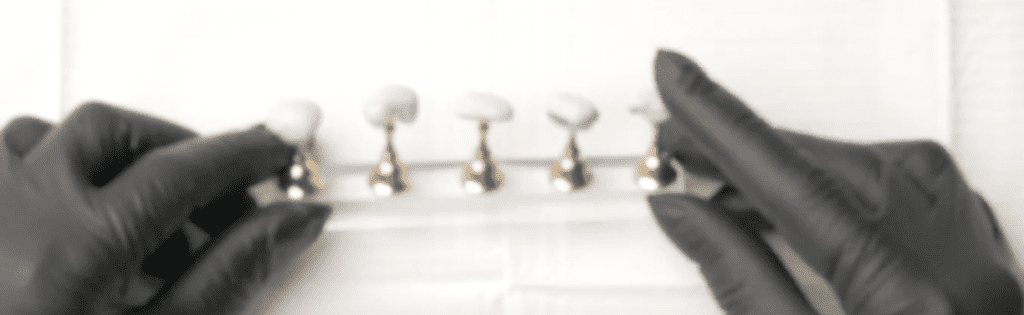
You will need mounting putty or double-sided solid tape for your nail tips to adhere to these stands. If you use putty, make sure you use a big chunk; otherwise, your nail tips will continuously come off, making this process unnecessarily annoying.
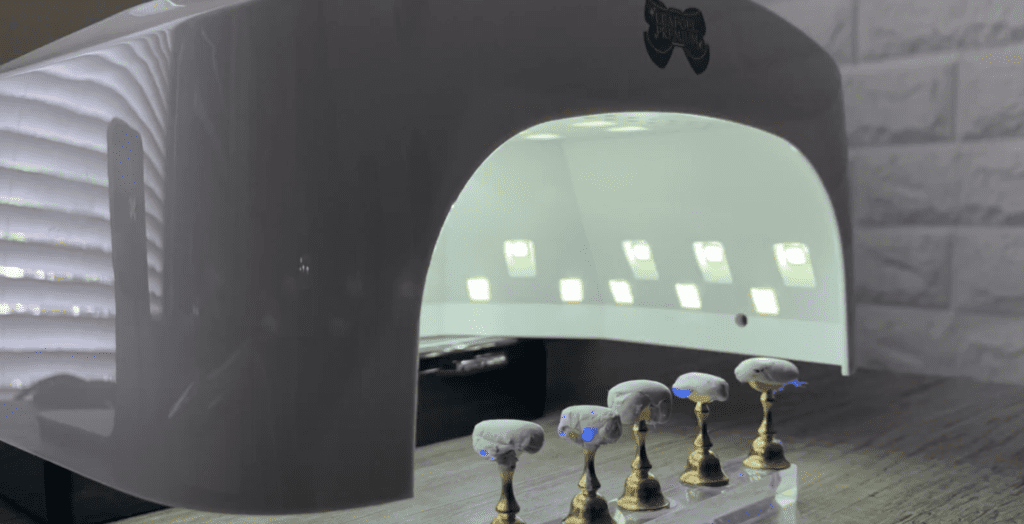
5. Curing units.
You’ll also need a curing unit; if you want to do a bit of flash curing, it’s probably a good idea to have a handheld curing unit.
One thing that needs to be said about curing is that when you’re curing your tips, you have to consider that they are not curing at the same level your hand cures in the unit. If you do not adjust the height, this may lead to improper curing.
One way to do so is by removing the base of your lamp and raising your unit so that it sticks out on a surface.
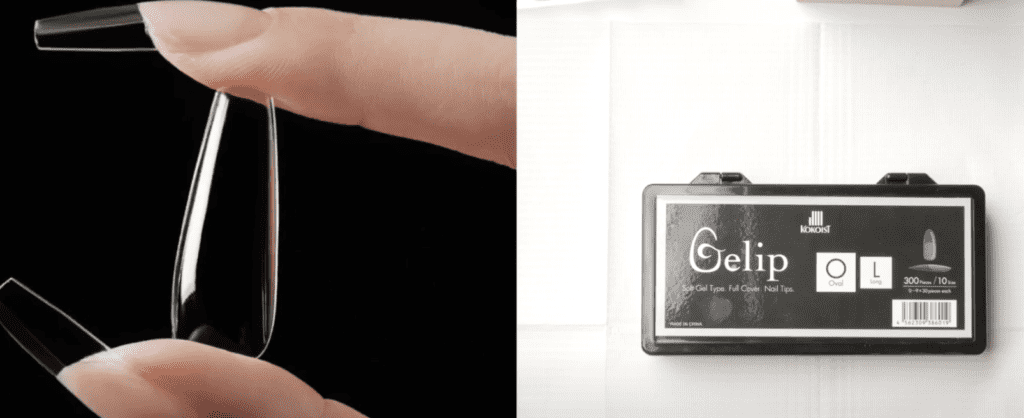
6. Nail tips.
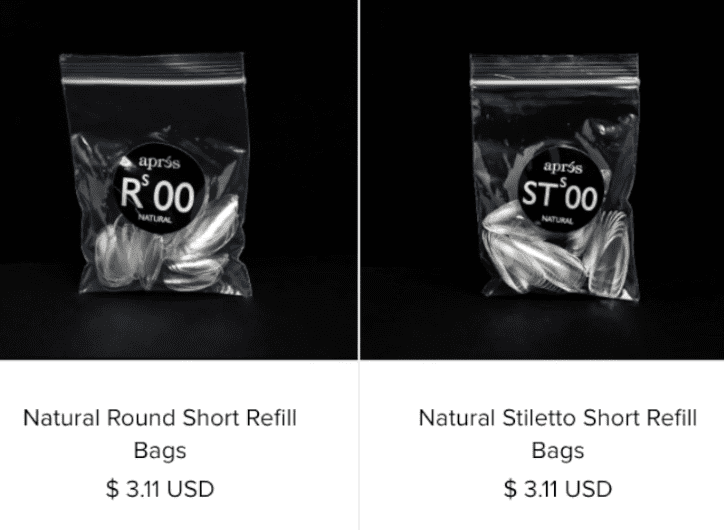
So when it comes to choosing your tips, there are many different options. I’m using Japanese Gel Nail Brand Kokoist. Still, the Apres brand offers an excellent selection if you want a sculpted or extremely long look. I know many styles and brands on Amazon (you can check out my Amazon storefront here)… If they work out for you, great; maybe I can link some recommendations. Still, I think the fit from the Apres tips is unparalleled.
Either brand Kokoist or Gelip offers different lengths and shape selections. I personally like long Oval and Coffin. I think these are among the most popular with customers. So if you can’t buy them, just buy these.
Hey! Before we continue… If you’re loving this information and would love even more direction in your press on nail business, the POP group is where it’s at! It is a membership site exclusively for current or aspiring press-on artists! It is peer-supported and led by one of the world’s most successful press-ons entrepreneur. Learn more about POP (Press On Portal) here.
Alright, so let’s set it up now.
Sizing.
I will opt for the Long coffin as it is my favorite. Now I recommend you do more tips than just ten. I would do 20; that way, your client has all the sizes she needs, and you are not randomly sending off an extra nail replacement for one that didn’t fit.
Of course, if you’ve sized your client before, you can just make the amount she needs, but it is still a good idea to send extra if she is in between sizes.
You could do whatever sizing approach you wish. Still, I find sizing wastes a lot of valuable time that by the time you get back and forth, you could have created your 20 tips and then some.
Usually, your client will have a definite nail you can omit. For example, you can skip the smallest tip for the pinky, or customers may need a wider thumb size. In that case, you may have to buy double zero’s, as there are more wide-thumbed ladies out there than we thought.
Again, I think the sizing is the biggest hurdle, but you can be off to the races once you get clear on your approach. Additionally, you can create Small, Medium, and Large sets.
You put on the tip sizes you think a “small” size would need in these sets, what a medium-size wearer will need, and the large size. Your customer orders your creation in sizes small, medium, or large. Rather than offering 20 tips, each size can have 16 tips.
I’ve also seen press-on nail businesses have their customers measure their nail beds’ width by centimeters. Still, I think measuring just kind of halts production, but you do you.
Remember that adding more press-on nails allows you to charge a higher price point because that is more time and material. If you were already doing nails in the salon, I would not charge much less than what you were already charging.
So in this example, I omitted the smallest pinky size and got 2 of each of the tips otherwise.
Prepping the nail tips.
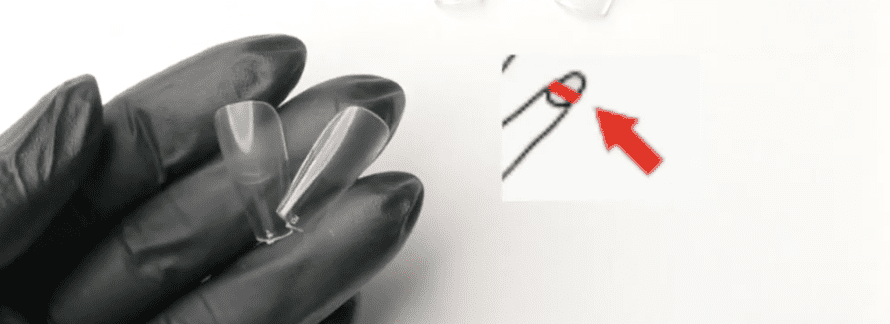
I got my lint-free area ready. I will do a bit of buffing and filing, which I recommend you do on your tips before getting started. I sprayed water on a napkin to add humidity to my warm room and keep the dust from going everywhere.
You want to prep your tips for two reasons: There is a little piece that sticks out, and you need to file off, or it will collect the product at the free edge. Also, you want to thin the free edge just a bit so that product does not pool.
You can use a sponge buffer to remove dust. Still, I like to work as dust-free as possible, so I will use a mild acetone solution to remove the shiny surface from the nails instead of buffing it.

Check out these new high-quality washable files by Kokoist, excellent for personal use or press-on prep.
Nail style & selling ideas.
So what should you create for massive press-on success? Well, very simply, you can sell single-color seasonal shades from your favorite gel brands.
But if you want to get jiggy with it, why don’t you visit your Instagram feed and see what designs your followers have already been raving about? If you are unclear on what those designs may be, you can use an app like Top Nine or Best Nine to have it generate the images with the most likes for this year or last. Many websites like this populate your most liked work on Instagram.
For the sake of this post, I am using a glittery color and adding some crystals to it.
So after you have cured your tips, it is time to upload your designs to your website and start selling. In a previous video, I showed you how to set up your online shop.
Once you’ve made some sales, it is time to ship! Please, capture and celebrate your first sale!
Shipping Press-on’s
So to mail off your set of press-on nails… you will need to create a small application kit. You can put the items in a baggie. Add your business card, and it is totally optional, but it is a super warm gesture to write a note.
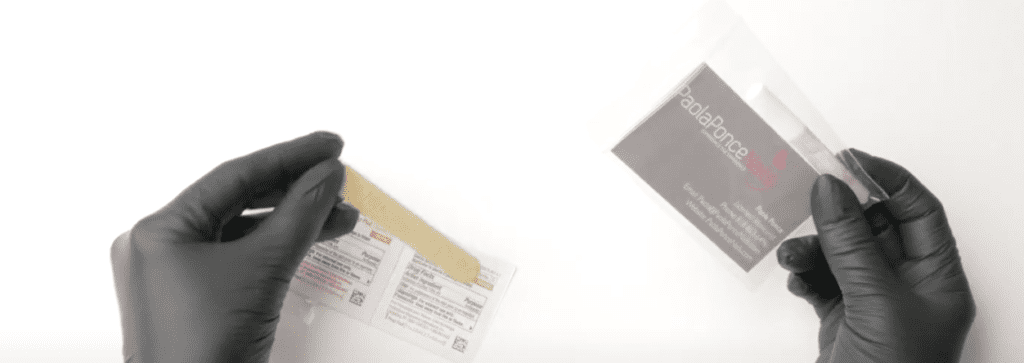
This kit should mainly include nail glue, a mini nail file that can be used for pushing back the eponychium and gently prepping the natural nail. You may also want to have an alcohol prep pad.
You can use any form of mailer to ship your nails in. The goal is to protect them from being smashed in transit which is why the jewelry boxes have become so popular. Still, they may not be necessary for your single color orders.

You’ll have to enroll with a postal service like stamps.com; that way, you can always ship out at your convenience from home.
Having a scale to weigh your items is super helpful. You can get fancy and order a label printer or keep the cost down and use the printing stamps that Stamps.com sets you up with and just write your address and the recipients.
Don’t forget to watch my previous videos on setting up a press-on-nails business. If you are interested in solopreneurship in the nail industry and learning more about Japanese gels, join me inside The Gel boss Network Private Facebook Group.
Thank you for joining me. I’ll see you at the next one… bye.

These blogs are copyrighted material, and any use of this blog is not permitted without written concern first. Some of these blogs contain affiliate links that give us a small commission when qualifying purchases are made. Thank you for your support that helps us to continue creating valuable resources and content like this

Helpful❤️?
My concern was sizing, and you made a great point I hadnt thought of: Just do 20 in the time it would take to go back & forth sizing. That’s very true!
So glad this helped you work it out!