
Gel Nail Overlay Mistakes
What is an overlay?
When you overlay, you “cover the surface of (something) with a coating, therefore a gel nail overlay is a coating of the nail with a gel nail product.
Today, we’ll be talking about the top mistakes in a gel nail overlay. Let’s begin.
Mistake #1 in a gel nail overlay: Using the same viscosity gel for all of your nail services.
If the nails are short you’ll need a thinner viscosity gel, so that the nails don’t look too bulky after 4 layers of gel and maybe even some nail art.
If the nails are a bit longer, you will need a thicker viscosity overlay gel.
Exactly how viscous? Again, just dependent on the length of the nails.
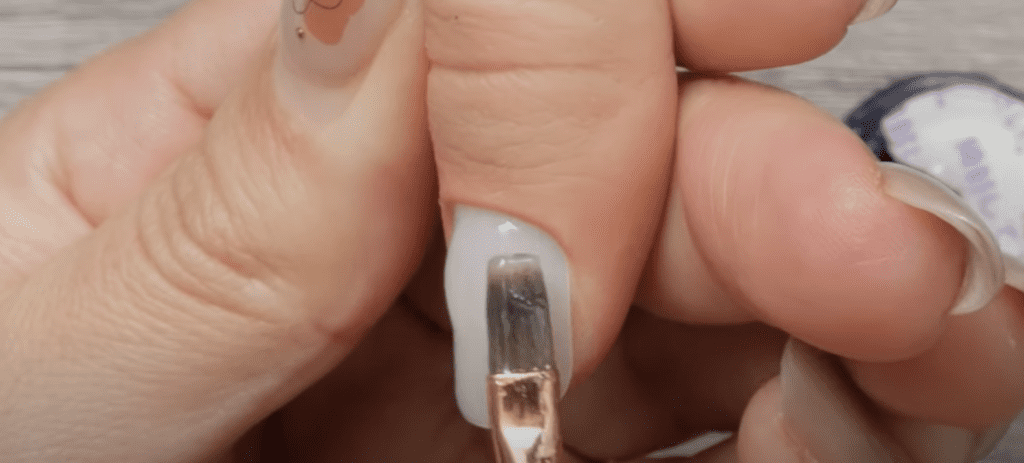
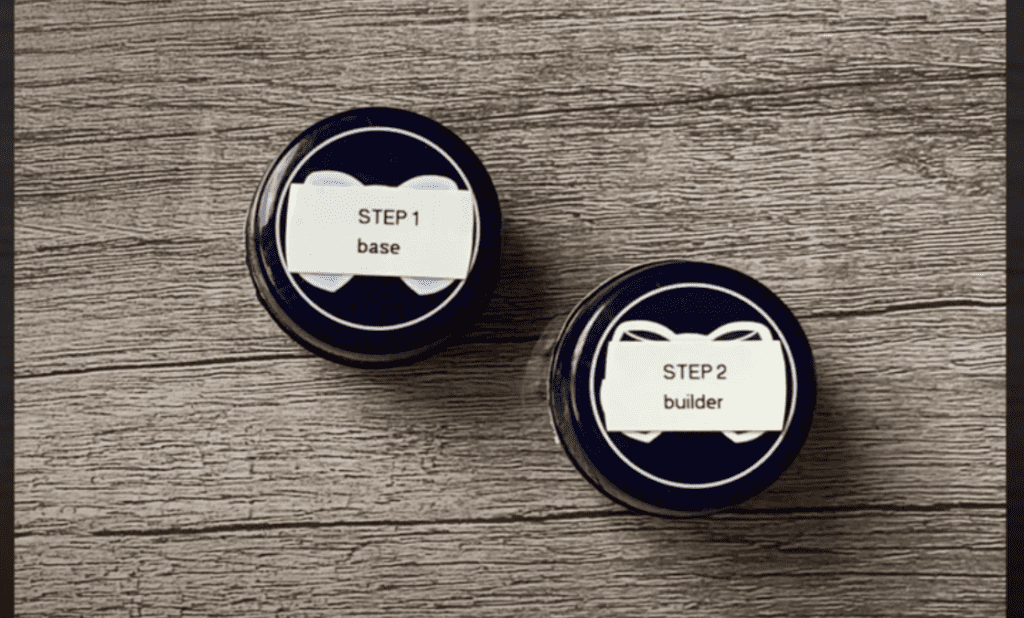
For longer natural nail extensions base gel plus a soft builder gel will enhance the look and feel of the natural nails by giving them a natural pinch for an elegant slender look. And those natural nails will be super strong too!
If you’re using soft potted gel systems, say Japanese Gel. For short nails, you generally will only need a base gel to overlay those short nails and a base and builder gel application combo for longer-length nails.
Mistake #2 in a gel nail overlay: Making the nails too thick
Will thick gel nails last longer than thin gel applications? Absolutely.
But it is not a pretty look always. A structured gel overlay will most certainly give you both a supported application and also a pretty and balanced look.
Use the correct thickness gel as mentioned in Mistake #1 for the best appealing structure.
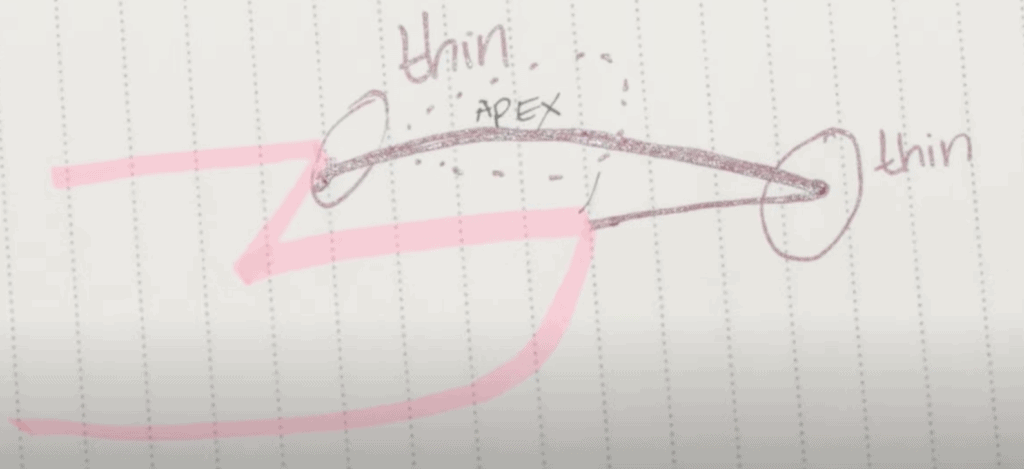
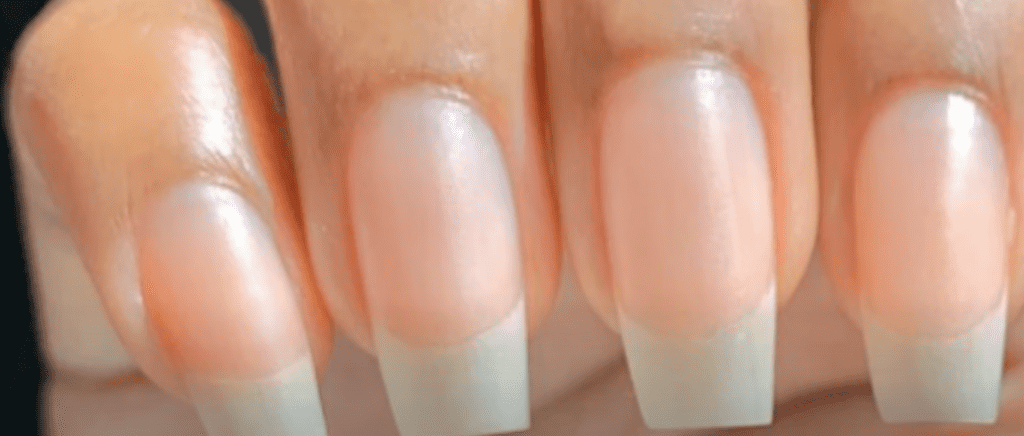
Standard application of a structured gel overlay means all of your structure is concentrated in the center of the nail, and thin at the sidewalls, free-edge, and cuticle area. The apex of the nail, should not pass the smile line area. Or the nail will begin flexing and lifting from the cuticle area.
Mistake #3 in a gel nail overlay: Leaving an uneven surface behind.
Whether you’re removing fully or blending a bit of leftover gel onto the nail, and regardless of soak-off or efile removal… you must file the surface of the nail smooth. Now if you’re dealing with natural ridges on the nail. Do not file the nails smooth, as this will create damage to the natural nail. I recommend you brush on a thin-med viscosity gel on the nails, and then file this layer smooth to get rid of ridges on the natural nail. I’ve done this before on a previous video, so just click the card above to watch.
With that being said, this is the same principle if you leave any gel product behind after removal. You must flush it flat to the natural nail, or make it even with a smooth surface.
This is especially important because gels that have self-leveling properties will want to seep into any peaks or valleys of uneven product left on the nail, causing you to end up with an uneven gel nail overlay.
Before I forget! I created a 5-minute training with the 5 mistakes that lead to my gel nail overlays lifting… totally free and immediately available for you to watch. CLICK HERE to snag it when you’re ready.
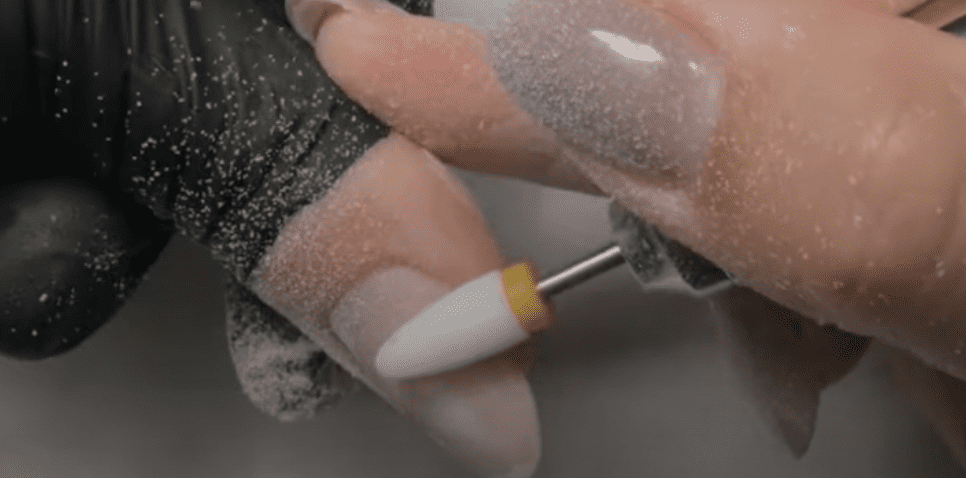
Mistake #4 in a gel nail overlay: Removing the gel product with an efile in a patchy way.
When using an efile to remove or reduce gel nail product. Whether you go vertical or horizontal is not as important rather than whether you are removing in long vs short strokes. Long strokes are absolutely necessary to remove products down flat and fast. It also helps you reduce the risk of friction heat on the nail bed.
Remember, as we learned in mistake #3 We absolutely do not want to leave an uneven surface.
Mistake #5 in a gel nail overlay: Adding structure, to nails that are already naturally structured.
Chances are the majority of your clients will not have long nail beds with beautiful c-curves.
But when you do encounter a client with these types of nail beds, do not further structure the nail.
Simply brush on a thin or medium viscosity gel, depending on the length of the free-edge.
Mistake #6 in a gel nail overlay: Leaving long nails flat as in simply “polishing” your base gel on.
Now, contrary to mistake #5, when working on flat nails you will have to give those nails a structured gel overlay. Adding structure to the nail gives the natural nail strength, and soft gel tends to naturally cure in a c-curve as well.
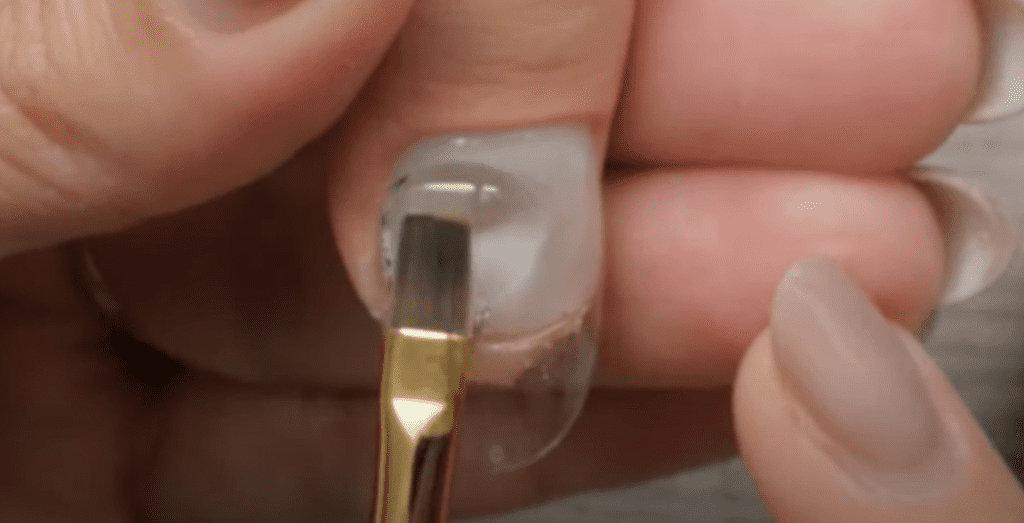
To give flat nails and apex, apply a wet layer of gel, and drop a thick bead of gel in the entire center of the nail, keep it there, do not let it flow onto the side walls including the cuticle area.
Remember, we want thin sidewalls, thin free-edge, and a thin cuticle area.
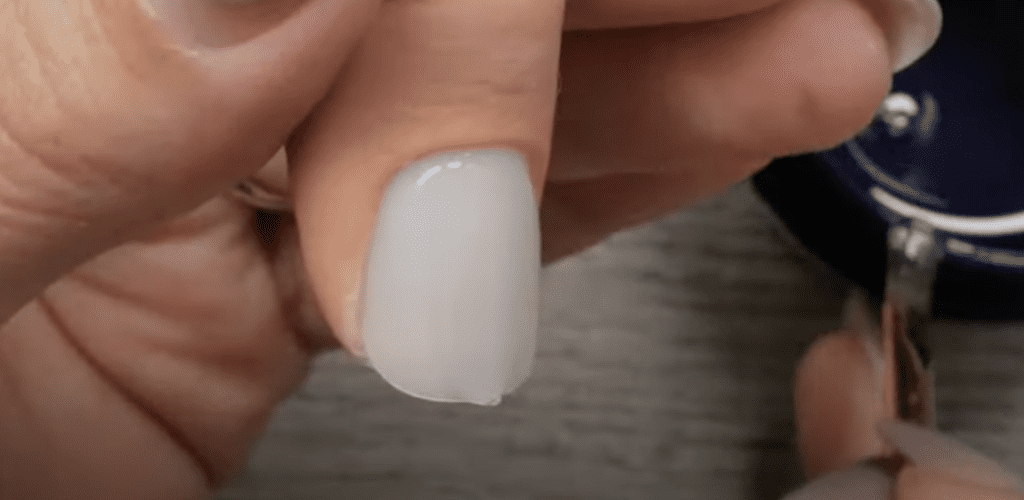
For really short nails even dropping just a second coat of gel on a wet gel is enough to give it structure. And remember as we discussed in mistake #1, you’ll want to work with a thin to medium viscosity gel when working on short nails. So do not worry about making the nails too bulky, as the gel itself will only make those gel nails so thick because of its thin-medium viscosity property.
Mistake #7 in a gel nail overlay: Not removing the excess from the brush, when adjusting the structure of the nail.
So once you have dropped a dollop of gel onto the body of the nail, you need to keep it in control. You probably have seen many techs flip the hand over to keep the bulk of the product in the center, reinforcing the application.
Very often you will need the brush to adjust the application. Many people grab a liner brush to do so, and I even was trained to do so as well.
But here’s the thing… anytime you are grabbing and putting down a tool, I’ve found that you increase your service time.
You essentially train to stop, drop, pick up a tool, and these are disruptions in your service.
So what you want to do instead is to simply remove the excess gel on your brush by scraping it on the sides of the jar, this also makes the brush flat, allowing you to use the point in your brush to correct the surface, w/o the need to stop-drop- & pick up a new tool.
These are the top mistakes in gel nail overlay I find nail techs make, let me know in the comments below, which are you guilty of?
Learn my full salon process for monthly wearing gel nail application inside the Master Gel Nails Course.

Content written by Paola Ponce
These blogs are copyrighted material, and any use of this blog is not permitted without written concern first. Some of these blogs contain affiliate links that give us a small commission when qualifying purchases are made. Thank you for your support that helps us to continue creating valuable resources and content like this.


When talking about difference viscosities of gels, do you have a chart or anything showing different brands and lines from some brands on which ones has the different viscosities? I feel like if I had a visual of all the different types I would feel more confident in buying products and knowing which to use on certain clients! This article was super helpful! Thank you!!💖
Hi Jane, I know what you mean. I created a chart and a YouTube video “Ageha Gel… vs Kokoist, Leafgel, & Vetro” where I swatched and explained clear gels from my go-to brands. You can download the chart in the description box of the video. Here’s the link to the video: https://youtu.be/9RtgjUREF-Q. Thank you, I’m glad it helped 💕