
So I think that in the 10 years of the gel nail boom in the US, many have already caught on to the steps and tools needed for a DIY gel manicure removal at home.
The how-to of gel removal at home is relatively simple. You will need:

The step-by-step goes as follows… and you can use these same steps to remove any other type of fake nails (i.e. acrylic, dip nails, polygels, etc… except hard gel).
Here are the steps:
Step 0: Super optional but I strongly recommend nourishing your cuticle and skin before you begin.
Step 1: Shorten down the nails to your desired natural nail length.
Step 2: Use a coarse file to thin down the product.
Step 3: Cut your cotton into small pieces.
Step 4: Saturate your cotton pieces with acetone and place them on the nails.
Step 5: Use foils or other types of wraps to securely hold your cotton.
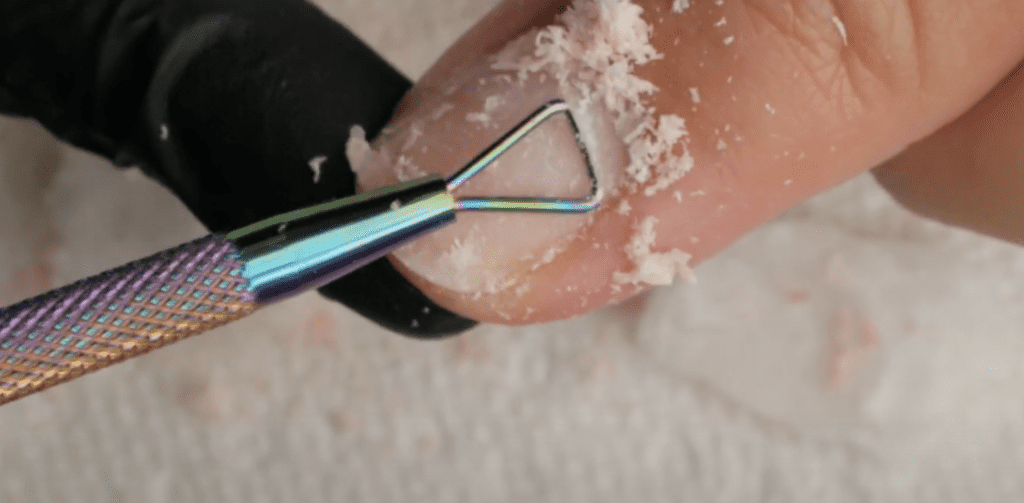
Step 6: Wait a few minutes and begin gently scraping the gel off of your nails.
Step 7: Buff off any remaining product.
Step 8: Replenish your cuticle and skin with creams or oils.
Now many of you have done these exact same steps but have run into problems, and have ended up forcibly removing the gel anyways.
Well, here are my 5 secrets for easy gel removal without damage.
Secret #1
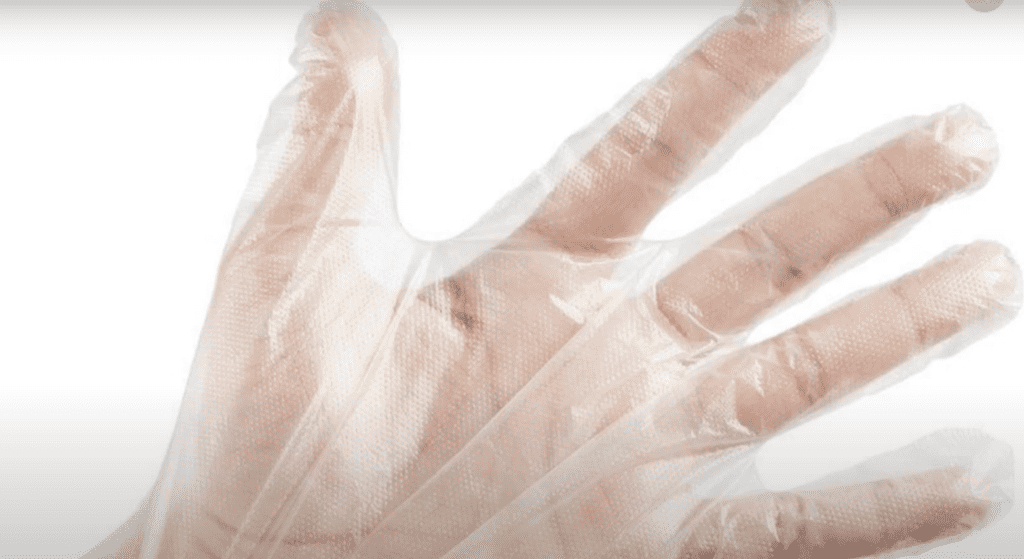
Make Your Hands Warm. Cold fingers will stop or slow down the removal process. If your hands are cold during the gel removal process, use deli gloves or plastic grocery bags to create and maintain heat. Rub your hands together to create a little friction and increase that heat.
Secret #2
Unwrap each finger individually. A lot of people get so excited about just diving in and beginning the gel removal process, so they just peel off all of the wraps at the same time. When you do that, however, you interrupt and freeze the removal process and you will have to start all over.
Secret #3
Let your acetone soak in for at least 15 minutes. Again, many get excited to just dive into scraping and do not give the gel removal process enough time. Start individually removing after 15 minutes.
Secret #4
File at least 60% of the product off. A lot of topcoats are non-porous, which means acetone will not penetrate and effectively remove your gel nails. Also oftentimes the topcoat fuzes with your color gel layers which is why it is not enough to just buff or file off the topcoat, you will have to get in there and file down to the basecoat if you want to experience a much quicker gel removal with acetone.
Secret #5
Foils or whatever other item you use to hold your cotton down need to be snug fitting. Acetone is highly volatile which means it evaporates into the air quickly. If your foils are loose, your acetone will evaporate thereby decreasing its strength. I see so many people scrunching up foils unto their fingers not realizing they are creating air pockets and a loose fit.
Now, if soon you decide to get back to another gel manicure, do check out my newly released DIY gel nail course at mastergelnails.com
It will take you, step by step into the application process of a Professional-grade gel manicure using Japanese Gels.
Please note… These blogs are copyrighted material and any use of this blog is not permitted without written concern first. Some of these blogs contain affiliate links that provide us with a small commission when qualifying purchases are made. Thank you for your support that helps us to continue creating valuable resources and content like this.


Smear your nails and cuticles with a special nail oil. You can find this in any cosmetic store.