
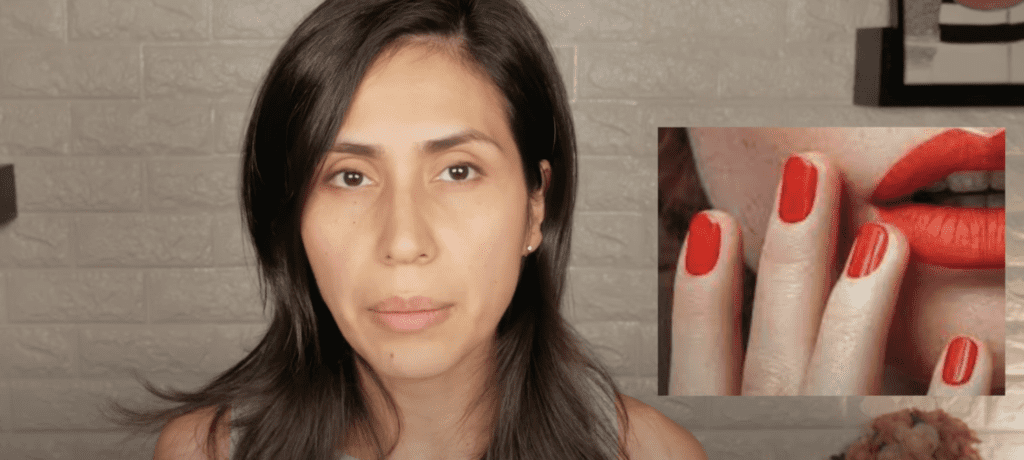
A structured gel manicure is a gel nail application that is applied thicker than just brushing on your gel product, as is the case when you do a Shellac or Gelish type manicure.
Today we’ll be talking about 3 defining characteristics of a structured gel nail application.
A structured gel manicure can also be called a structured gel overlay because, in any case, you are manicuring the hands and overlaying them with a nail product.
For booking and pricing in the salon, I used both terms, gel manicure and gel overlay, but I could have easily just said one or the other.
For example, I called a “Gel Manicure,” my procedure of applying a structured gel base and then the color, no builder gel at all.
I then called a “Gel Overlay,” the process of adding a thin base, followed by a structured soft builder gel. And as you may already know, that soft builder gel for me is Japanese soft builder gel. It has enough thickness and weight to give a reinforced but very natural apex and definition.
I’ve always said that you can think about applying your gel base or builder in a structured manner as if you’re adding fillers to your lips. Not that I would know what that feels like, but I think we all know what that looks like, fillers plump the lips up. In the same manner, we are plumping up the nails. And just like some plumped-up lips can look a bit too much, so can some structured gel nail services. So it does take a little finesse to apply just the right amount of gel so that the application looks aesthetically pleasing.
Here are the three defining characteristics of a structured gel nail application.
Characteristic #1 Using a thicker viscosity gel.
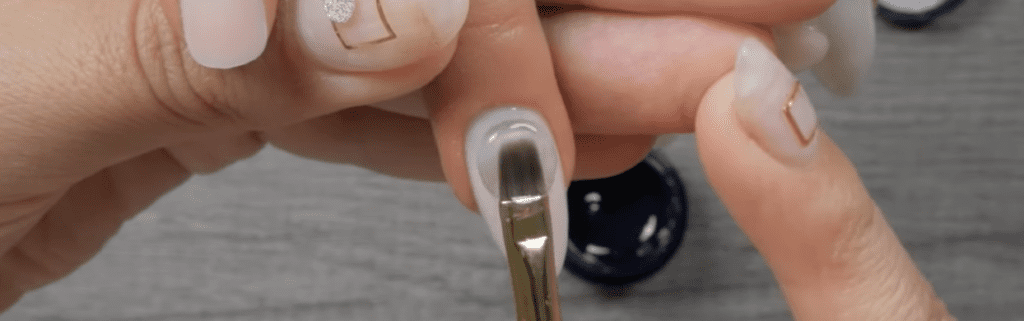
To achieve a structured gel nail application (remember A.K.A. gel manicure or gel overlay), you must use a thicker viscosity gel. Usually, this is what your options look like:
You often see on Instagram nail techs using a tinted builder in a bottle product to create their structured overlays. This viscosity is typically thick, and they have a semi-hard texture that makes them quite durable. They also tend to self-level like a dream.
I have two downsides of tinted base gels; they are not huge, just personal preference to me.
#1 A few of them require bonders and primers for long wear. These two adhesion-improving agents can take their toll on the natural nails, making them yellow, dehydrated, brittle, or a combination.
#2 Is that most of them offer a variety of foundation shades. Still, when it comes to re-balancing, you will have to remove just about the entire old gel product to work with the natural hue of the nail again or not mind the different shade of gel if you will be re-applying the product but in a different shade.
Again no significant deterrents, just some personal preferences, and if you want to stay strictly Japanese Gel, Kokoist is the only one that carries tinted builder in a bottle. It is a 3-in-one option, base, builder, and color (clear was recently added). It is responsibly manufactured in Japan, and you can find it here. (use code PPN10, for 10% off).
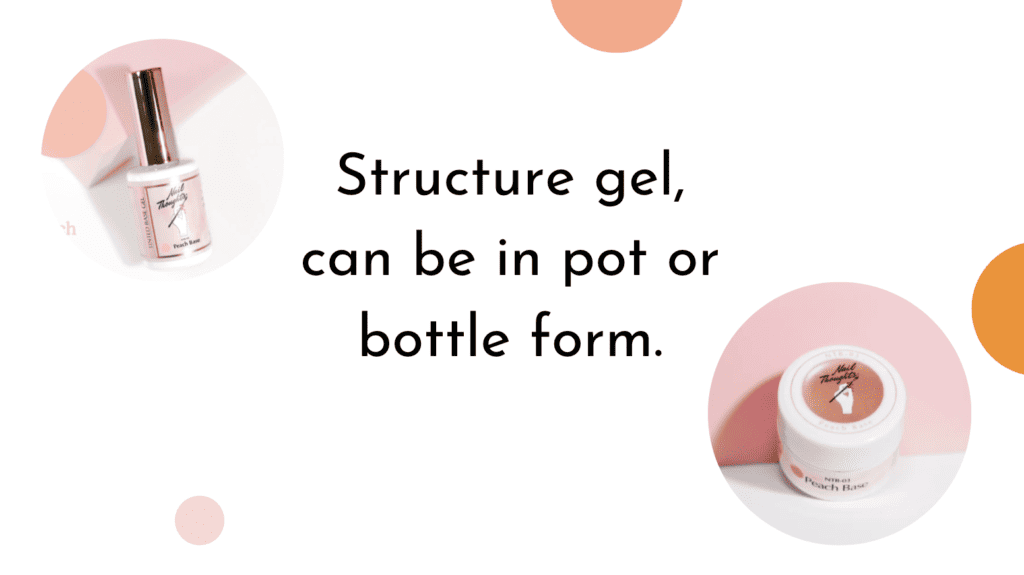
By the way, some call structure gel “rubber base”. Just know that structure gel is soft builder gel and can be in a pot or bottle and can go by a few different names like rubber base or BIAB (builder in a bottle). It’s up to you if you want to go with the catchy names. Just as long as you know: Soft gel, in pot or bottle.
Potted gel (foundation gels like base/builder/top) usually is a more viscous, while the bottle forms are less viscous and a bit more runny, ideal for beginners and short nails. (Nail Thoughts Tinted Bases featured above are the exception. They are the same viscosity whether in pot or bottle).
I have been structuring my gel nail applications with premium potted soft gel formulas for at least six years. I started with Bio Sculpture before moving strictly to Japanese Gel.
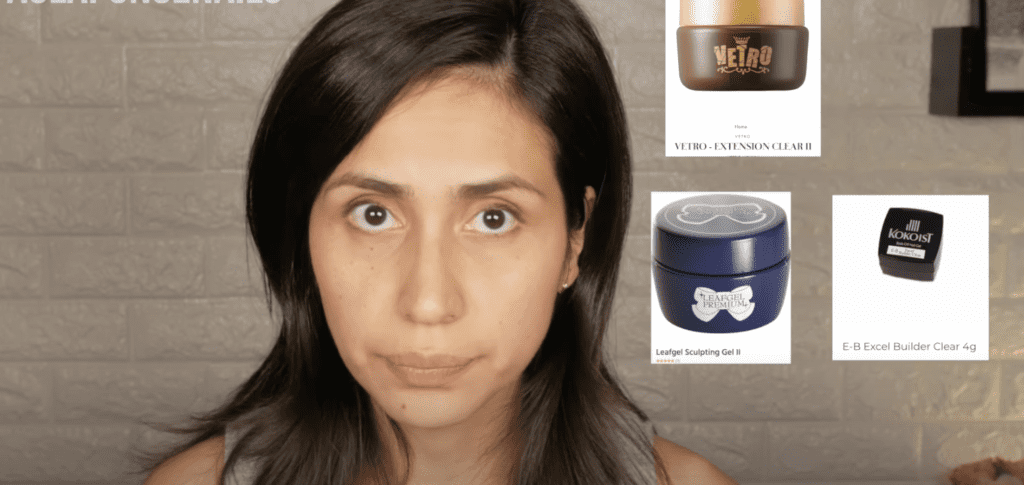
Japanese Gel is typically (like over 90% of the time) soak-off AKA soft gel. My go-to brands are Kokoist, Vetro, and Leafgel.
I like to use pots, and my favorite combination is base and separate builder to structure. All of my three favorite Japanese brands are comparable, so if you would like to compare them all across the board check out this comparison guide I put together for you.
If you’re just starting out with pots, you may also find it easy to work with a two-in-one option in a pot (i.e. base and builder in one), like Vetro’s Fuji Ex Base, or Leafgel’s Sanding Free Plus.
I loved overlaying with Bio Sculpture Base Gel in the salon for my structured gel manicure services. It just has such a nice viscosity, and the adhesion to the natural nail is unparalleled. Super gentle but super strong.
However, at that time, I found Japanese Soft Builder Gel to be stronger, and my clients wanted to go longer with their natural nail overlays, so I made the shift.
Vetro’s builder gel is called Extension Clear II, Leafgel’s is called Sculpting Gel II, and Kokoist’s is called Excel. Remember, these need a seperate base gel underneath them, they cannot go directly on the nail plate. Again, my comparison chart will guide you with how all the products pair.
So to recap defining characteristic #1…
You need a thicker viscosity gel to achieve a beautifully structured nail application. When using a premium soft potted gel as I do. Bio-Base Gel is excellent for short to medium-length nails. For longer natural nails, add a soft builder gel.
Characteristic #2 Thicker gel nails.
But hold up… thicker does not mean ugly and bulky. Your structured gel nails will be thick in all the right places. And again, when I say thick… I am not saying just load up your brush with as much gel as possible and plop it on the nail, and there is some technique to this to allow for beautiful self-leveling.
We’ll get to this in more detail in our next characteristic.
Now I can tell you this for certain… by making your gel nail application thicker. You’ve already increased your gel nail wearability by like A-LOT! Now, you are golden if you can give it the perfect definition, AKA structure, by your self-leveling technique!
Now I gotta be honest here, out of your whole roster of clientele, there may be literally one or maybe two clients that actually will not like a thicker gel nail application, no matter how beautiful your structured gel nail application is. They really want that flat polish look which is pretty, but there are a couple of things they should consider if they opt out of your structured gel nail application, and no… this does not mean you have to discount their service either.
So… what do you do?
#1. I would strongly encourage you to explain why you opt-in for more voluminous applications to your client. Tell her that this application method provides for the most extended wear of her gel nails. Let her know that you trust this method of application and it is the one that makes you insure your work.
#2. Allow her to opt out and into a thinner gel base application (so you’ll use the same gels, you would just not structure them) but not without letting her know that her gel nails may wear a little less, but Hey, let’s try it!
So to recap, characteristic #2 thick, but defined.
Characteristic #3 Smooth apex…
So in the previous defining characteristic of a structured gel nail application, I alluded to having a good definition when applying your gel thicker. You cannot and will not, promise me, just apply a thick blob of gel and just call it a structured gel manicure.
Instead, you need to build an apex to achieve a beautiful self-leveled or structured gel nail application.
Let me take you through where exactly an apex should be placed.
First off… What is an apex? An apex is an area of your gel application with the highest point, the highest peak. It should be smooth and where the highest concentration of gel lies. In other words, your highest concentration of gel should not be at the cuticle area or the free edge, and I went over this in last week’s video, so make sure to check it out at the end of this reading.
Now that you know the apex, where do you set it? The apex is there to protect the stress area of the nails. The stress area of the nails lies on the end of the smile line of the nail. The smile line is the connection area where the free edge stops connecting to the bed nail. Most of us have a smile line shape, others have a straight line, or maybe if there is a bit of damage, something squiggly is happening instead.

Naturally, our first inclination will be to just place that apex exactly at the smile line, but I want you to place it up to 2cm behind because you want to account for the growth of those nails, so that apex will shift in a couple of weeks. Your goal is to place that apex a little behind so that your clients’ nails stay structured and protected during those weeks.
The best way to create a beautiful tall apex using potted soft gel is to turn the hand upside down and allow gravity to form it for you.
Alright, time to bring it all home.
What is a structured gel manicure?
A thicker gel nail application is perfectly balanced with an apex to support the natural nail.
I would love to take you by the hand, to show you the exact steps of my most popular services, Gel Manicure, Gel Overlay, and Gel Extensions all using structure soft gel. I created this free masterclass so that you can learn more about my journey with soft gel and also how we can further work together. Maybe you just want to responsibly apply your own gel nails, or start a new career as a specialized soft gel nail tech? My free masterclass can guide you in the right direction.
Have a merry start to the week, and I’ll see you in the next one. Bye for now.

These blogs are copyrighted material, and any use of this blog is not permitted without written concern first. Some of these blogs contain affiliate links that give us a small commission when qualifying purchases are made. Thank you for your support that helps us to continue creating valuable resources and content like this.


Hi, need instructions on how to use the product correctly. Need the best gel for nail bitten thin nails.
list of all items /products needed to start from scratch
Use the search bar to the right, to find the specific topics you wish to learn more about<3