
The sticky layer left on your gel nails after curing is known as the inhibition layer or dispersion layer.
What is it?
I’m definitely no chemist, but they say that oxygen in between the curing light and the nail surface is what leaves this sticky layer behind.
You should not be concerned with that layer if you have fully cured the gel at the recommended time and in its corresponding curing unit.
Today we’ll discuss our next steps to deal with this sticky layer on gel nails. Let’s begin.
So unless noted by the gel products you are using, every gel will have a sticky layer.
Here are the three most common times you will deal with the sticky layer and what you should do to remove it.
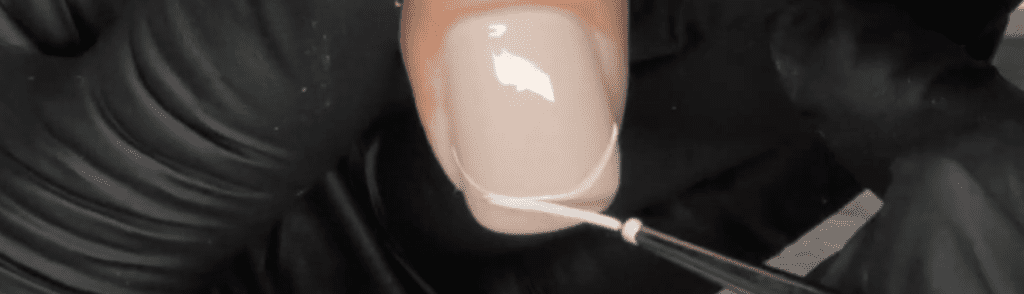
#1 After curing each layer, before applying your top gel
After curing, the sticky inhibition layer allows the product to bond to the next layer. The gel is made up of long chains of polymers that are called oligomers as well as photoinitiators. Photoinitiators are molecules activated by UV light that connect the oligomers together. This is how we get hardened, cured gel.
After the recommended curing time, the remaining sticky layer is made up of oligomers exposed to oxygen and does not bond to the photoinitiators. You can simply add another coat on top and give those oligomers something to bond to. If you’re not done with your application, there is no reason to wipe that sticky layer away.
Sometimes you may want to wipe this layer if you are mixing brands. Different brands use different chemical makeup in their products, so those molecules may not bond as expected. To be on the safe side to ensure your service is long-lasting, wipe that inhibition layer before applying another brand’s product on top.
Now, very quickly, before we jump to the second most common time you will deal with the sticky layer.
I invite you to come and learn about our signature programs! You can join my free newsletter. From now until Black Friday, I’ll be in your inbox once daily to break down all the details of our most popular signature programs. Then from Friday until Monday, midnight to midnight, you’ll have the opportunity to individually join any of these programs (with some added bonuses, of course ;)). Or, if you want to join them all and enroll in the MGN Pro program instead, you’ll have an opportunity to do that, also.

Again, to be in the know, all you have to do is sign up for the newsletter (you can find the signup box to the right of this page), and I’ll keep you posted.
Alright! Back to our topic!
#2 After applying your top gel, including your last coat of top gel!
Although intuitively, you may say, “ Wait a minute, this is a sealant! There cannot possibly be a sticky layer; otherwise, how are they finished?”
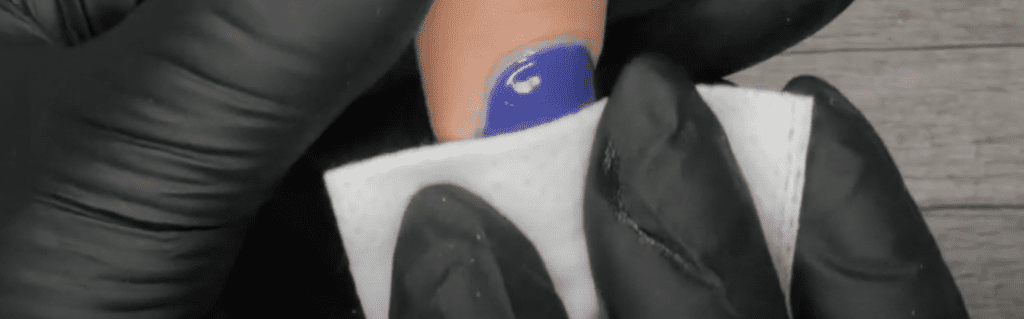
The wipe-required top gel is formulated just like your color gels. You can expect an inhibition layer to remain when it’s fully cured. Wipe this sticky layer with 90% isopropyl alcohol on a lint-free wipe to reveal the shine.
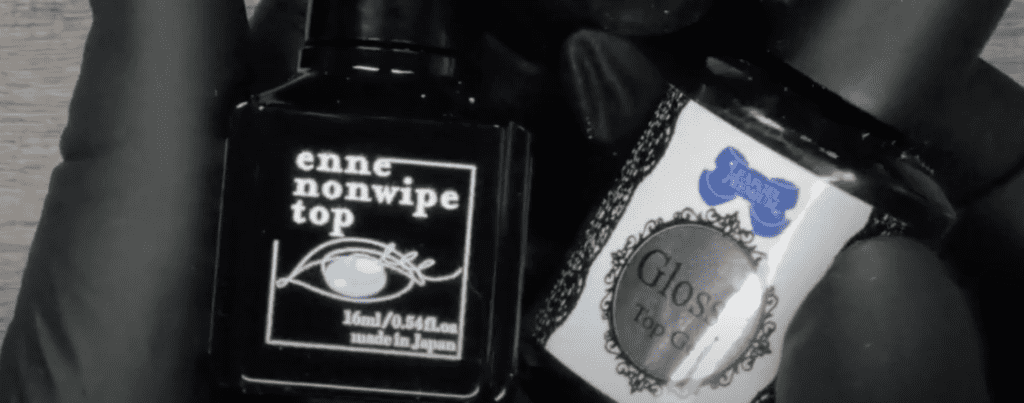
But fear not, there are NO-Wipe top coats in shiny and matte finish.
#3 Linework
So up to this point, you’ve applied your layers nearly flawlessly, but you want to spruce them up. You create some line work, except you notice feathering and your thin lines not remaining crisp. What is going on?
Answer: That sticky layer.
In this case, you can wipe it off or apply a matte top gel to create a surface ready for painting your nail art.
But before doing all that, consider that most Japanese Color Gels cure is tack-free. If you suspect an inhibition layer is preventing you from painting those crisp lines, consider curing your gel longer or investing in a higher-quality lamp. I always recommend a lamp that’s the same brand as the gel you’re using to ensure compatibility.
As you can see, a sticky layer is not a sign to indicate that you’ve done anything wrong in your application. It is simply a layer of uncured gel that can be removed or sealed with a non-wipe top gel.
Thank you for watching, and if you want to learn more about Japanese Gel consistencies, make sure to snag my guide on this information and other valuable ones, like how many sets you can create using these soft potted gel brands.
Thank you for watching, and I’ll see you at the next one!
Content by Paola and Sam D’Agostino
Loved this blog? Then I think you’ll love learning more about my journey as a specialized gel nail solopreneur in the nail industry. Click here to get instant access to my free training. These blogs are copyrighted material, and any use of this blog is not permitted without written concern first. Some of these blogs contain affiliate links that give us a small commission when qualifying purchases are made. Thank you for being so supportive that helps us to continue creating valuable resources and content like this.

![[[ Nail Thoughts X Kokoist ]] Bottled Gel Launch | All COLORS SWATCHED](https://paolaponcenails.com/wp-content/uploads/2020/11/ntswatchesnewthumb-1024x575.jpg)
