
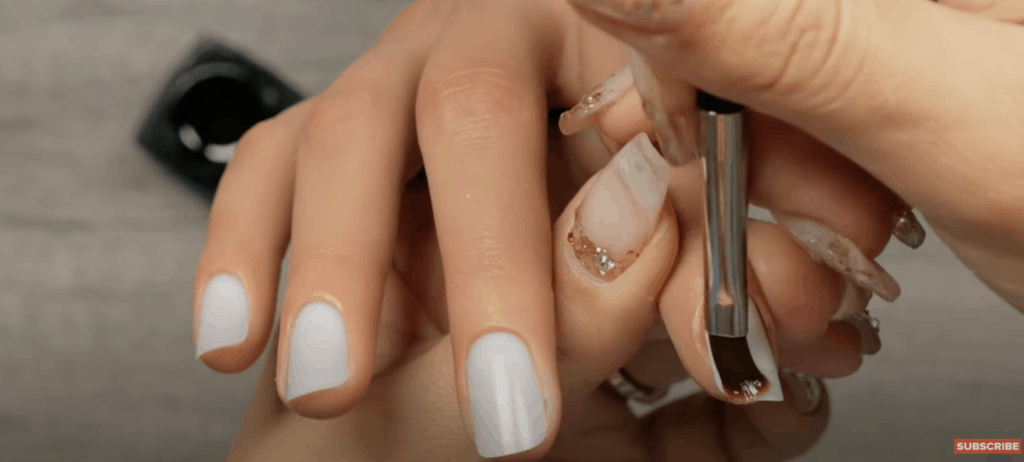
Gel Nail Lifting. It can keep us up at night, have us lose a few clients, and even lead to some bad online reviews.
Today I want to tackle two questions:
#1 Where does lifting typically happen? And why?
#2 How to fix the two problematics when it comes to gel nail lifting.
First off, if you’re new here, welcome!
I’ve been doing nails professionally for about 8 years now. And for the last 5 of those approximately, I found my footing in this industry with the use of Japanese Gel Nail systems which typically are soft gel (soak-off gel). My clients and their nails have never been happier.
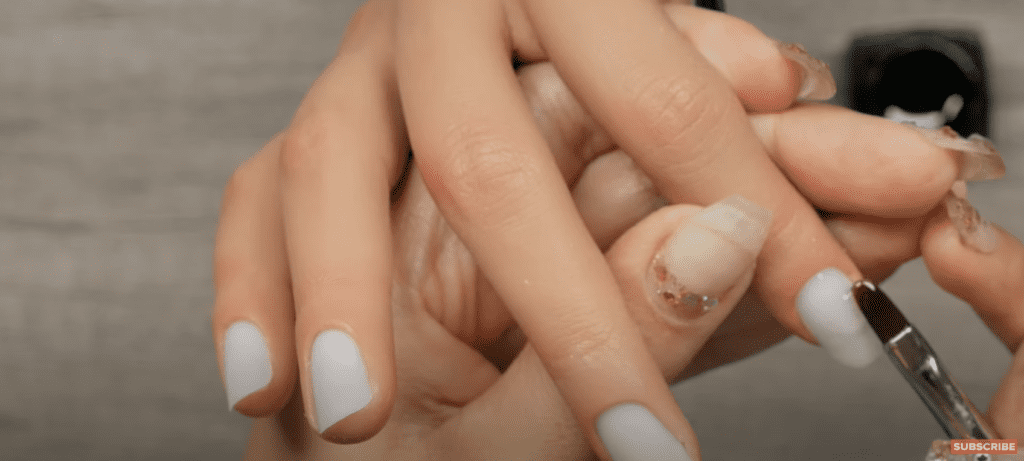
So if you’ve done even just a handful of gel nail manicures you may have dealt with gel nail lifting.
Where does gel nail lifting typically happen?
The cuticle area and the free edge.
The answers can be varied as to why it happens. I’m going to go ahead and address the most common ones and by simply tackling these, your clients will be in better shape as far as long-wearing nails.
Let’s talk about: Why gel nail lifting happens in the cuticle area?
The most inconspicuous way to get lifting here is because of the cuticle left behind. I know what you’ll say: “But Paola, I do such a thorough job this can not be the reason!”
Hear me out.
There may be many times in your prep routine where you focus heavily on “trimming down the cuticles”. But, surprise, surprise, you may have been working hard at the eponychium area instead. The cuticle is the dead or dry skin that lies on the nail plate, and guess what? It can often be invisible.
So what you really went to town with, was the eponychium area, that little sliver of translucent skin around the cuticle area; in fact (I’m giving you the total benefit of the doubt here) you may have scraped a little bit of the nail plate to get some of the cuticle off, but… you have to do so just a little more if you are indeed one of those getting continuous lifting there.
Now, I agree with many of my colleagues. The single best way to ensure that you have removed all of the cuticle area off from the nail plate is to use an electric file, and I would recommend you try it for yourself, definitely.
I also understand that for beginners the efile can be very intimidating! I’ve been there. If you want, just start practicing on a plastic tip or even the shell of a hard boil egg. This is definitely the best way to practice the light pressure you need to file.
For starters, I recently got my hand on a MelodySusie Atena efile, which is completely portable, cordless, and rechargeable; and I must say, VERY strong for not having a separate power/control box. I am super impressed, and you can’t beat the price either! $43??
With that being said, unless you have a second efile lined up in case your main one malfunctions, you may one day be left stranded if your efile stops working in the middle of the service. Now, while I really believe the MelodySusie brand is a great entry-level efile brand, even for newly qualified techs. They are relatively new in the scene and even for me, so I have not put them to the test with heavy usage and years of use.
For something a little more reliable (with peace of mind to last years, I recommend the Korean Brand of efiles Saeshin. I’ve known them to last years before needing any kind of work.)
Ok, I got a little bit off of a tangent there with efiling, but I enjoy it so much I even created a course all about it.
Back to gel nail lifting.
If you’re intimidated, or DIY, or just simply do not even want to deal with en efile, no problem. You can still be thorough without it!
You will need a cuticle pusher. (I like the Staleks Pro Expert 30, as it is professionally sharpened)
A pair of cuticle nippers. (I prefer a 5mm Jaw size, and I use this Staleks one also).
And last but not least, you’ll need a gentle abrasive to take through the entire cuticle area of the nail plate. (I recommend a stone pusher, or simply a good quality 180g Board File)
Take your time taking these tools through the cuticle area, and you should see a tremendous decrease in gel nail lifting at the cuticle area.
Frankly, unless you use cuticle oil, or another type of moisturizer before applying your gel base, there is no big dark mystery for gel lifting at the cuticle area. It’s just that the mystery tends to be invisible.
Let’s move on to the cause of lifting at the free edge. Which frankly is more problematic, and often hard to troubleshoot.
So I’m going to go ahead and focus on the most common reason for gel nail lifting at the free edge.
The 2 most common reasons for gel nail lifting at the free edge area:
#1 Nails that are too thin, especially because of damage
#2 Inappropriate wear and tear
Let’s start with #1.
When nails are to that there will not be enough keratin for the gel to hold on, at the first shock of impact, the gel will flex, but the natural nail will flex even more resulting in lifting. This is because gel products are meant to have a bit of shock absorbency, and the nails too, but the lack of keratin will bend the nail (pulling it away from the gel) instead of simply absorbing the shock and flexing.
A person may have thin, weak, flexible nails naturally or due to improper gel removal.
The latter is the most common reason for thin weak nails that bend too much.
If the gel is routinely filed down to the natural nail, unless you or the technician take special precaution not to over file the natural nail, then it may be overfilled. This is a little less common than my next point but still a common possibility for gel nail lifting because of overly thin nails.
The next reason is more common, and I want some virtual hands to go up if this has been you… Peeling the gel from off of the nails.
Ok. Fine. Guilty.
Now #2.
When you peel the gel off the nails, you leave a lot of perforations on the nails. Kind of like what happens when you fold perforated paper too much, right?… it tears.
Now, before your gel nail actually tears, because of the damage underneath it may more often lift before it does. All of those perforations do not allow the nails to absorb shock and as a result cause lifting at the cuticle area.
Great! So now, we know the why and the how of gel nail lifting!
What’s next? How do we prevent it?
I thought you’d ask.
I’m going to explain (but this will make more sense in the video I created for you this week).
Here are 3 techniques to applying your soft gel nails, to avoid lifting:
#1 Scrub your base gel on the free edge part of the nail.
You don’t have to cure it, but for added protection or if you’re working on a problem lifter, then please do. (You can do this with Kokoist Mega Stick Base, Vetro Fuji Base, or Leafgel Extreme Clear).
#2 Apply your base gel with structure.
Adding just a thick layer of base gel onto the natural nail may do the trick, but the finish may not be very comely. Many technicians, either do not self-level their base gel applications or charge extra to do so. I’m going to encourage you to make this the standard way you do a gel manicure. Structured.
#3 Help the natural nails from flexing excessively by adding a soft builder gel.
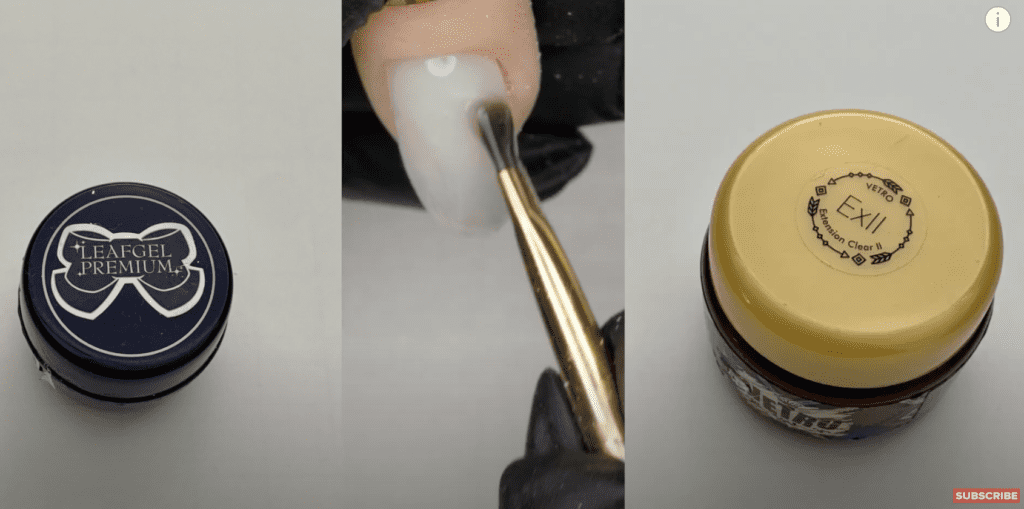
A soft builder gel is a strong builder gel that soaks off. DO not be fooled! These soak-off builders are strong! they come without the bulk of something like a hard gel or acrylic nail. (You can do this with Kokoist Excel Builder, Vetro Extension Clear Gel, or Leafgel’s Sculpting Gel).
Is there another reason’s why gel nails lift? Absolutely. Yet, if you focus your attention here as a start, You my friend, will get far.
I’ll leave it here for now. If you would love to dive deeper into the Japanese Gel Nail Application, I have A Kokoist Certification coming up! Get all the details including what materials you’ll need by signing up for our waitlist.
Have a merry start to the week and I’ll see you in the next one!
________________________________________________________________
These blogs are copyrighted material and any use of this blog is not permitted without written concern first. Some of these blogs contain affiliate links that provide us with a small commission when qualifying purchases are made. Thank you for your support that helps us to continue creating valuable resources and content like this.


