First off! I’d like to invite you to my upcoming free Leafgel Orientation Class!. It’s happening this Wednesday. Registration is required, more details and sign-up here.
Ok! So now to today’s topic on waterslide nail decals vs nail stickers!
Do you often draw a blank when it comes to doing nail art… Oh my God, Yes!
It happened so often, and I’m also not really very naturally creative. But one thing that I always enjoyed resorting to in the salon with clients was stickers! Like, Oh My God, why do I ever need to hand paint anything when it is already perfectly painted for me on a decal?!
Well, I’ll tell you what… I haven’t changed much… I still resort to stickers on the regular. If you’re a nail tech and pressed for time, you probably are like me… quick, cute, and straightforward, please!
Today we’ll be talking about 2 types of decals or stickers that are my favorite to use on gel nails.
They are:
#1 Waterslide decals
#2 Japanese Artist Stickers
Let’s dive in.
Before we dive in, Leafgel Certification is happening in a week! Snag your virtual seat here or if you’ve missed this year’s class, sign up for the waitlist here.
Alright!
Let’s begin with what are the differences between waterslide decals and stickers.
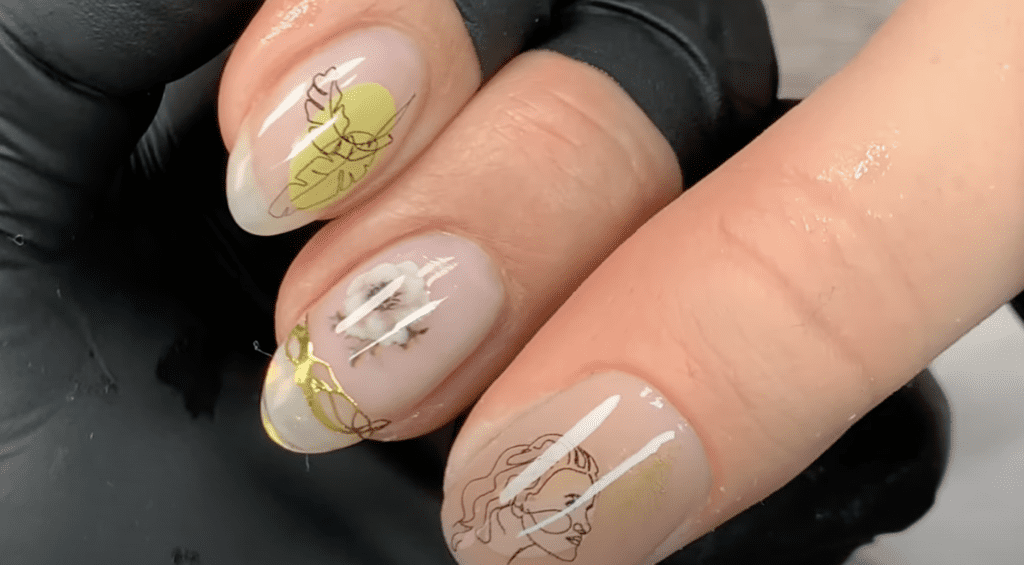
Waterslide decals
Are images printed on clear decal paper applied to any smooth surface, such as nails, by soaking their paper backing in water. Simple H20 loosens off the image from the paper, allowing you to slide off the image onto the nail.
Nail stickers
Are traditional images printed on sticker paper with a sticky adhesive. To apply them to the natural nail, you simply peel it off and unto the matted surface of the nail.
Both types of decals must be sealed with at least 2 coats of gel for extended wear.
Ok, let’s begin with the application of traditional stickers.
These are the supplies you’ll need after adding at least a foundation gel to the nails:
- Clear gel to top coat
- Seal the gels. We’ll go over which gel will give you the best wear in a moment.
- You’ll also need very pointy tweezers with a silicone cap, or you can use a separate silicone brush.
- Clear gels to seal in your decal for extended wear.
- Curing unit.
Nail stickers application:
Step 1:Gloves
I recommend wearing gloves when working anything nails but more so when working with decals or anything with a sticky side.
Step 2: Inhibition layer/sticky layer.
Very important to note that when working with nail stickers, you have to remove the inhibition layer or “sticky layer.” Otherwise, the stickers won’t stick. You can wipe this layer off with alcohol, but I like to buff the surface of the enhancement.
Again, if this is color, you don’t have to buff the surface, you can just wipe it off and proceed, but I like to buff the nail; this makes the whole enhancement thinner instead of adding layers.
The third option is to add a layer of matte topcoat if that’s easier for you and you don’t want to buff or wipe the inhibition layer off. The idea here is to apply stickers to matte or non-stick surfaces.
Pick one of the three options to prep the surface and proceed. If you buffed the nail, I recommend following with a wet brush with alcohol and a wipe to remove debris.
Step 3: Peel & Stick.
Go through your sticker sheets and decide which ones you want to use. The cool thing about these stickers is that they don’t have dimensions. They are laser-thin, so you can stack them without creating bulk.
I recommend using tweezers, not just any type of tweezers but very pointy and sharp ones. Japanese stickers like these from the brand Clau or Melee are super thin and require extra-pointy tweezers to be able to peel them off.
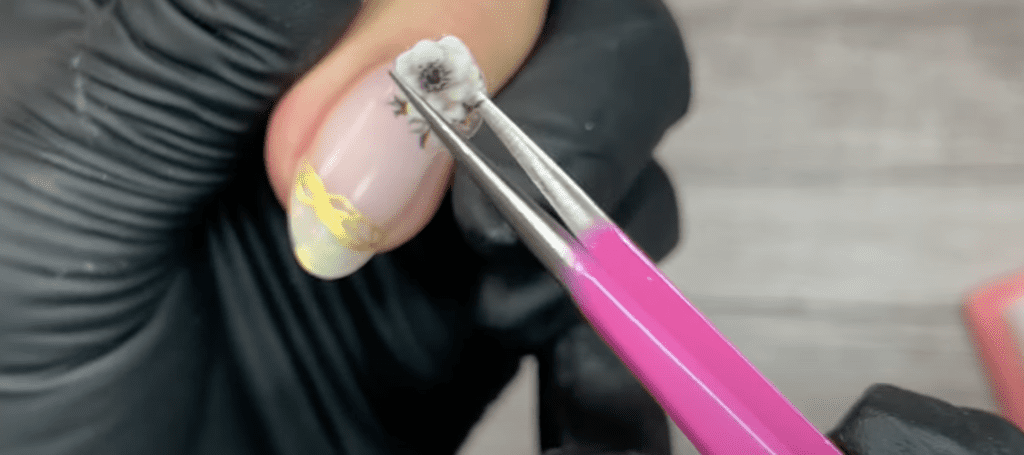
I leave you the link here for the ones I use. You can get them from Amazon ;).
You’ll also need a silicone tool or a cap to apply these stickers. Once the sticker is on the prepped surface, use the silicone tool or cap to press it flat and secure all the edges. This tool will give you the right amount of pressure for the sticker.
Step 4: Seal it.
I’m not doing a complete encapsulation here where I would use a ton of gel, not even builder gel. I want you to use base gel. You can use a matte topcoat or a topcoat that requires wiping.
Unless the client’s nail needs it, I don’t want you to use builder gel because it will unnecessarily make a bulkier nail.
Take a minimum, and I mean minimum, amount of base gel and press it. Use pressure to push the gel against the nail, sealing the sticker. Immediately after that, send the nail for a flash cure for 5-10 seconds before moving to the next step or next nail. If the next step is to topcoat, then full cure it.
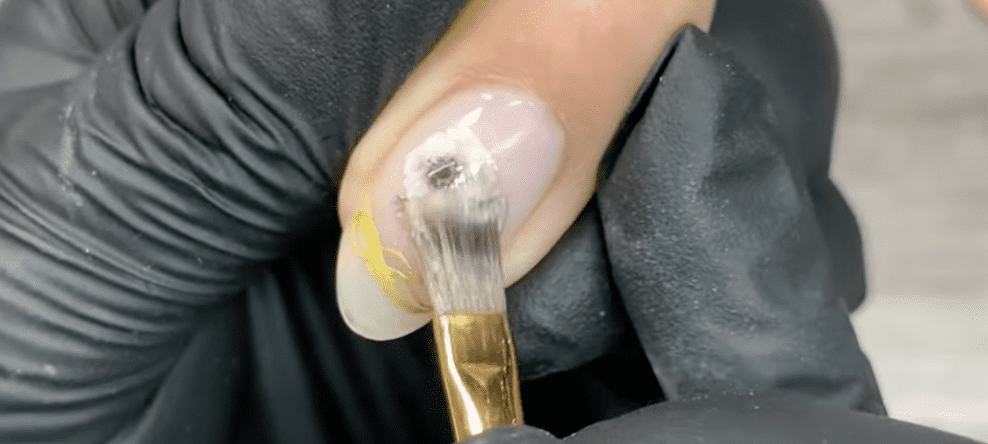
Remember, no builder, just base gel. I am using Extreme Clear+ by Leafgel. If you are interested in Leafgel and how to master their products, sign up for the Leafgel certification open for enrollment! Details above.
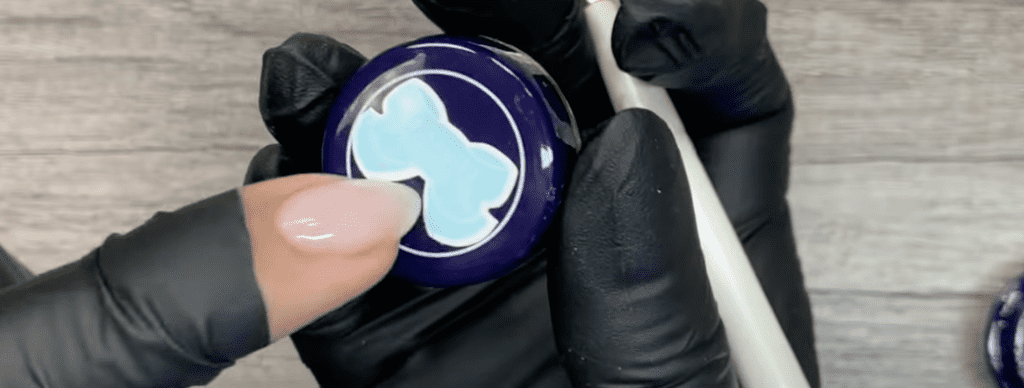
Next, there are 2 things you can do now. Just a tiny bit, add more base gel to level out the nail and seal the sticker or 2 layers of gel. You might be thinking, why? is the sticker going to pop off or lift?
It won’t, but your sticker application will be secure as long as you have 2 coats of gel. Whether it’s a layer of base gel and then topcoat or topcoat followed by a layer of non-wipe topcoat. Give the nail a full cure.
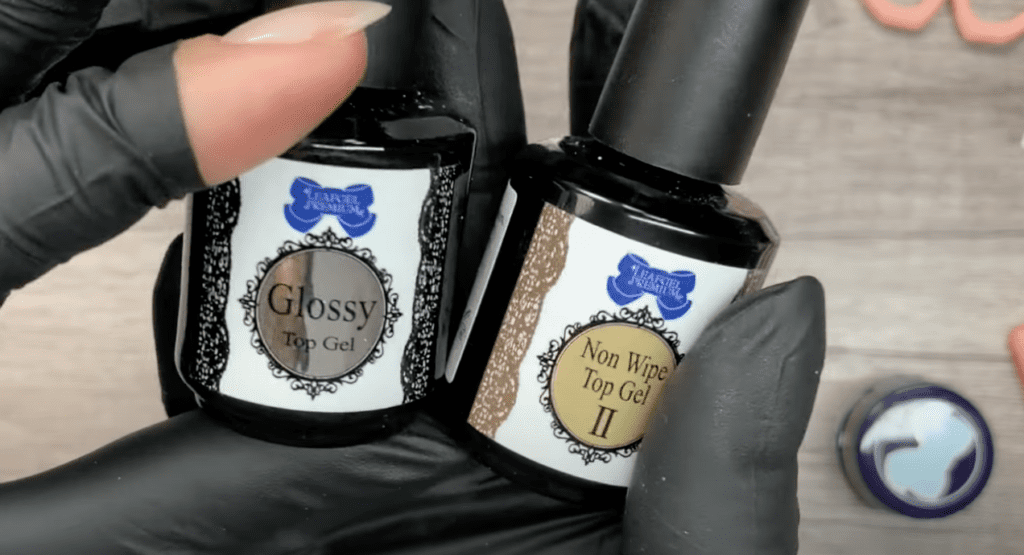
Now, can the sticker last if you do: sticker application and then a layer of thick topcoat like Leafgel’s Glossy Topcoat? It may. In the past, I have run into issues where the sticker pops up from or through the clear gel because it’s too thin; therefore, for extended wear, give me 2 thin coats of gel, ok?
This way, you and I can sleep at night knowing that your sticker won’t lift, and you will get a text from the client 2-3 days later to fix their nails.
Water slide decals application.
I know water decals might sound frightening. I know they did for me. The idea of water and gel nails was kind of nerve-wracking how does that work? But I promise you it’s so much easier than you think. Once I tried it, it was easy and fun! I wanted to add another one… and maybe one more… you get the picture.
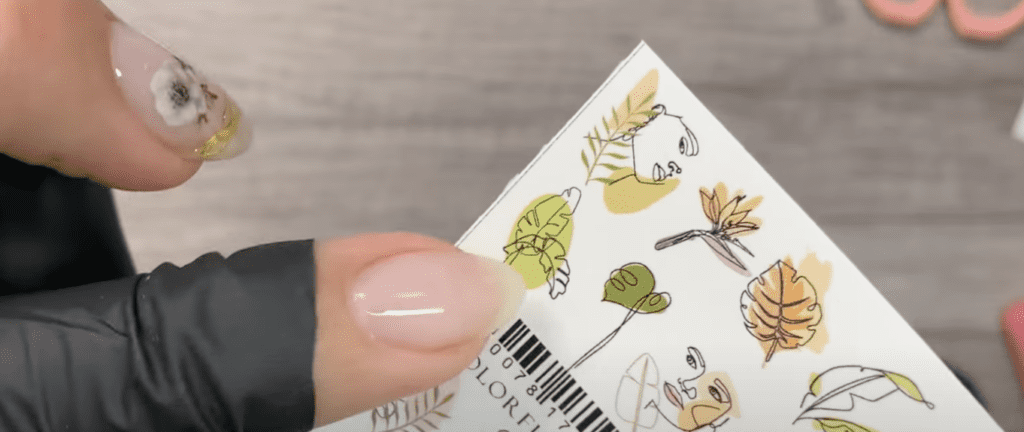
For waterslide decal application, you need:
- Scissors, if you have the curved ones, even better.
- A towelette or soft, absorbent napkin.
- Water.
- Pointy scissors.
- Silicone cap or tool.
- Clear gels to seal in your sticker for extended wear.
- Curing unit.
Step 1: Gloves.
Remember, we wear gloves for everything and anything.
Step1.5: Don’t wipe the sticky layer off.
You don’t need to wipe off the inhibition layer/sticky layer from the foundation gel or color before applying the water decal.
Step 2: Cut out the decals.
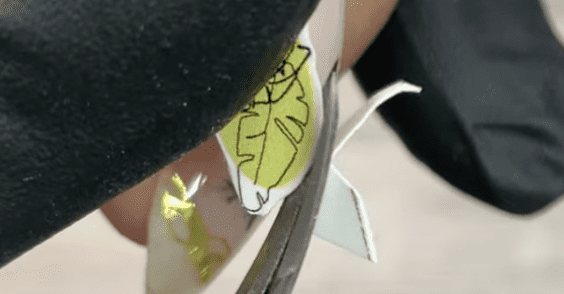
I know you are excited to cut it out and put it on, BUT the biggest pro tip I will give you is to cut the decal as close to the design, I mean very tight and close to the design, as you can. Do not leave a lot of blank borders around the design.
Step 3: Soak it
Use a lint-free towelette or an absorbent napkin and soak it with water.
Pro tip: Get a water bottle dispenser handy at the nail table. You don’t want to get water in the middle of your service because it will add time to your service. I use hairdressers bottles for color. These bottles have a nozzle that makes it easy to control the water.
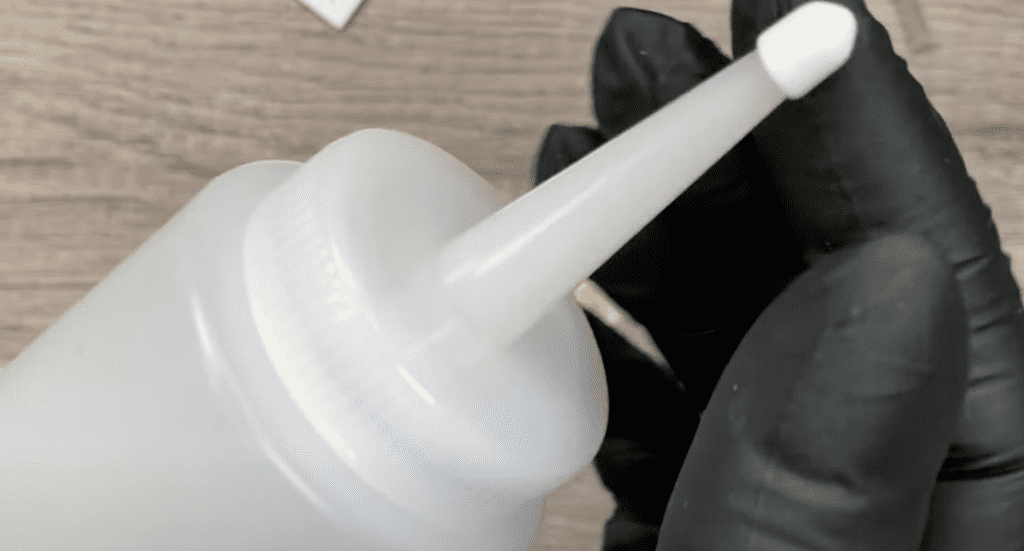
Once you soak the decal, the back paper will absorb the water and release the decal.
Step 4: Slip test.
Do a slip test and check that the decal is sliding before placing it on the nail. Do not remove the decal from the white paper; instead, slide it and expose a small area.

Step 5: Glide it on the nail.
Once you are confident that the decal slides, place the white piece of paper on the nail enhancement. Then, gently start pulling the white portion underneath the decal until the design falls into the nail.
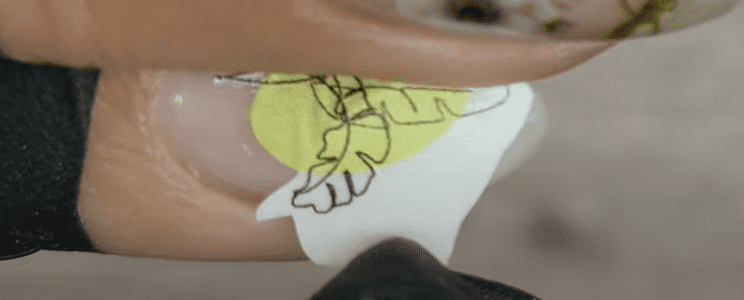
Step 6: Press out bubbles.
Use a silicone tool or cap to press the decal flat. From here, you are home free. Remember, this can go over the sticky layer. If you know that the sticky layer is too oily, remove it; otherwise, just slide the decal and press it on.
Step 7: Seal it
Like we did for nail stickers, I want you to give me 2 thin layers of gel to “encapsulate” your decals. Base gel layer and then topcoat layer or wiping topcoat followed by non-wipe topcoat layer. No builder gel here.
OR…
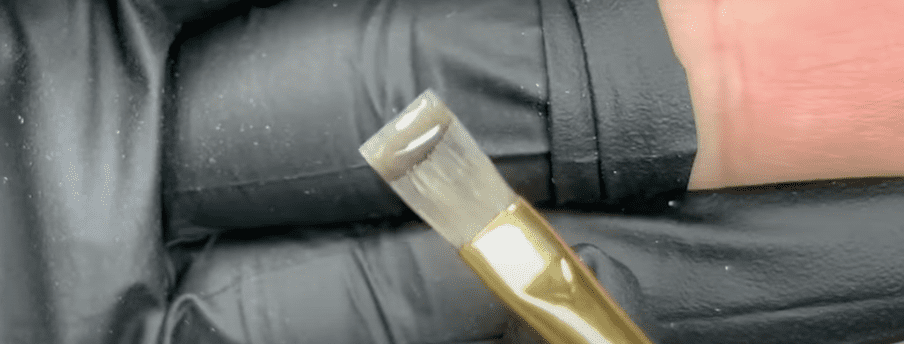
I realized this at the end, but if you use a layer of matte topcoat as the finishing layer, you can see the design even clearer. I really, really like the look. It immediately reminded me of IG posts of Russian manicures with structured nails and these water decals.
I encourage you to try both methods, but I think you will really like the look with a matte topcoat.
Alright, now that you have seen both applications, what do you prefer?
I must say that the water slide decals do have a learning curve, but once you get them… they are a bit addicting. They are super crisp and detailed too.
The traditional stickers are also of excellent quality. They are quicker because you don’t have to cut or soak them before application. Still, you do have to prep the surface of the enhancement before applying it, either by removing the tacky layer or using a very smooth buffer.
I think they both take about the same time to apply; if you consider that, you don’t need to buff-prep the surface for the waterslide, but for the traditional stickers, you do.
Your choice. Let me know what you prefer down in the comments section below!
If you want to buy the most comprehensive assortment of waterslide decals, you can visit my favorite source Nashlynails here using our affiliate code PPN10 to save 10% and support this free blog. Thank you!
For Japanese Nail Stickers my go-to favorite source is Daily Charme and if our affiliate code is active, it is also PPN10.
I hope you enjoyed this reading and I was able to give you some tips for a beautiful sticker/decal application. Hope I see you at the next one… bye for now.
Please note… These blogs are copyrighted material and any use of this blog is not permitted without written concern first. Some of these blogs contain affiliate links that provide us with a small commission when qualifying purchases are made. Thank you for your support that helps us to continue creating valuable resources and content like this.

