
5 Must-Haves For Getting Started With Japanese Gel
Japanese Gel is typically a soak-off quality gel (AKA soft gel) designed with the intel of nail techs and manufactured from scratch in Japan.
Getting started with them does not require many items. Today we will be going over 5 must-haves and their details for getting started with Japanese Gel Nail Systems.
So let’s begin!
Must-have #1: Nail prepping kit.
A nail prep kit for Japanese Gel nails consists of a cuticle pusher, 90% alcohol, lint-free wipes, and nail files (particularly a 180g board file, 180g sponge buffer, an emery board), and a nail dusting brush. That is it as far as Japanese gel prepping essentials!
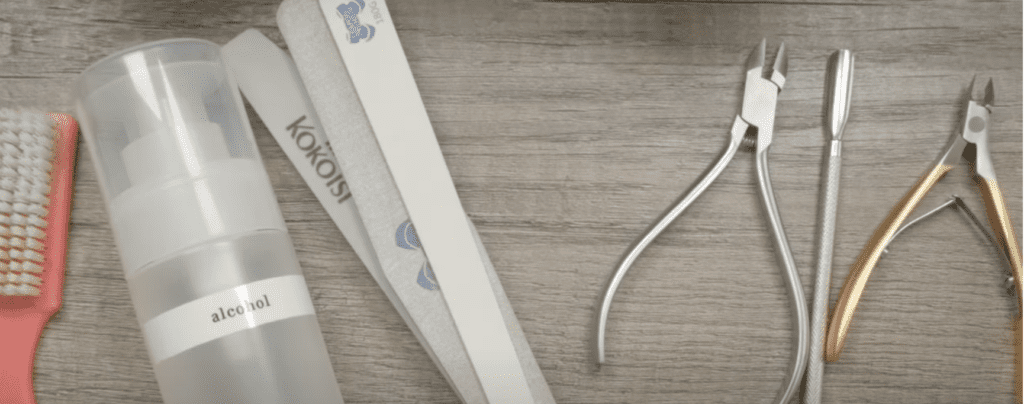
Japanese Gel Nail systems are known for beautiful, natural-looking nail enhancements that preserve the integrity of the natural nails. All you need to do is remove the shine from the natural nail surface with a 180 grit sponge buffer and wipe it with 90% alcohol. Yes, 90% alcohol only. No acetone or nail prepping solutions, no primer or bonder.
Other nail systems require those solutions to ensure long wear but not Japanese Gel. These products are created with excellent adhesion components. You can apply a “Sanding Free Base” on a natural nail without filing the nail bed and still get long wear.
All the prep that is required is dehydrating the nail with 90% alcohol, removing the cuticle from the nail bed, dusting off all dry skin with a wet brush (A wet nail brush means alcohol, not water), and wiping with a lint-free wipe.
Done. Nails are prepped and ready for gel application.
Must-have #2:Dust collector.
A dust collector. I know. This can sound too advanced or pricey, but it doesn’t have to be, initially. Many companies are stepping up their game and offering good products for competitive prices.
Any on Amazon may work just fine, but here’s the one I’m currently using with good results.
Japanese gels require much less filing than other systems (yay for self-leveling gels!), but you still have removals, nail prepping, nail powders, and flakes that you and your client can potentially be breathing in, yikes!
Whether you are a pro or a beginner, you must prioritize the health of your clients and your own, so consider a dust collector before jumping into cutesy nail art supplies, promise?
Must-have #3: Gels
Onto the fun stuff, choose the gel you will be working with!
You will need clear gels and color gels. Let’s start with our clear gels.
Clear gels are oh-so-important; they lay out your foundation and finish off your gel nails. If you’ve been here before, we mainly work with our beloved brands Leafgel, Kokoist, and Vetro.
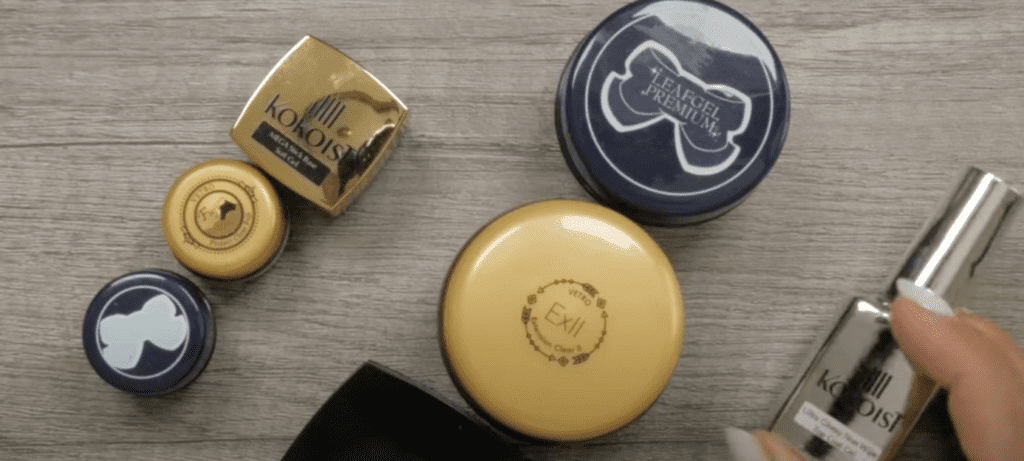
If you are wondering what clear gels you will need? Those are…
- A thicker consistency and flexible base gel
- A soft builder gel and
- A top coat.
Any of the mentioned brands have these gels as part of their nail systems, and they all work effectively. From the top of my head, I can recommend Leafgel’s Sanding-Free Base for rebalances or damaged nails. Vetro’s soft builder gel is very manageable and easy to create overlays and extensions. Ultra Glossy Top Coat from Kokoist, I think this is my favorite top coat. I have a video where I compare brands in-depth and provide information so you can begin with the brand that fits best. (Click here to come back and watch it)
My rule of thumb for ease is to stick to one brand of clear gels for 1-3 months and feel it out on you and all of your clients before trying another one. This way, you give each brand of clear gels a fair shot while also keeping yourself out of troubleshooting service breakdowns.
Colors.
Pick your favorite 10 colors and start from there. Yup, that’s all you need to begin creating beautiful nails. Seriously. After working in the salon and doing nails for years, I can assure you that a good selection of nudes, a few pinks, reds, and black will get you far.
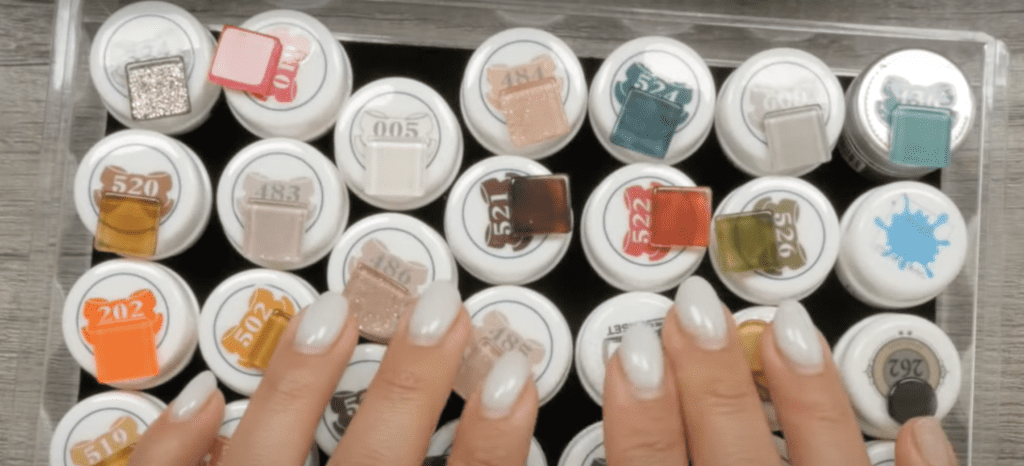
Now, if you own a nail salon or specialize in character nail art, it might make sense to buy all these colors. Otherwise, there is no need to purchase entire collections that will become money on your shelves collecting dust. Be selective, but also try a few out.
Must-have #4: Brushes
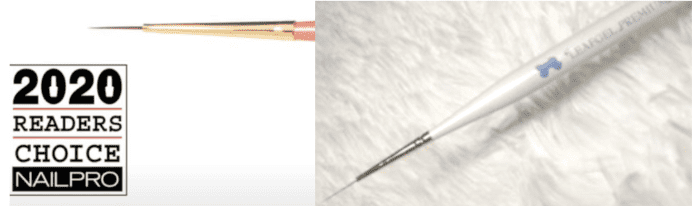
For application, you will need a round/oval brush, a flat brush, and a liner brush. Again, the brands I mentioned above carry their high-quality brushes, usually made in Japan.
My favorite sets are Leafgel’s Liner L brush (the best extra-fine long liner) and Vetro’s round/oval application brushes (chef’s kiss’ good!). Kokoists brushes are of excellent quality and lovely to use too. Try the detailer brush from the Nail Thoughts Collection, a secret weapon for all kinds of nail art.
>> You can shop Kokoist or Leafgel Products at 10% off with code PPN10 <<
Lastly, assign one brush to each type of Gel, like this.
- One for base gel,
- One for builder gel,
- One for topcoat, and
- One for color application.
If your budget allows you, get one for dark color, light colors, and one for glitter, but the last three are optional.
Must-have #5: Curing unit.
So this topic of curing units is slightly controversial. The experts say: Yes, you need to use the lamp sold by the brand of products you use. On the other hand, the nail tech is like, Well, I use many brands? and the DIYer says, I use a ton of different brands, and I don’t want to spend over $50 on one?
So what to do?…
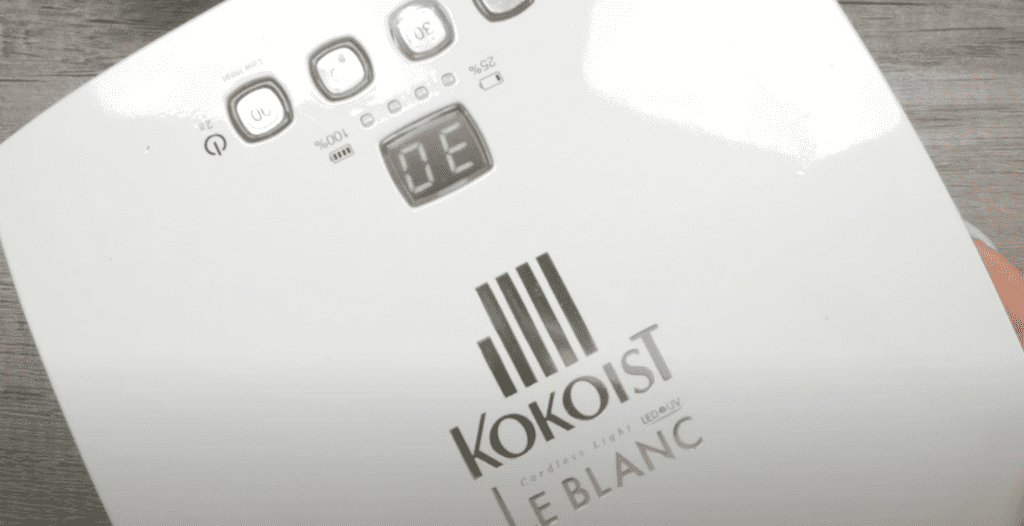
To narrow it down, start selecting the brand of gels you want to work with. If most of your gels are from one brand, go with that brand’s curing unit, try it for 1-3 months and move from there. Even if you are working with a different brand or one from Amazon, check with them. What is the curing unit they recommend for that gel system?
If you want a less expensive route, just consider the unit’s power, wavelength, and number and position of bulbs before purchasing.
One more thing, if you are mixin’ n matchin’, I recommend curing all gels for 60 seconds instead of the general 30 seconds. It’s always better to over-cure than under-cure. I have a video breakdown here if you are in the market for a curing unit.
I hope you can now see that getting started with Japanese Gel Nail Systems doesn’t require anything other than traditional gel nail systems. Japanese Gel Nails differ primarily in application methods and their long-wearing periods. Here’s a playlist on Japanese Gel Nail Fundamentals to learn more about them.
Thanks for joining us today, don’t forget to subscribe below so that you are the first to know when our next topic posts.
Content by Paola Ponce and Fabiola Saucedo
These blogs are copyrighted material and any use of this blog is not permitted without written concern first. Some of these blogs contain affiliate links that provide us with a small commission when qualifying purchases are made. Thank you for your support that helps us to continue creating valuable resources and content like this.

![[[ Nail Thoughts X Kokoist ]] Bottled Gel Launch | All COLORS SWATCHED](https://paolaponcenails.com/wp-content/uploads/2020/11/ntswatchesnewthumb-1024x575.jpg)